An idea!
For a long time, I wanted to start building a homemade telescope. My goal was to take advantage of an industrial achromatic doublet of 80mm diameter and 600mm focal length to create a refractor.
A demountable structure…
To begin, I was inspired by a project by Christophe de la Chapelle, using aluminum angles as a mechanical base for a demountable telescope. The idea was to create a light and modular structure:
- Aluminum angles: They served as support to maintain alignment between the objective and the focuser.
- Strock approach: The telescope had a Strock approach with screws for disassembly.
- Mounts on all mounts: With a Vixen dovetail
- A bit optimistic objective: I wanted to do photography with it…
However, after a few tests, I quickly noticed the limitations of this setup given the instrument’s focal length. The structure, too flexible, did not guarantee sufficient stability for astrophotography. So I moved on to something else…
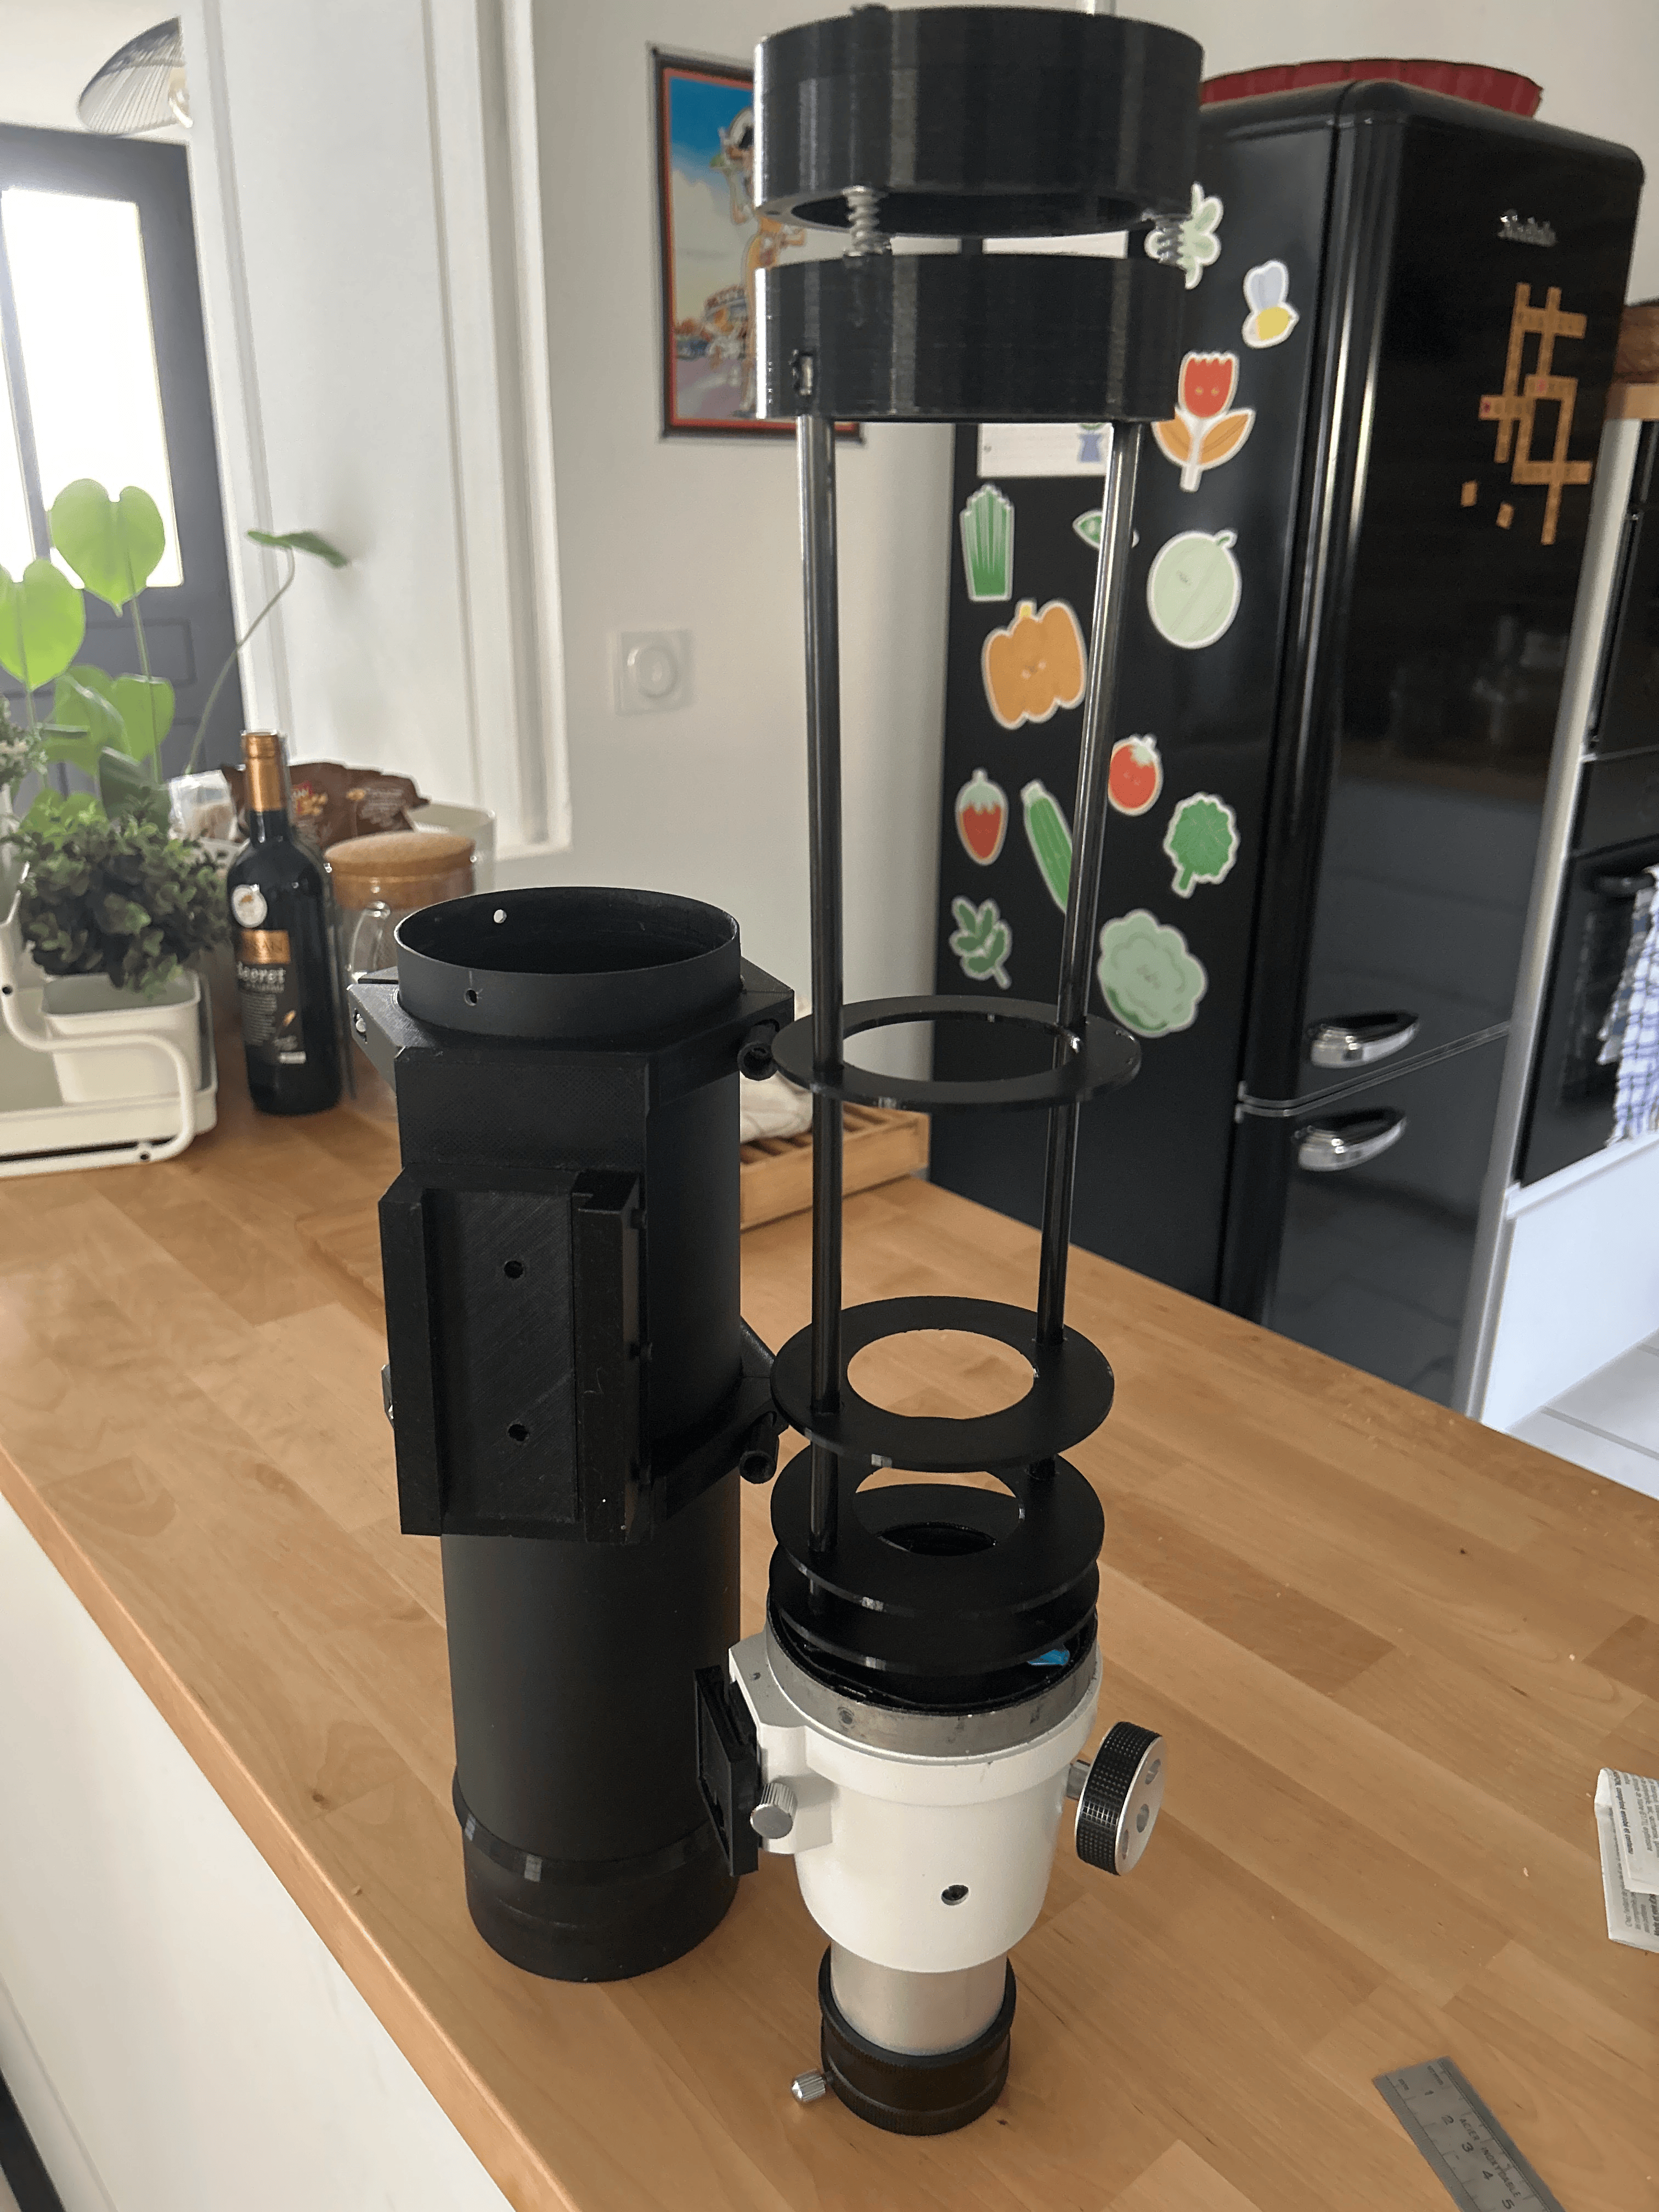
The PVC tube
To gain rigidity, I then made a telescope with a plumbing PVC tube and a Skywatcher 80ED focuser. The setup was cleaner and more reliable. But a difficulty quickly appeared: PVC undergoes strong thermal expansion, which made it impossible to keep collimation and focus. So I approached the problem differently…
And why not carbon?
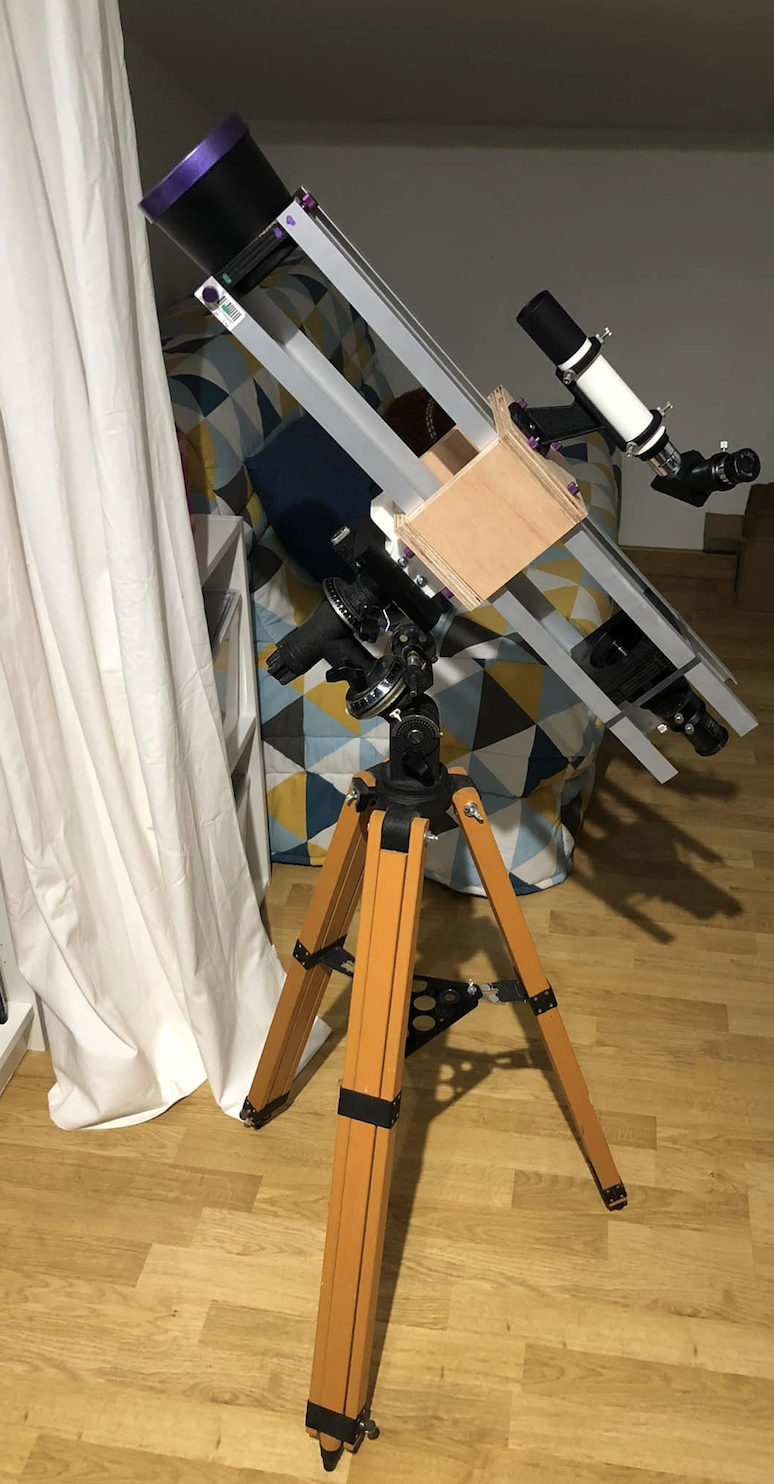
To solve the problems, I had the idea of using two 8mm carbon rods, which ensure rigidity and alignment, on which a PVC tube slides serving only as a baffle to limit stray light. This setup combines the two previous approaches and transforms the telescope into a “usable” instrument.
The real problems begin…
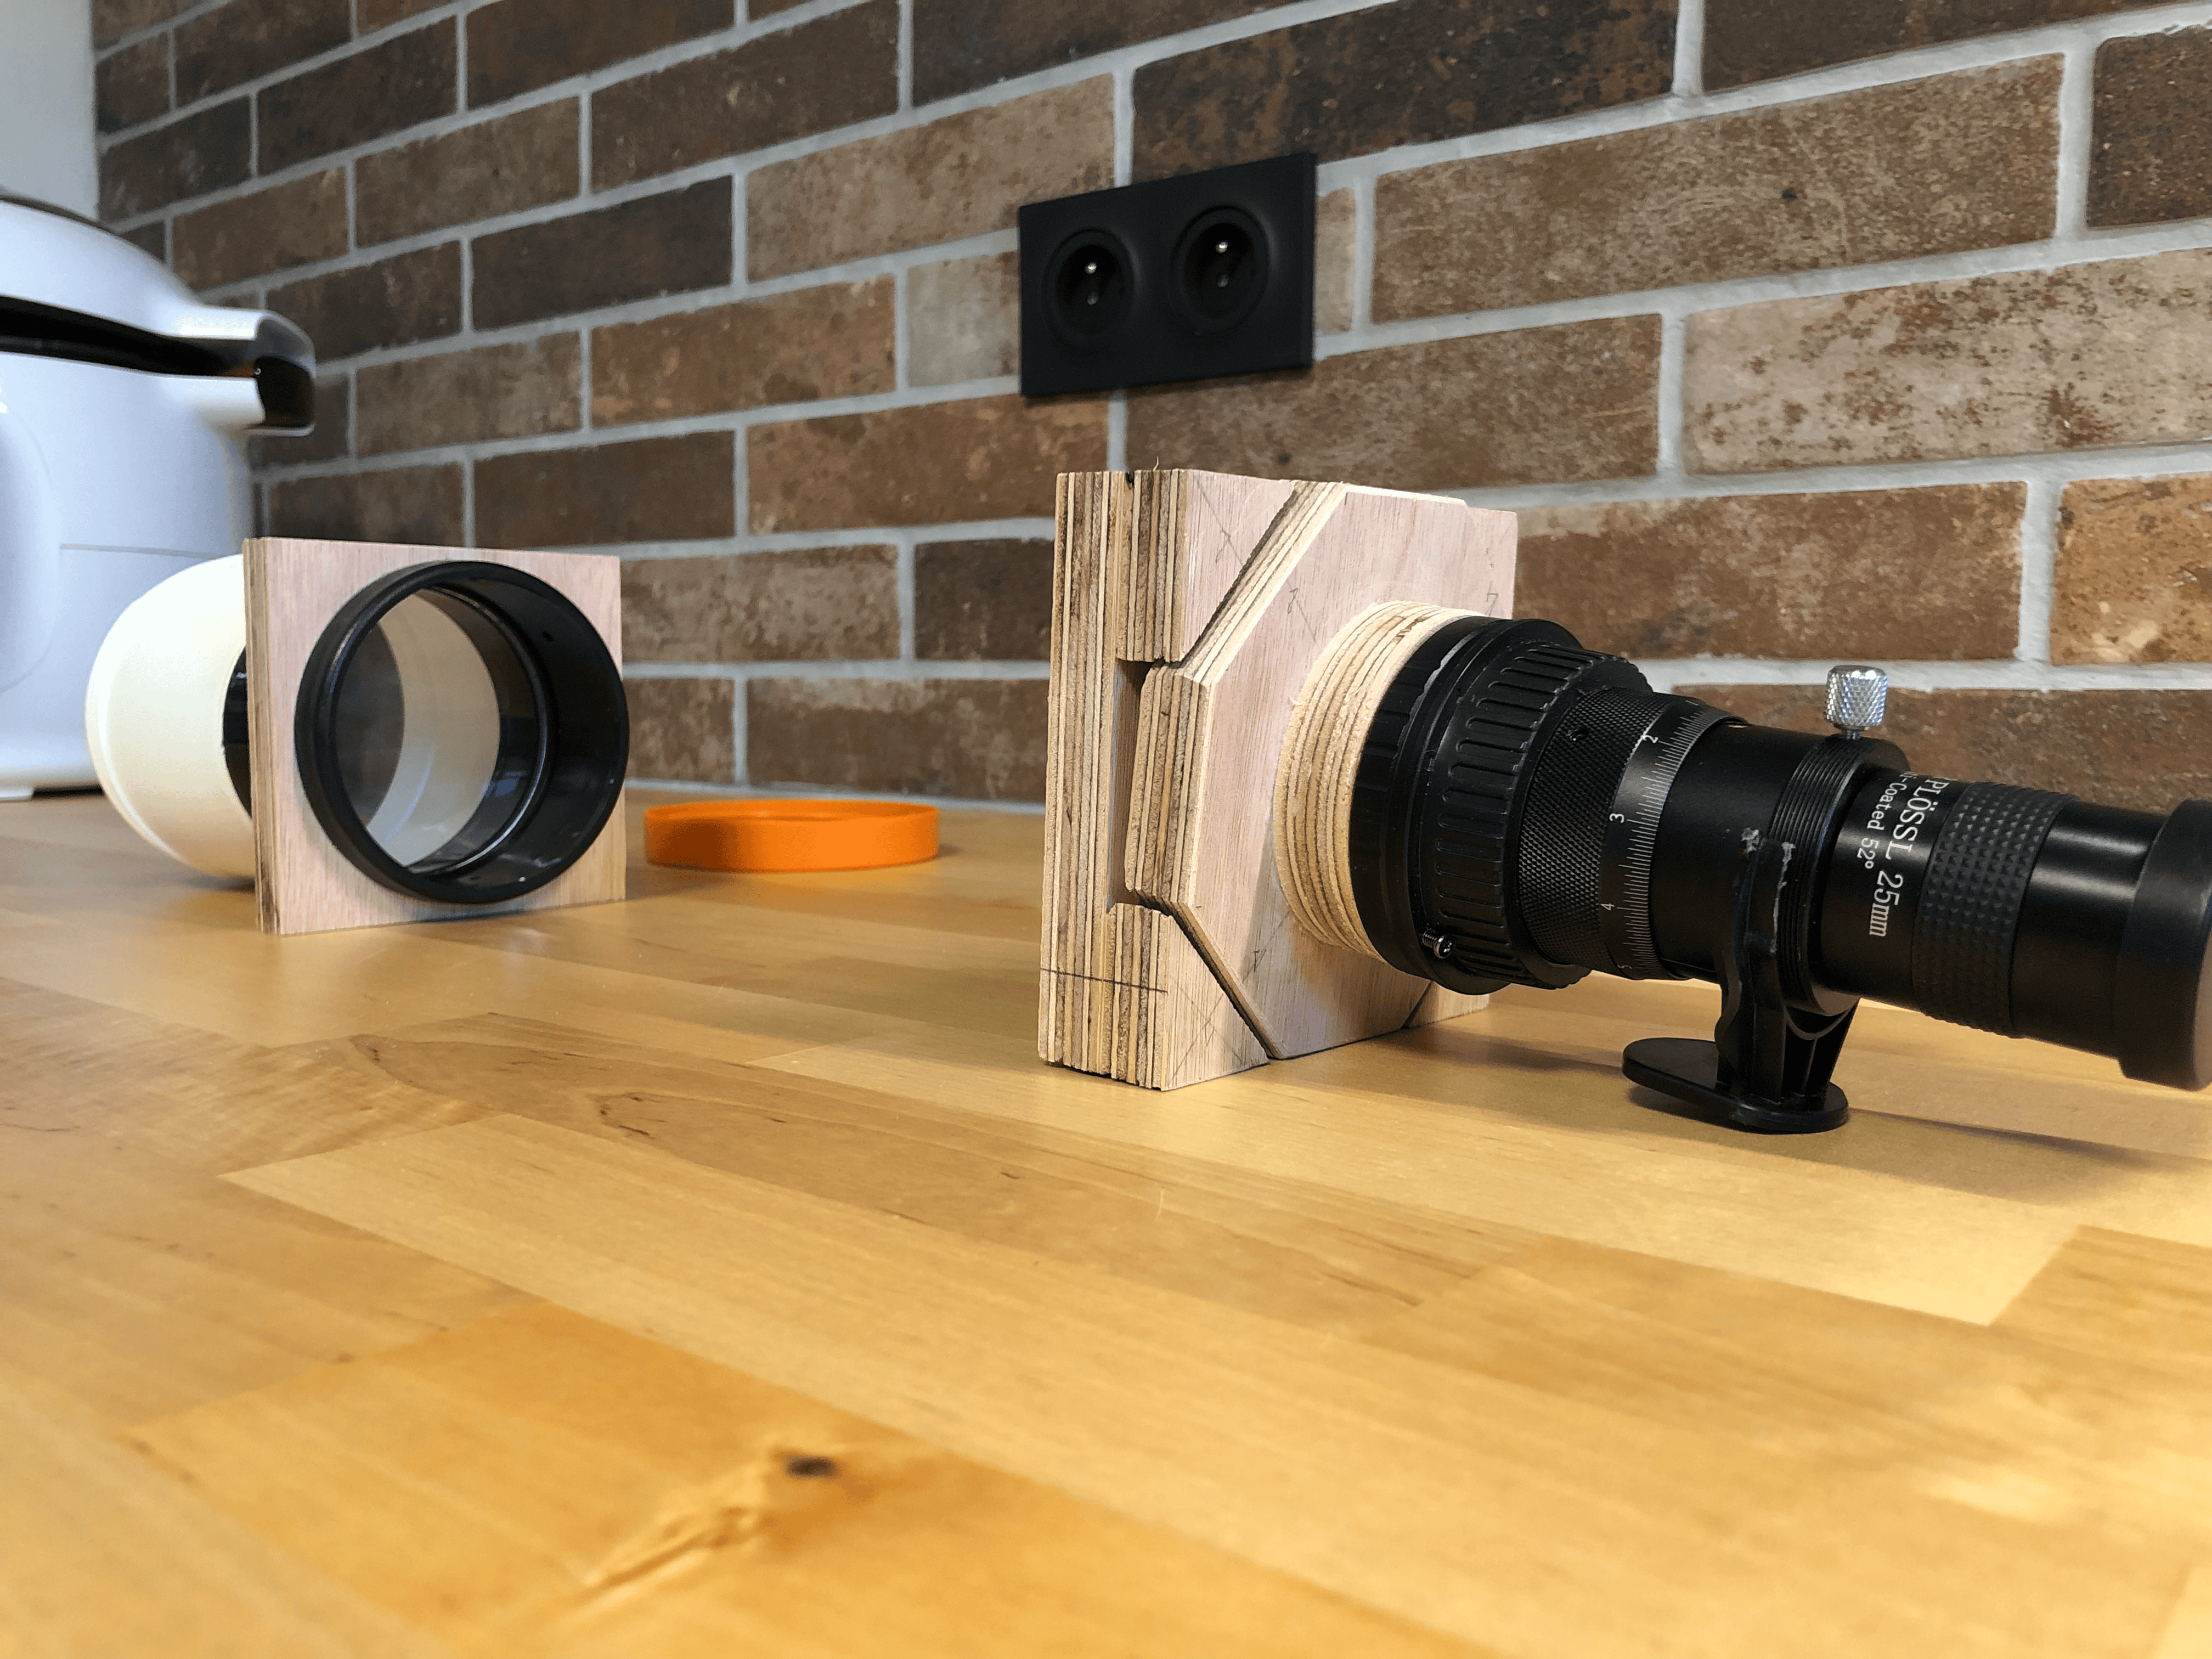
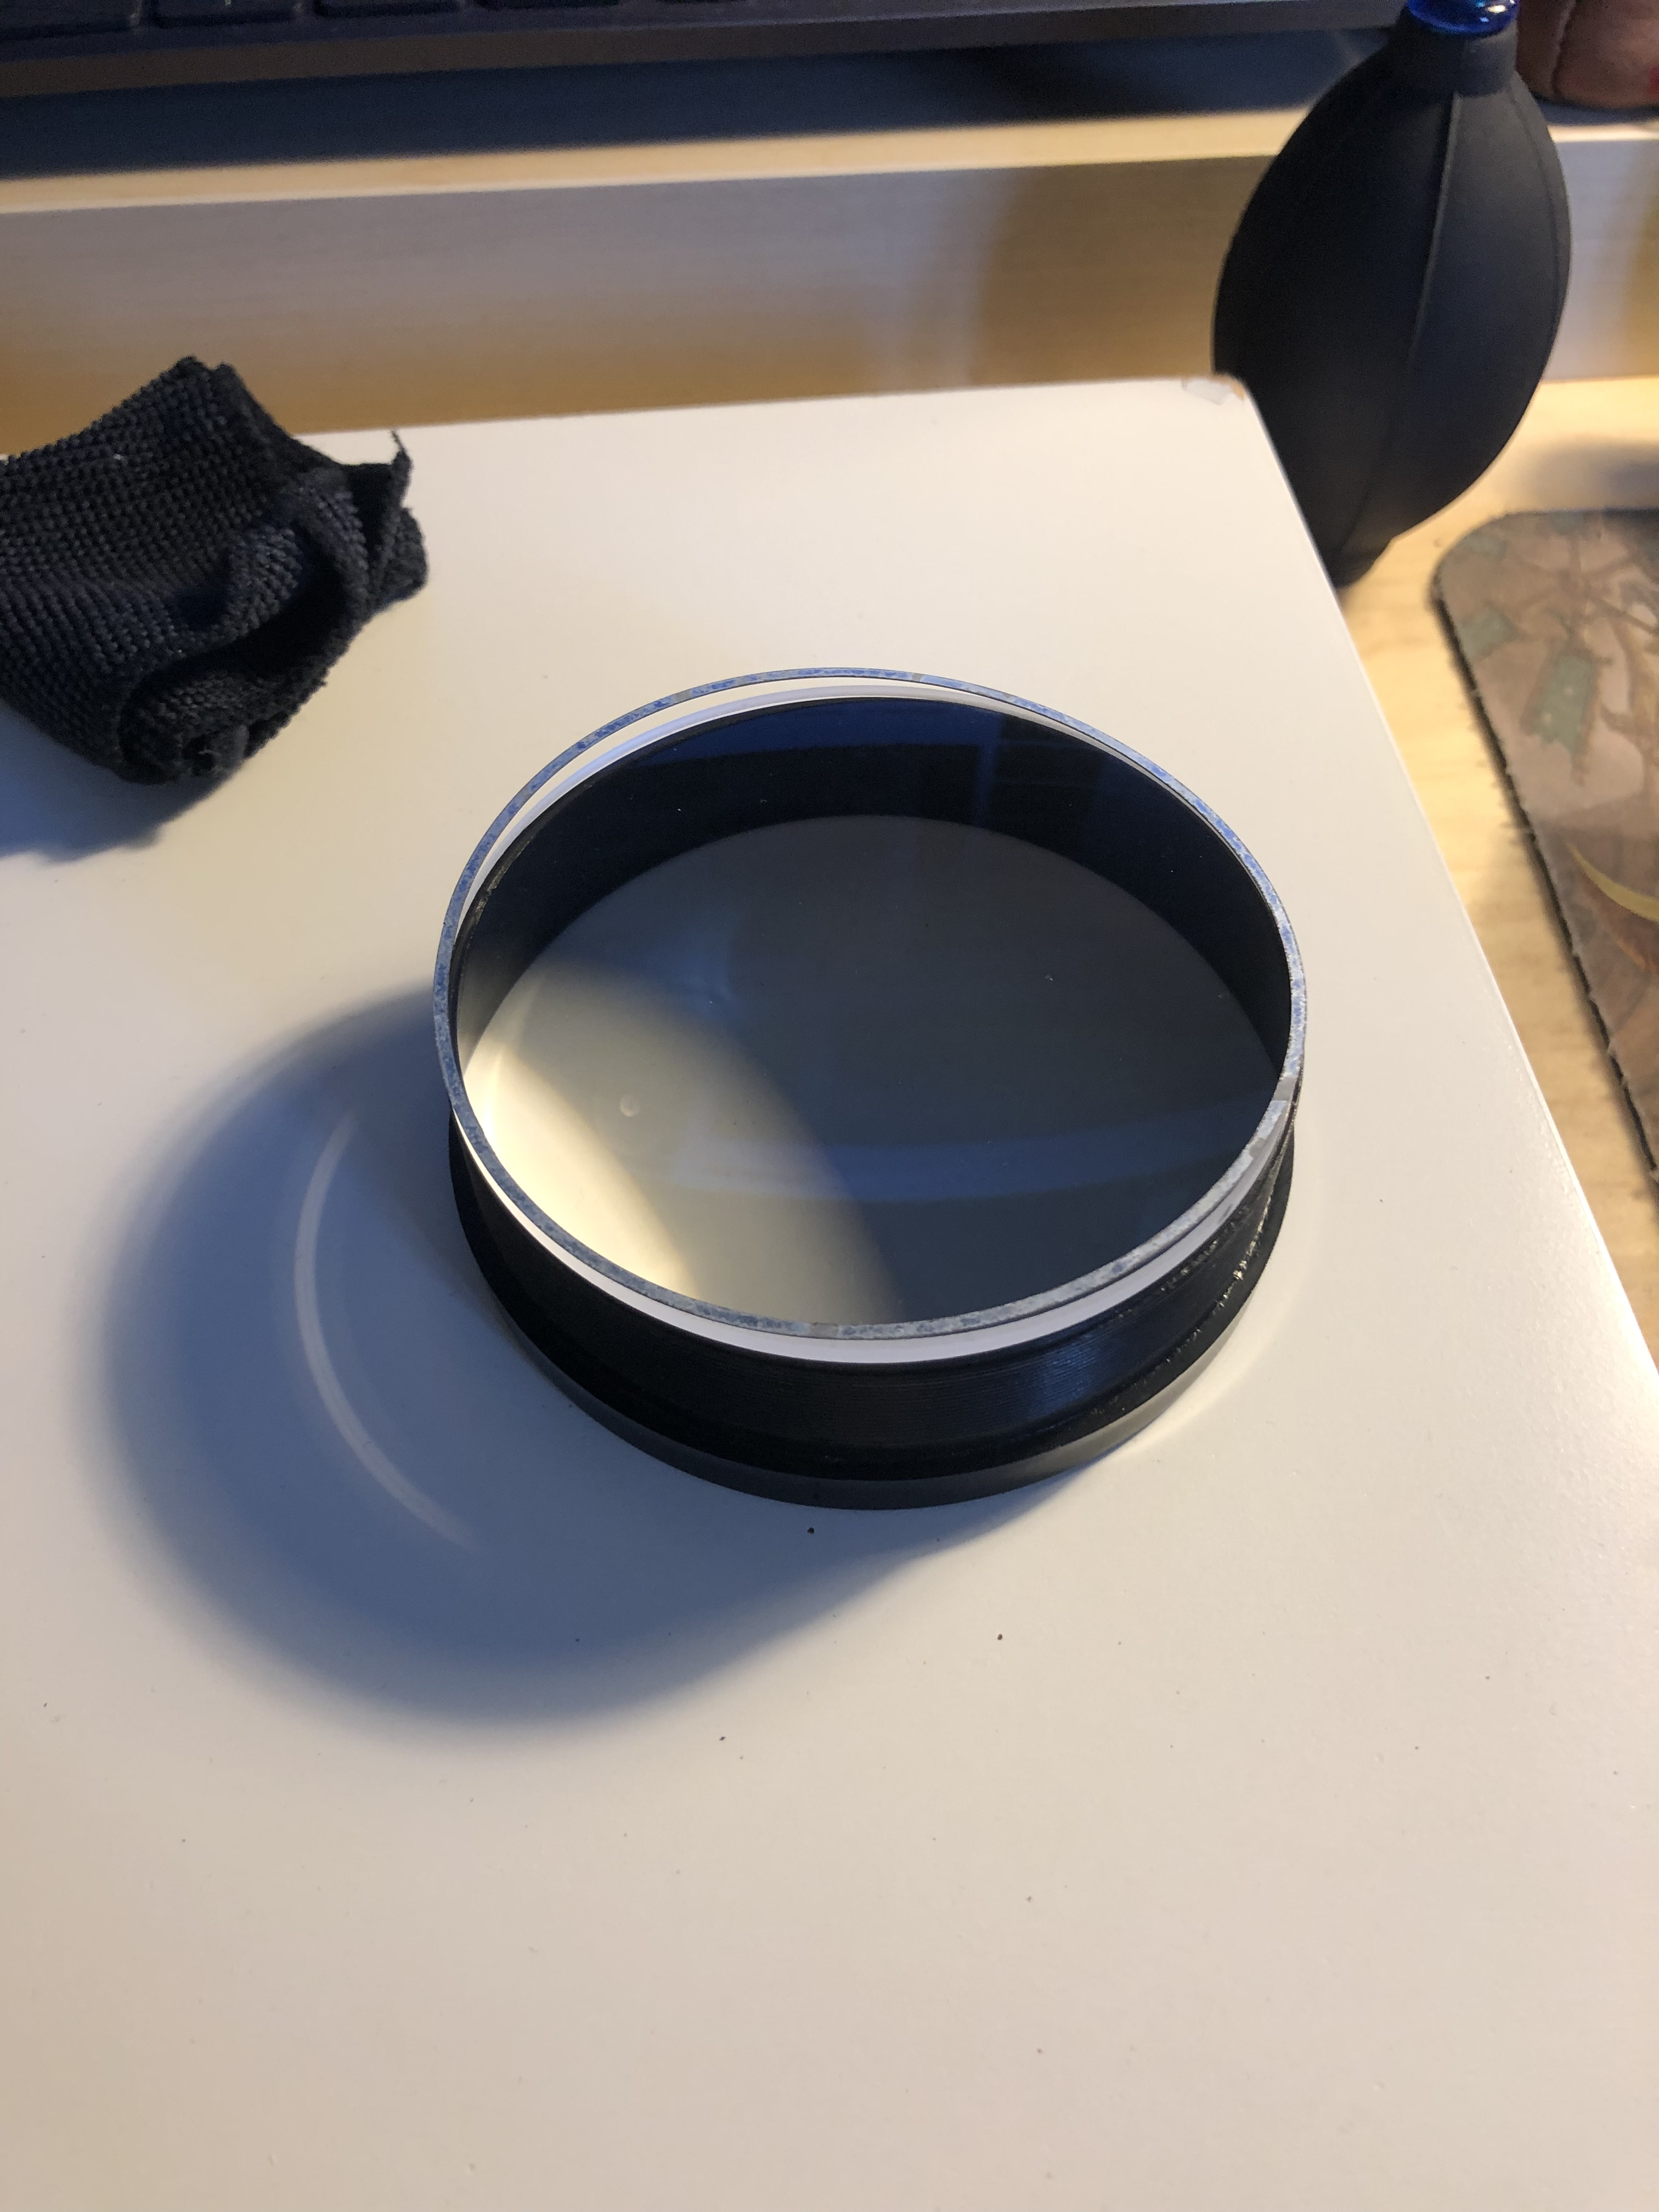
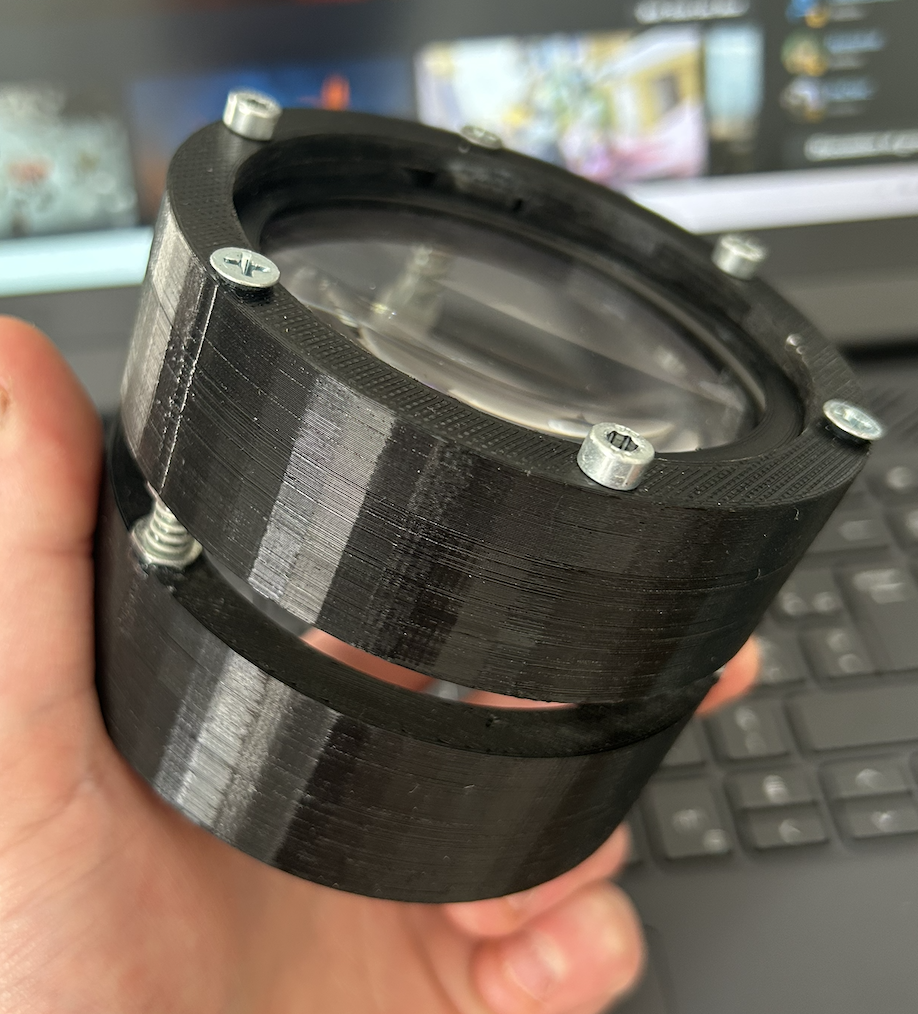
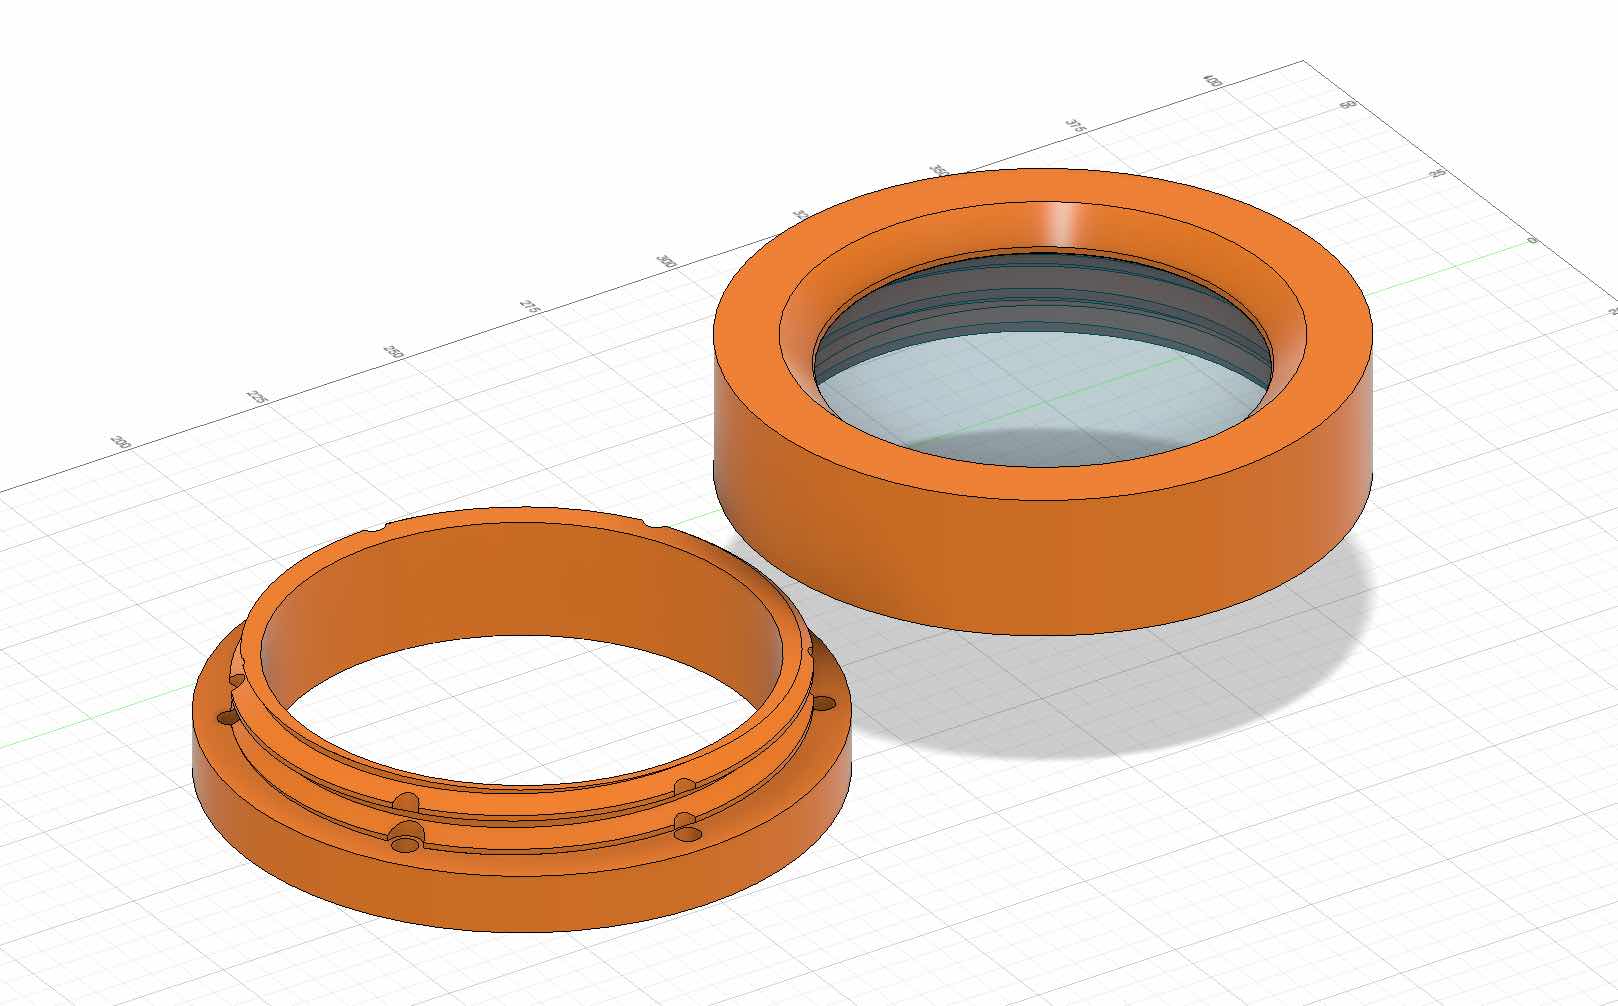
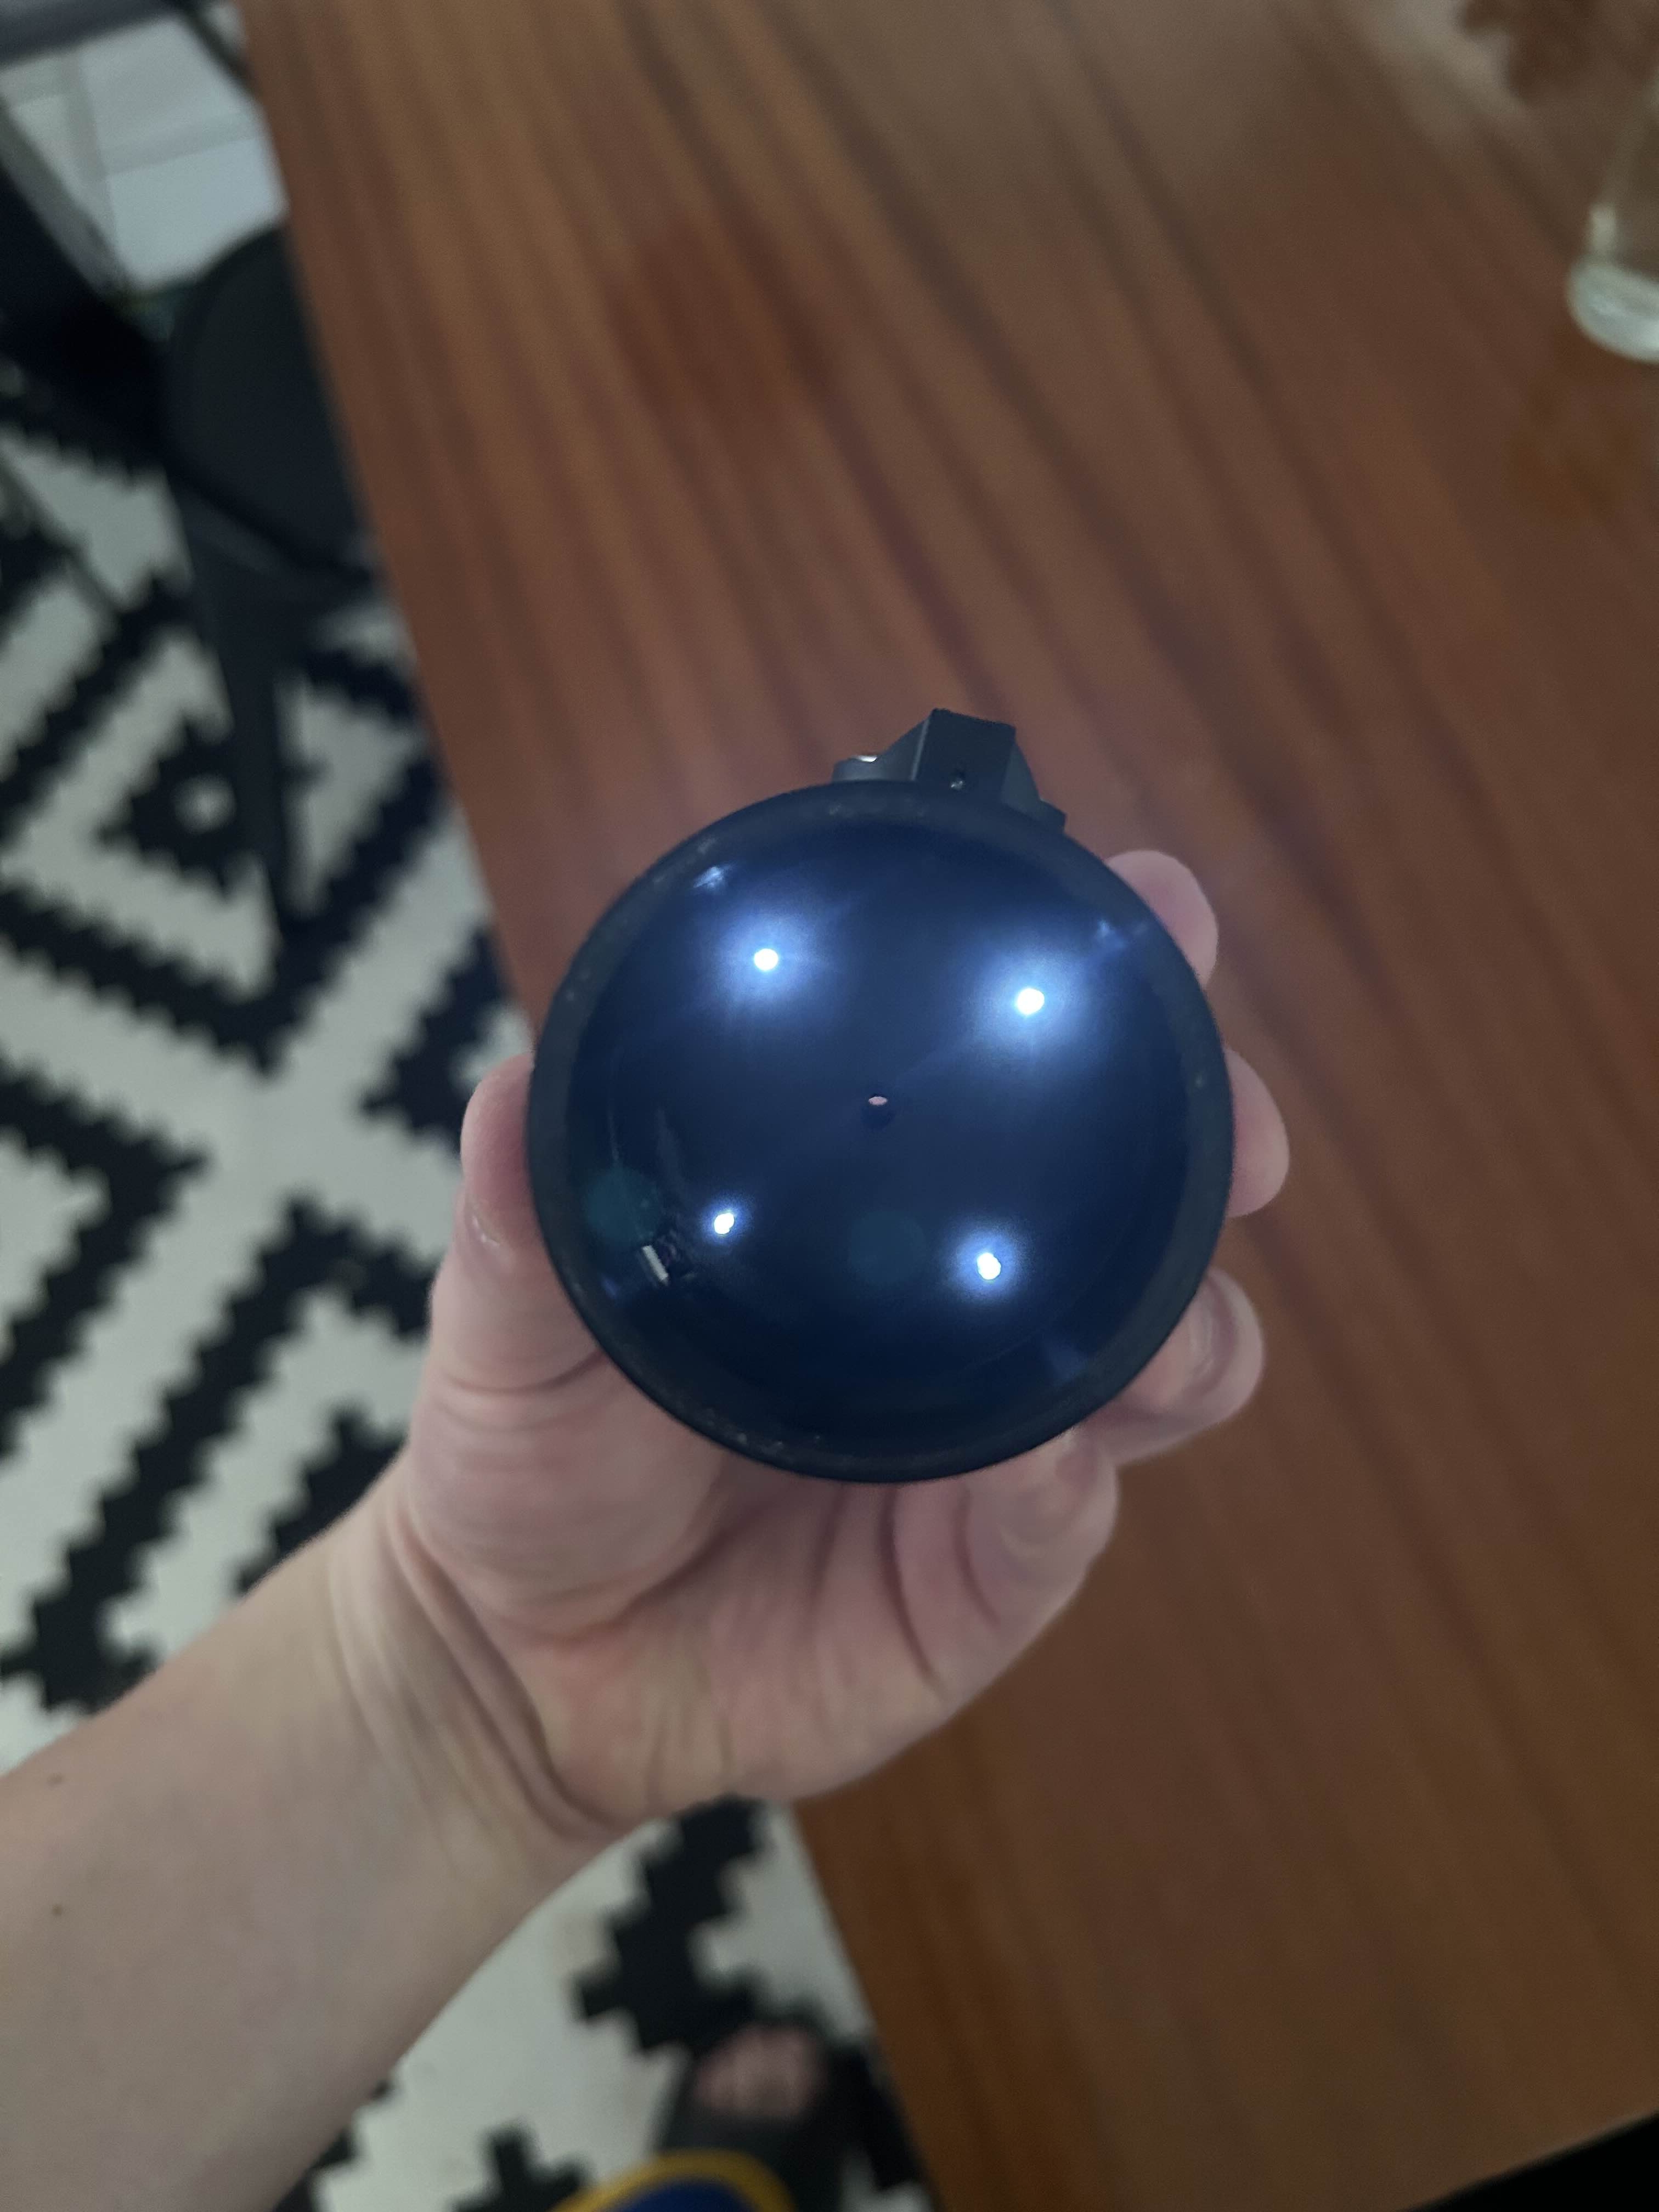
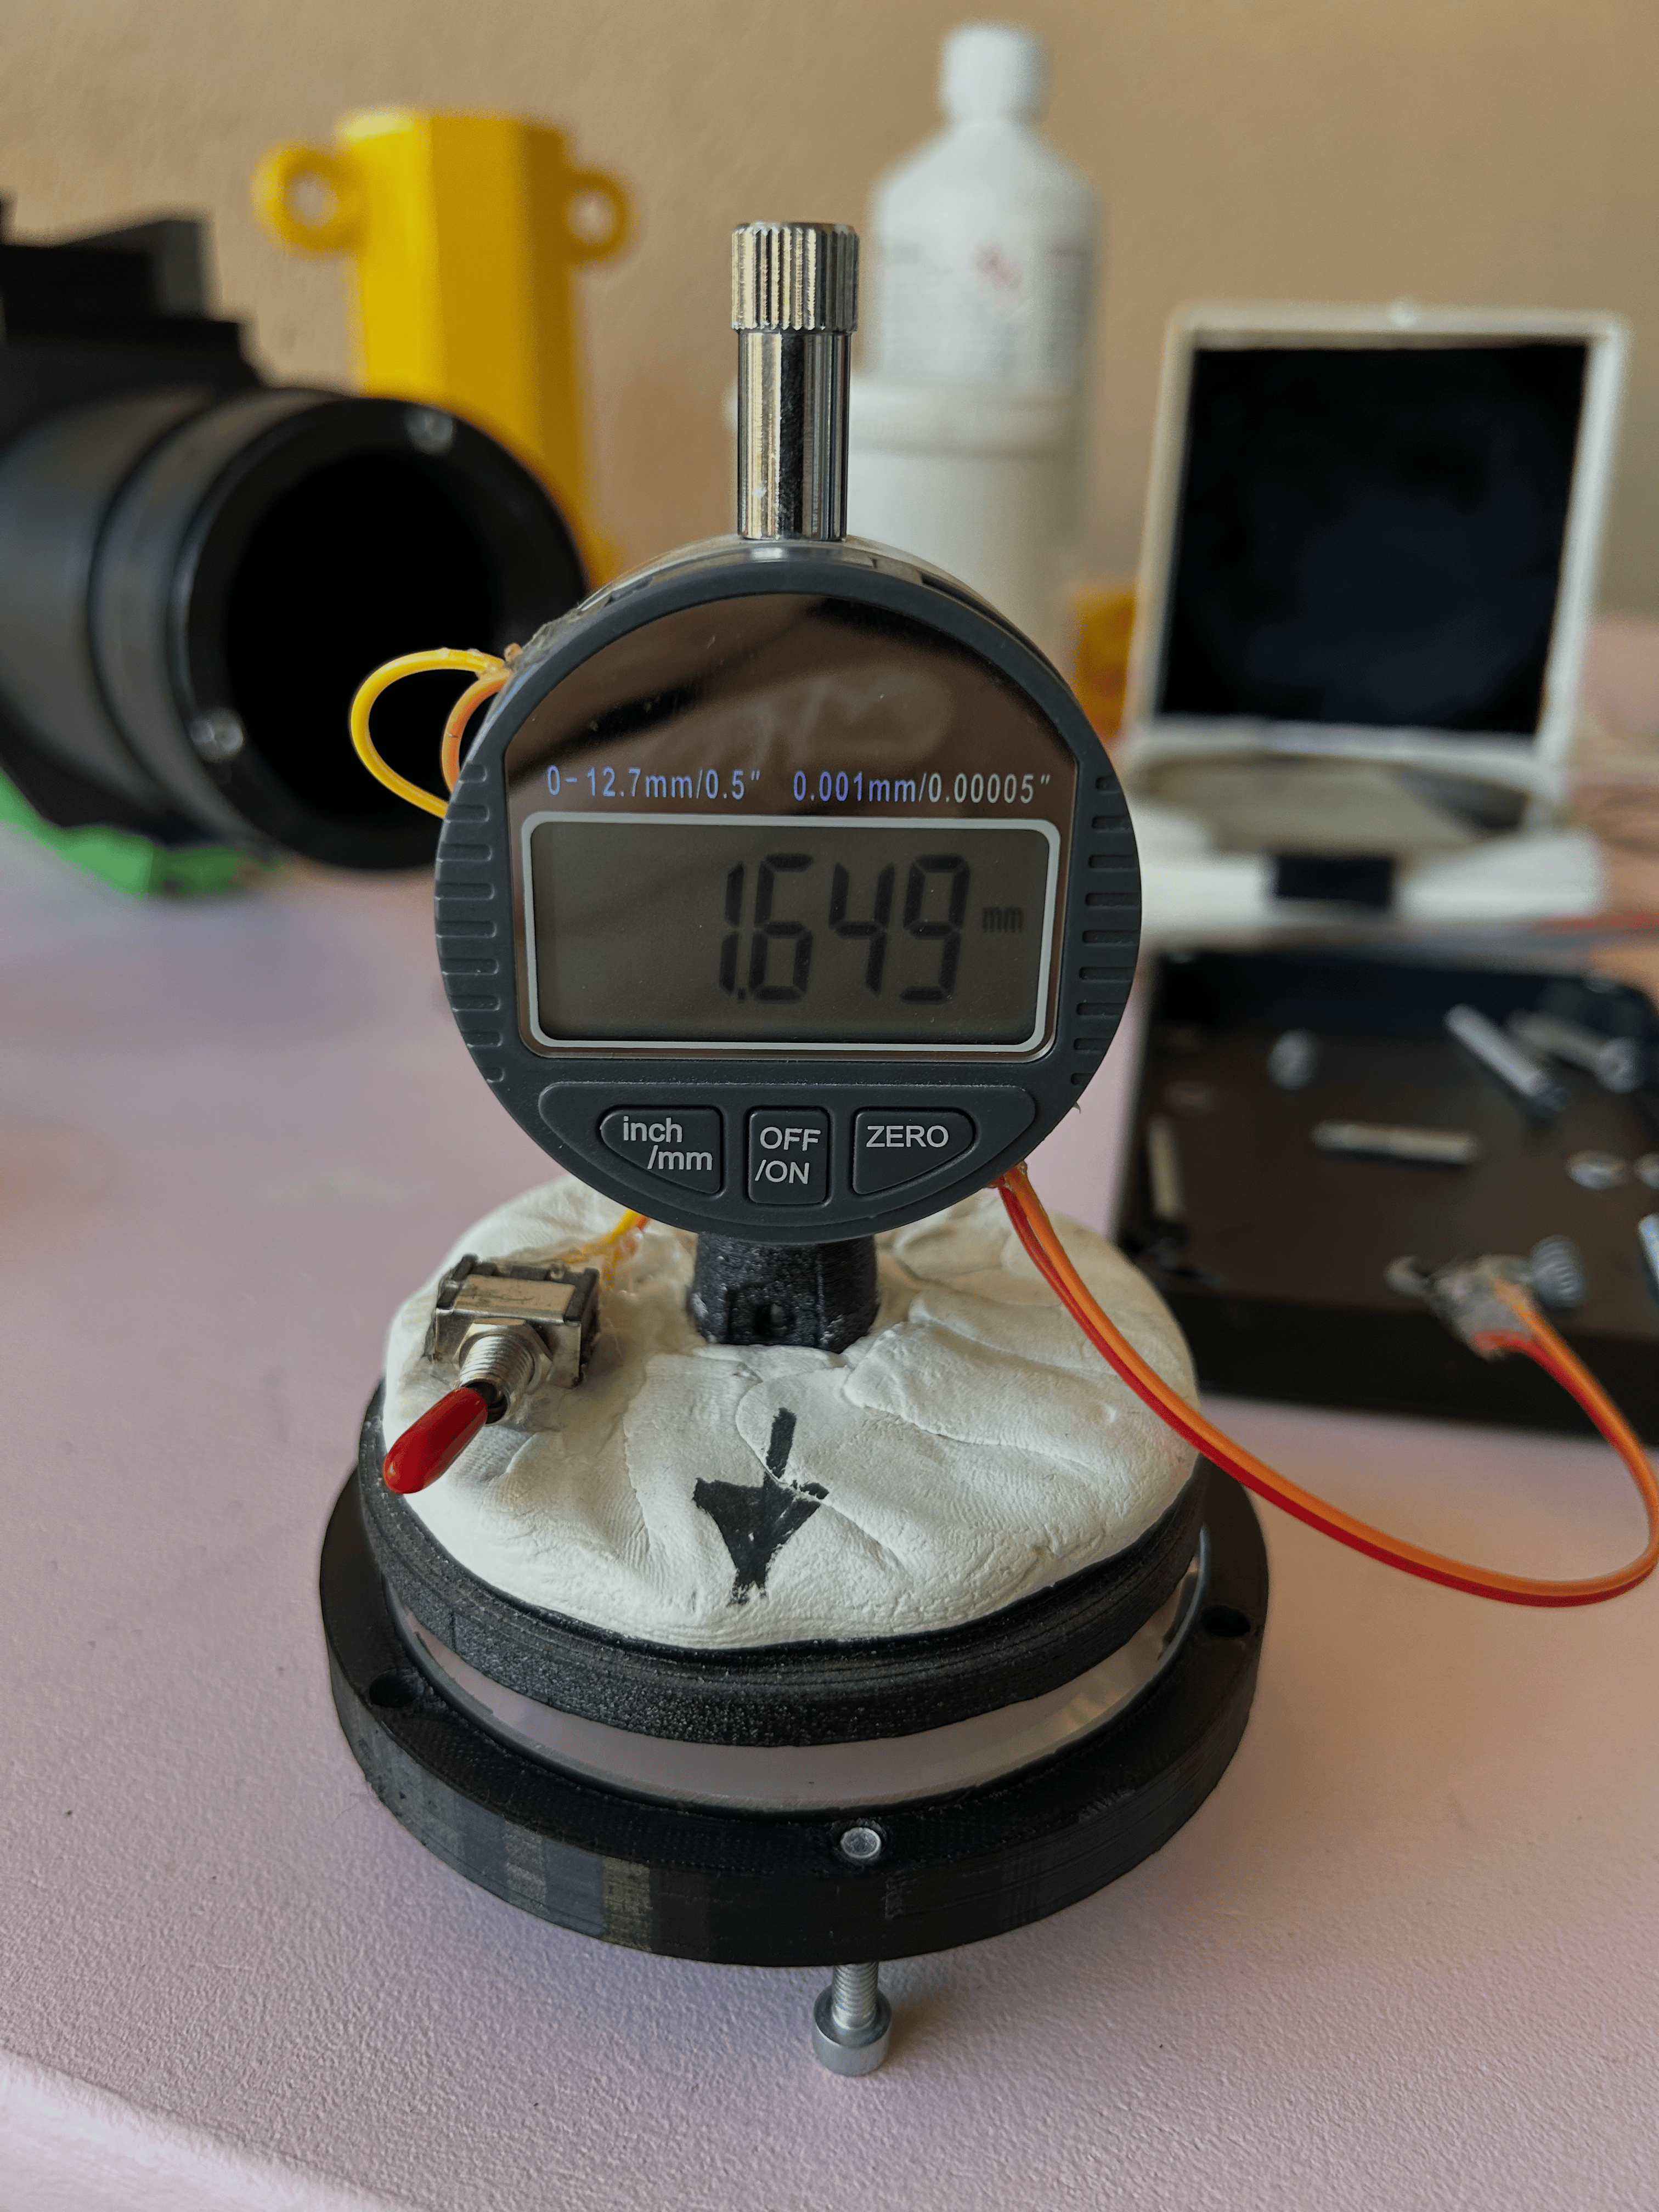
In parallel with the tube construction, I had to tackle the lens cell. This is the support that holds the achromatic doublet. And the objective is the cell plus the lenses. For the first version, I had chosen a very simple system: the doublet was held by three lateral screws. On paper, it was an effective and easy solution to achieve.
But in practice, this setup exerted mechanical stress on the glass, which causes astigmatism. Result: the stars didn’t appear round in the field, but slightly distorted and the image lost sharpness.
This experience showed me how sensitive the lens cell is: even small pressure can be enough to cause problems.
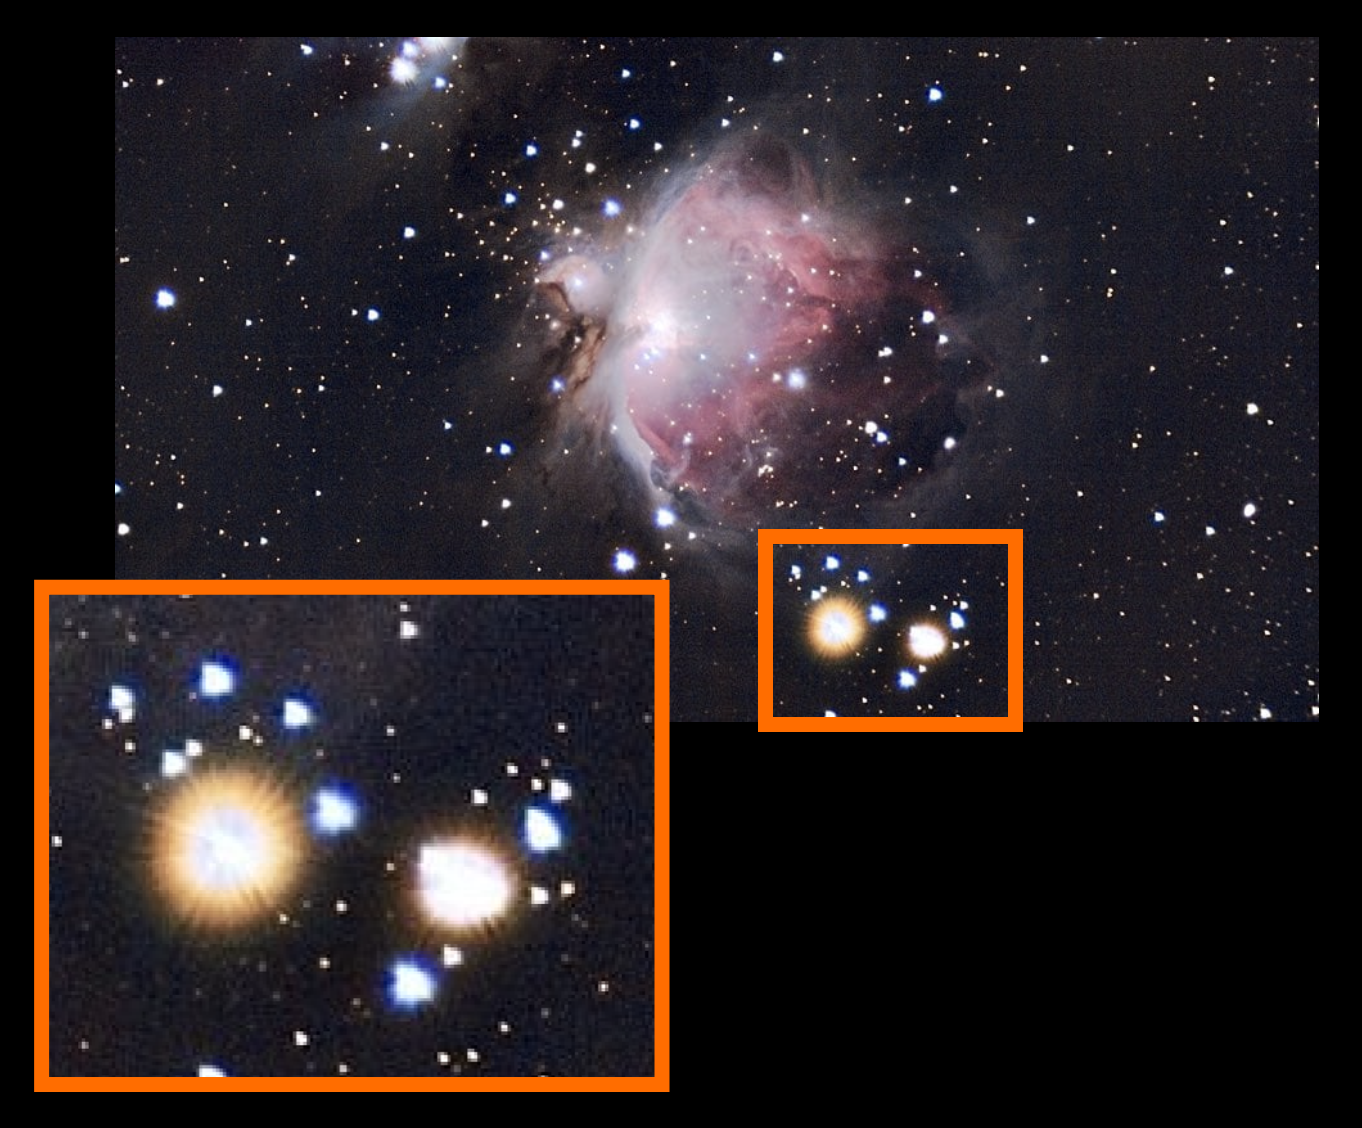
I even took a photo of Orion with this setup: the defect is immediately obvious, the stars no longer had their shape at all.
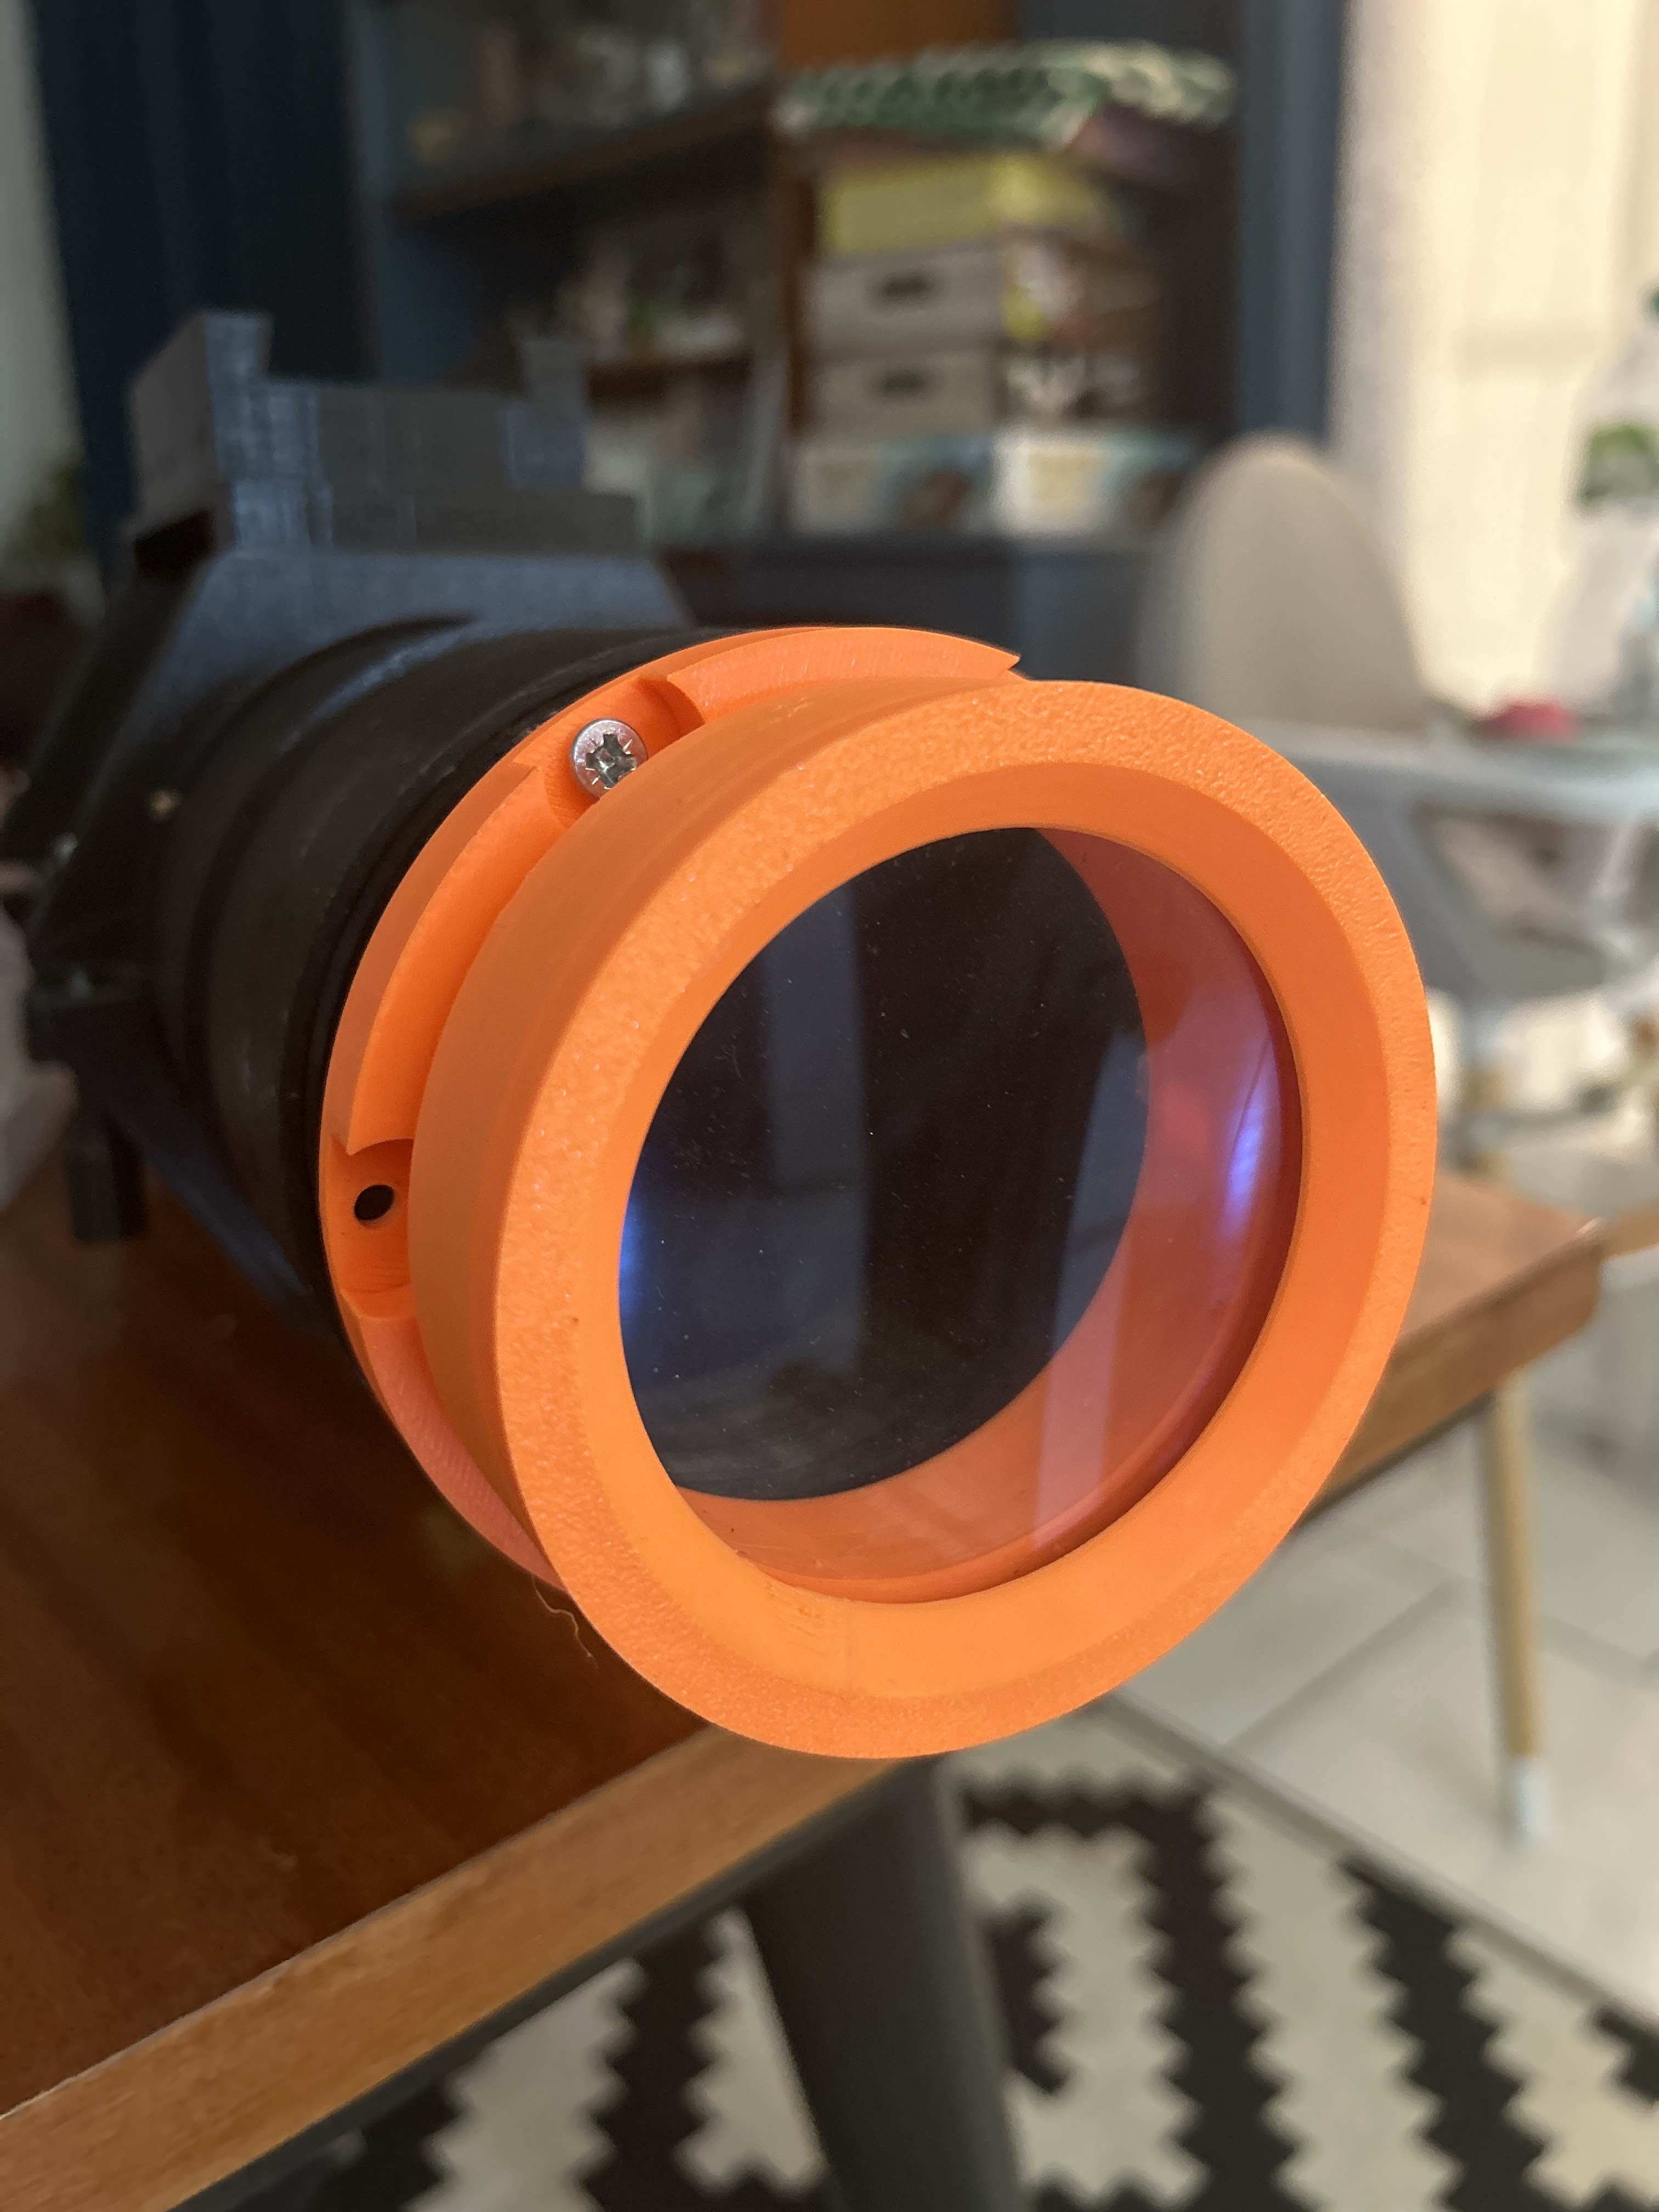
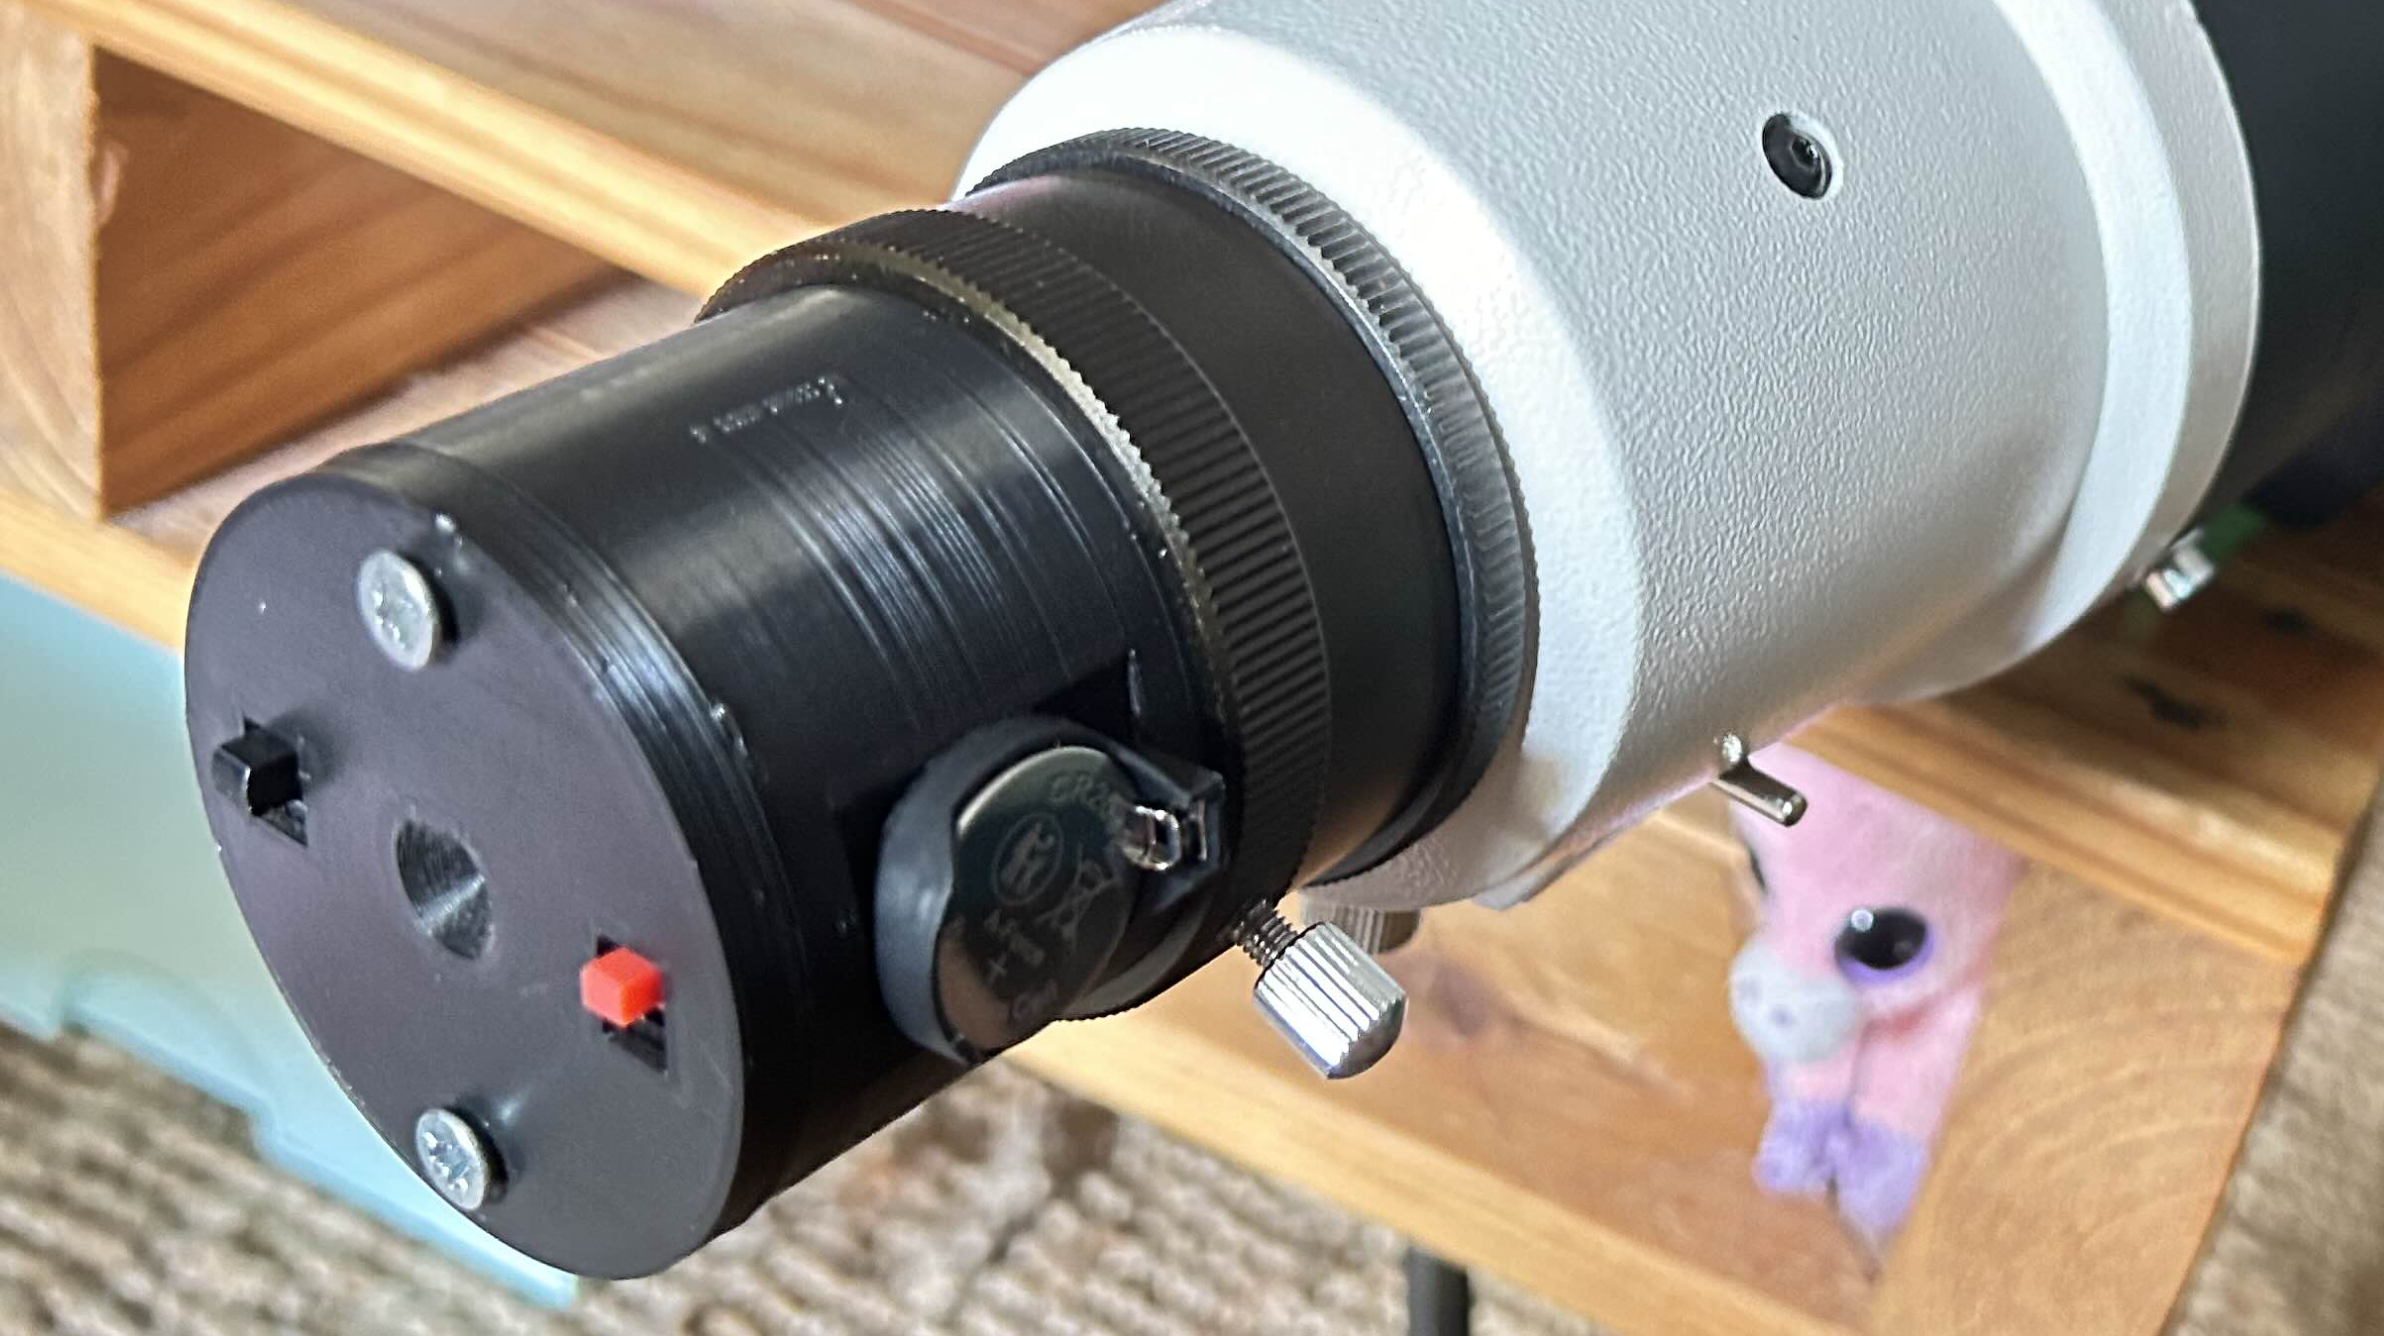
I moved towards a more “standard” cell, equipped with a screw system that holds the doublet without constraining it. This solution proved much more effective: the glass is correctly positioned and free of its expansions, the stars finally regain their roundness, and the whole gains in quality.
Collimation?!
Every optical instrument needs to be collimated!
As you can see in the cell photos, there are three additional spring-mounted screws, which allow for objective collimation. This system works very well and has proven useful for precisely adjusting alignment.
I designed a small tool: a 3D printed collimator very similar to the TSRCKOLLI collimator.
The tests!
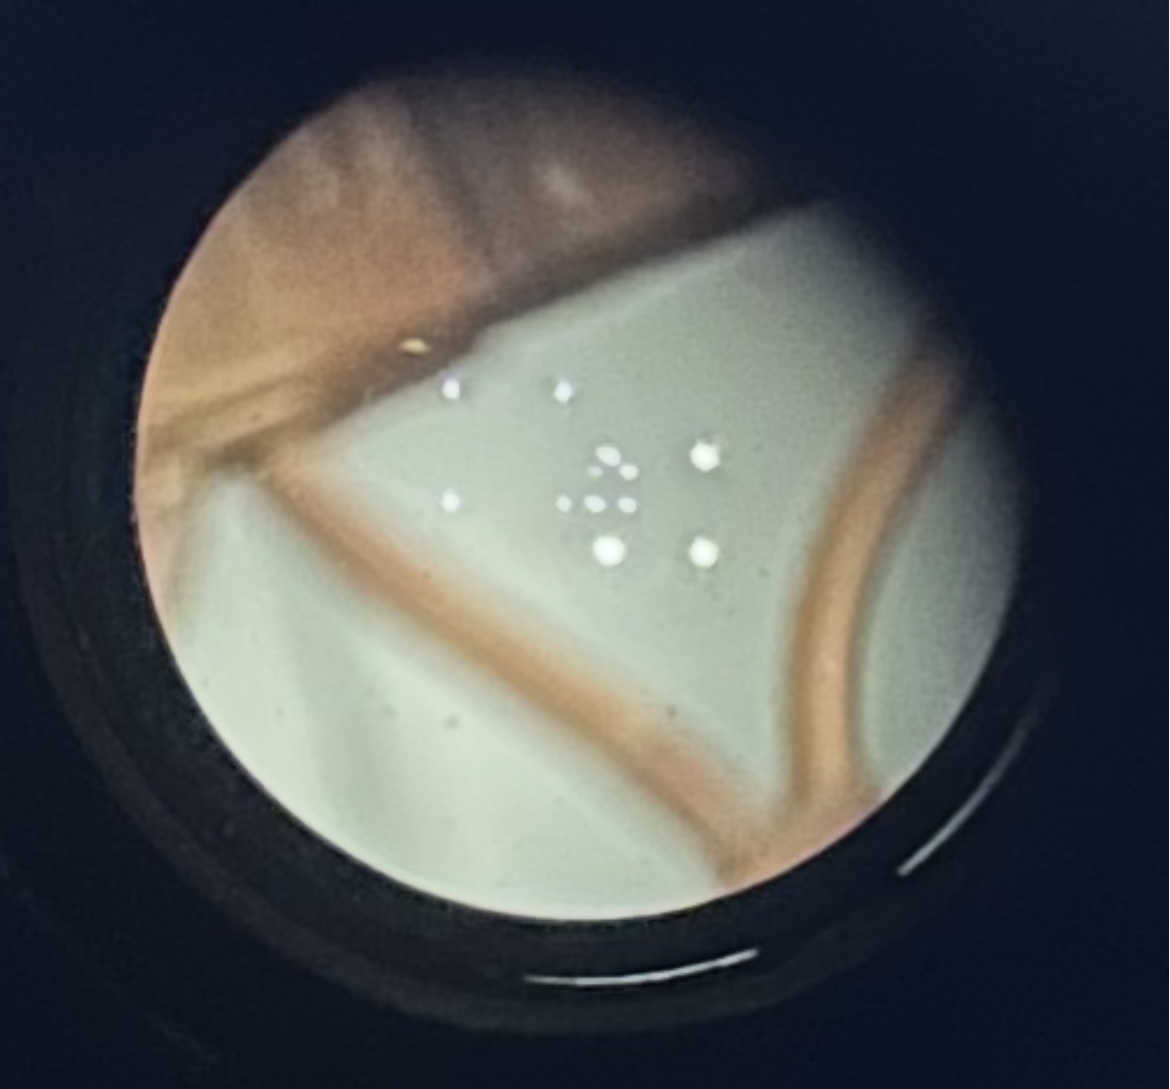
I took some test photos… The stars are finally “round” but still not point-like.
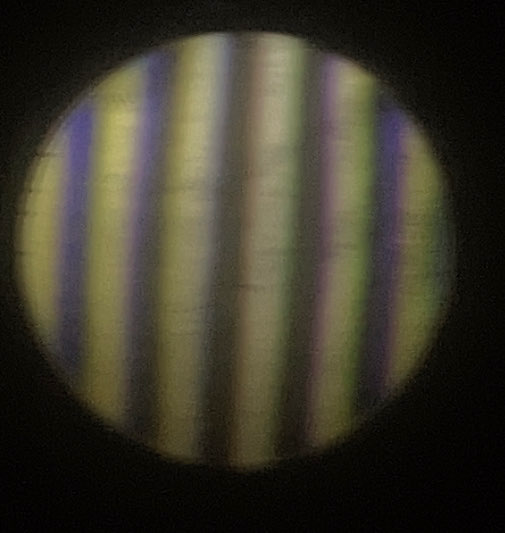
ChantePierre offered to do a Ronchi test on the telescope to get an idea of the optical quality of the doublet and what could be improved…
 Without the diaphragm:
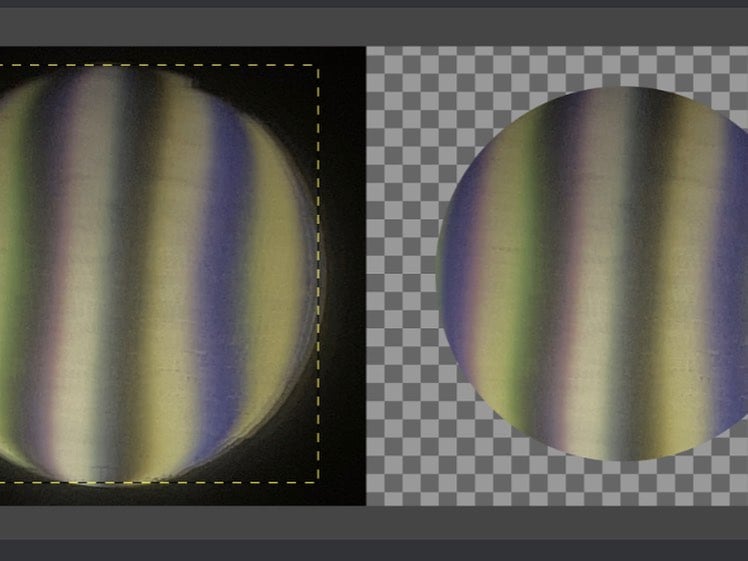 Without diaphragm and with burst colors:
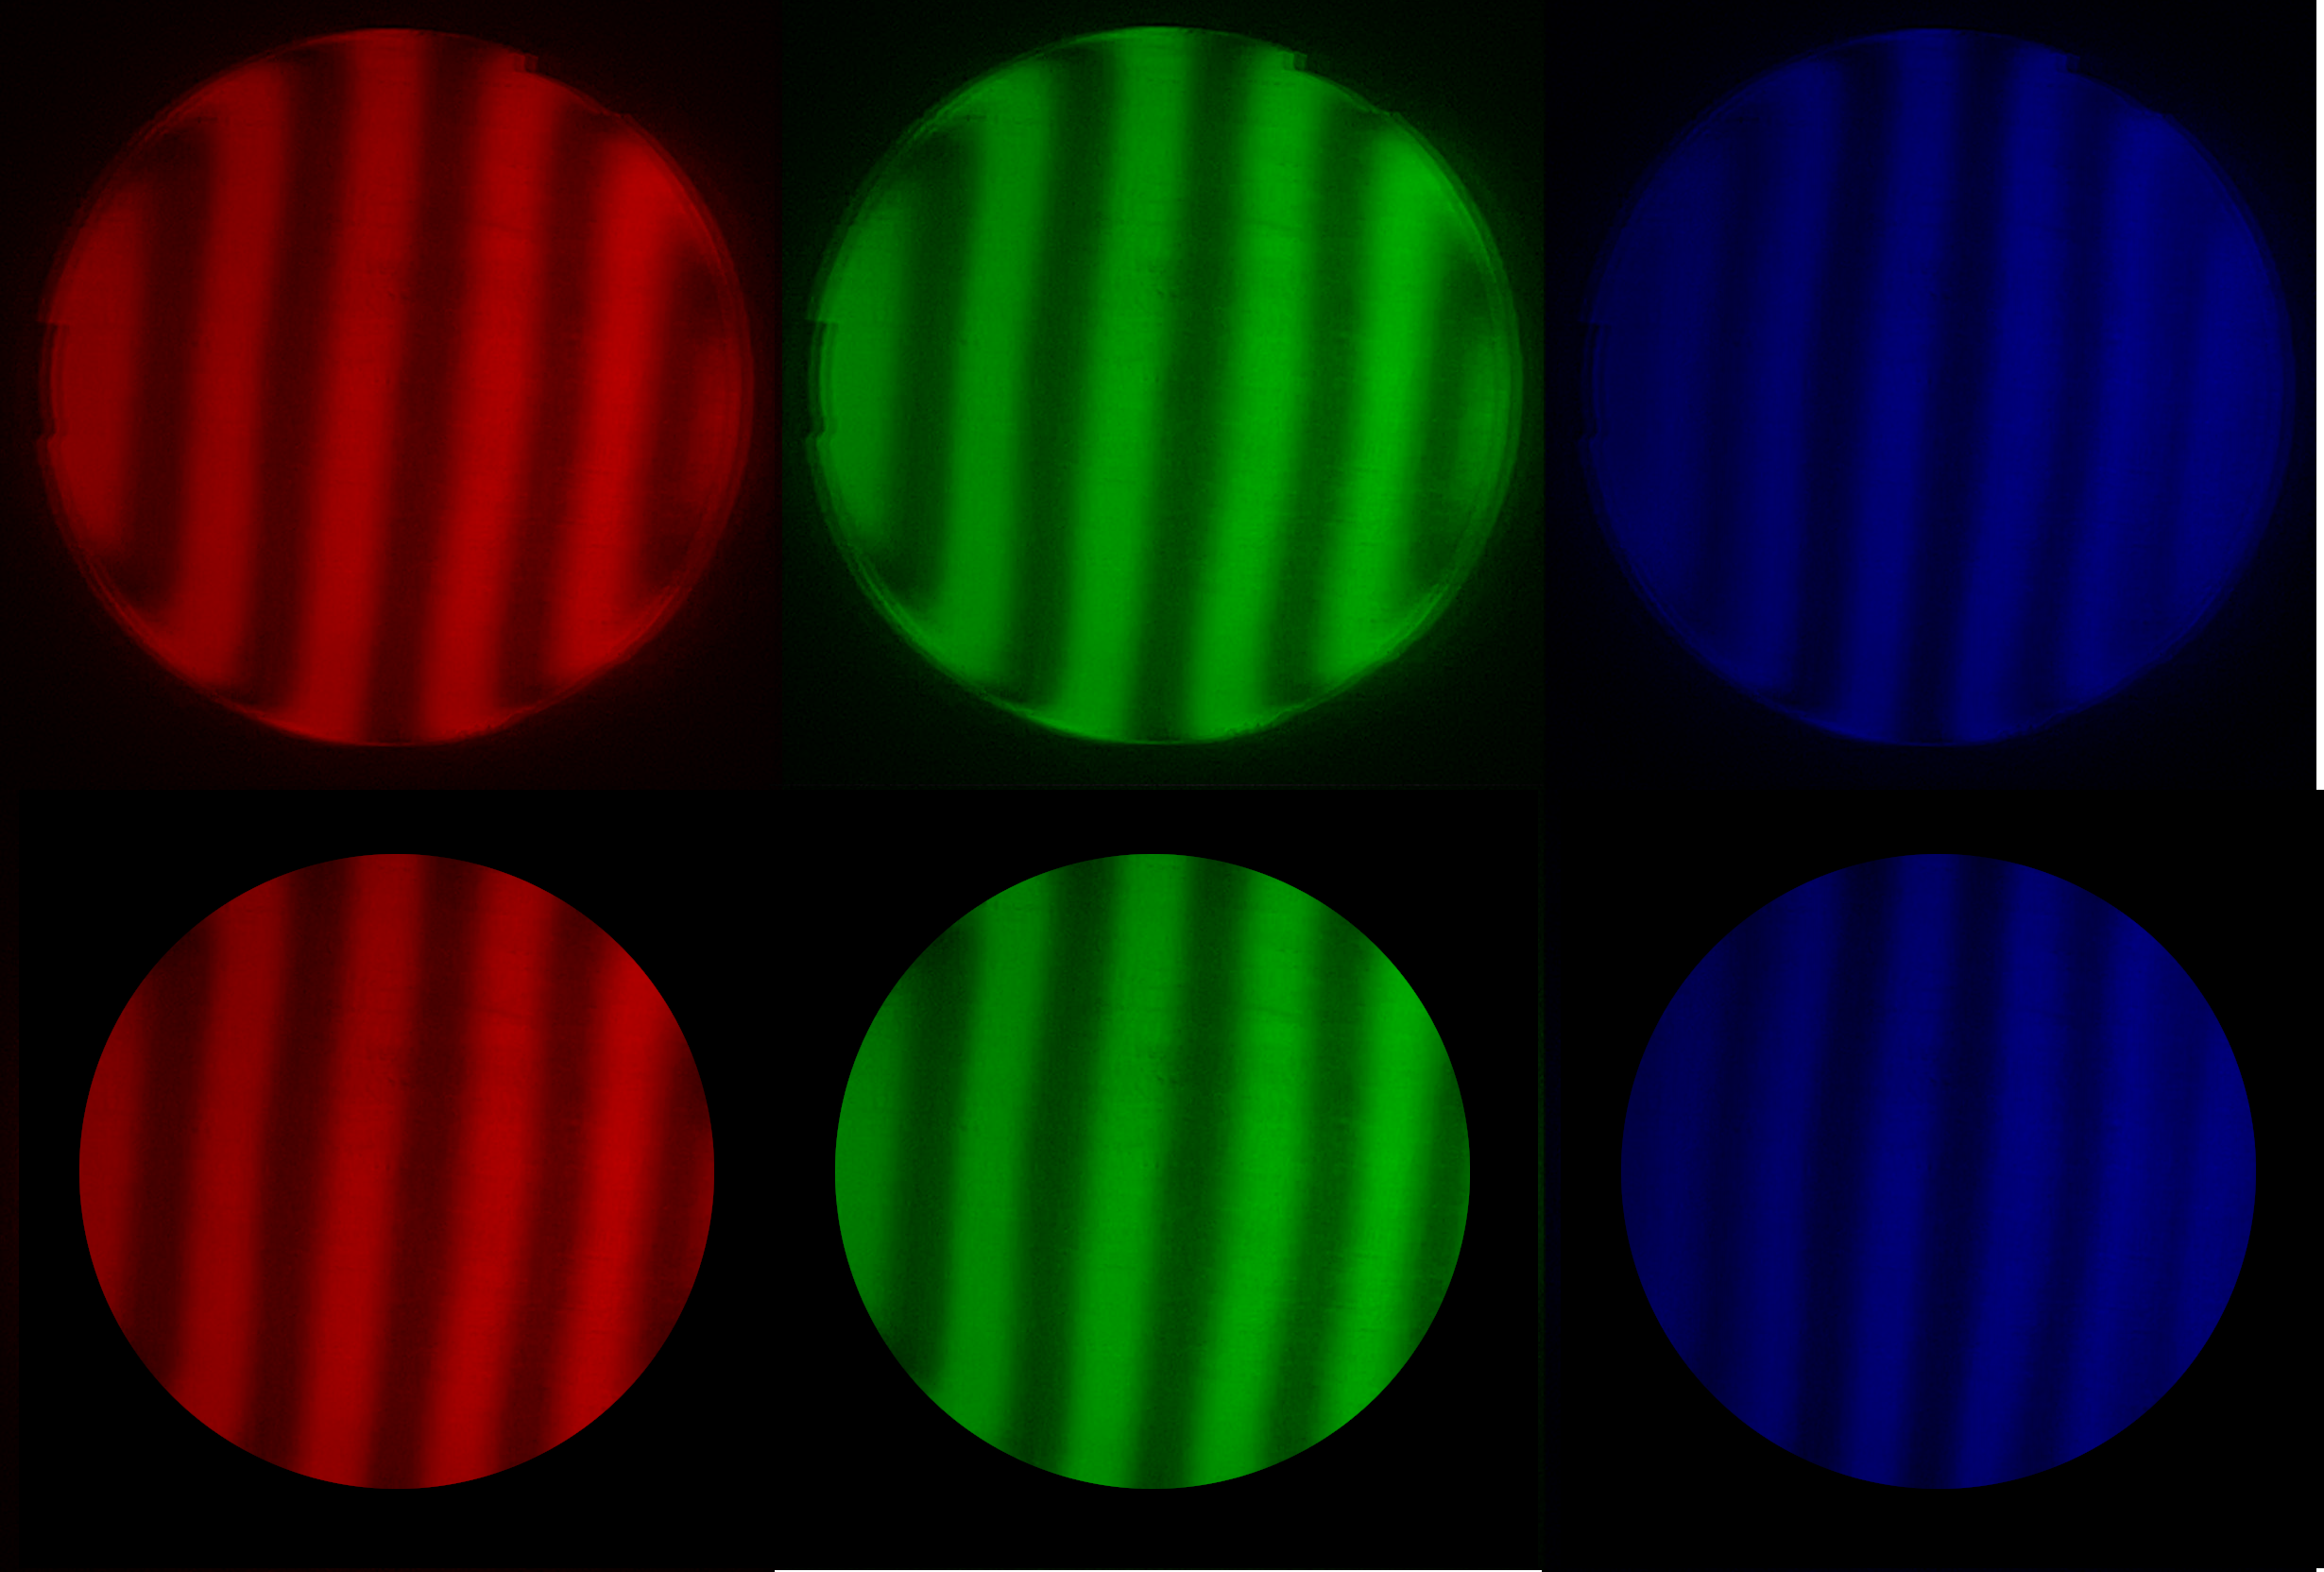 With the diaphragm:
And a filter?
It emerges that it is necessary to reduce the blue caused by the objective’s chromatic aberration as much as possible. It is also interesting to use a 70mm diaphragm, which limits optical defects, while adding internal baffles to avoid stray light and improve image contrast.
To verify the effectiveness of a blue filter, I decided to do a test with the equipment I had on hand. I used an old yellow photo filter. The idea is to block part of the blue spectrum to improve image sharpness and contrast.
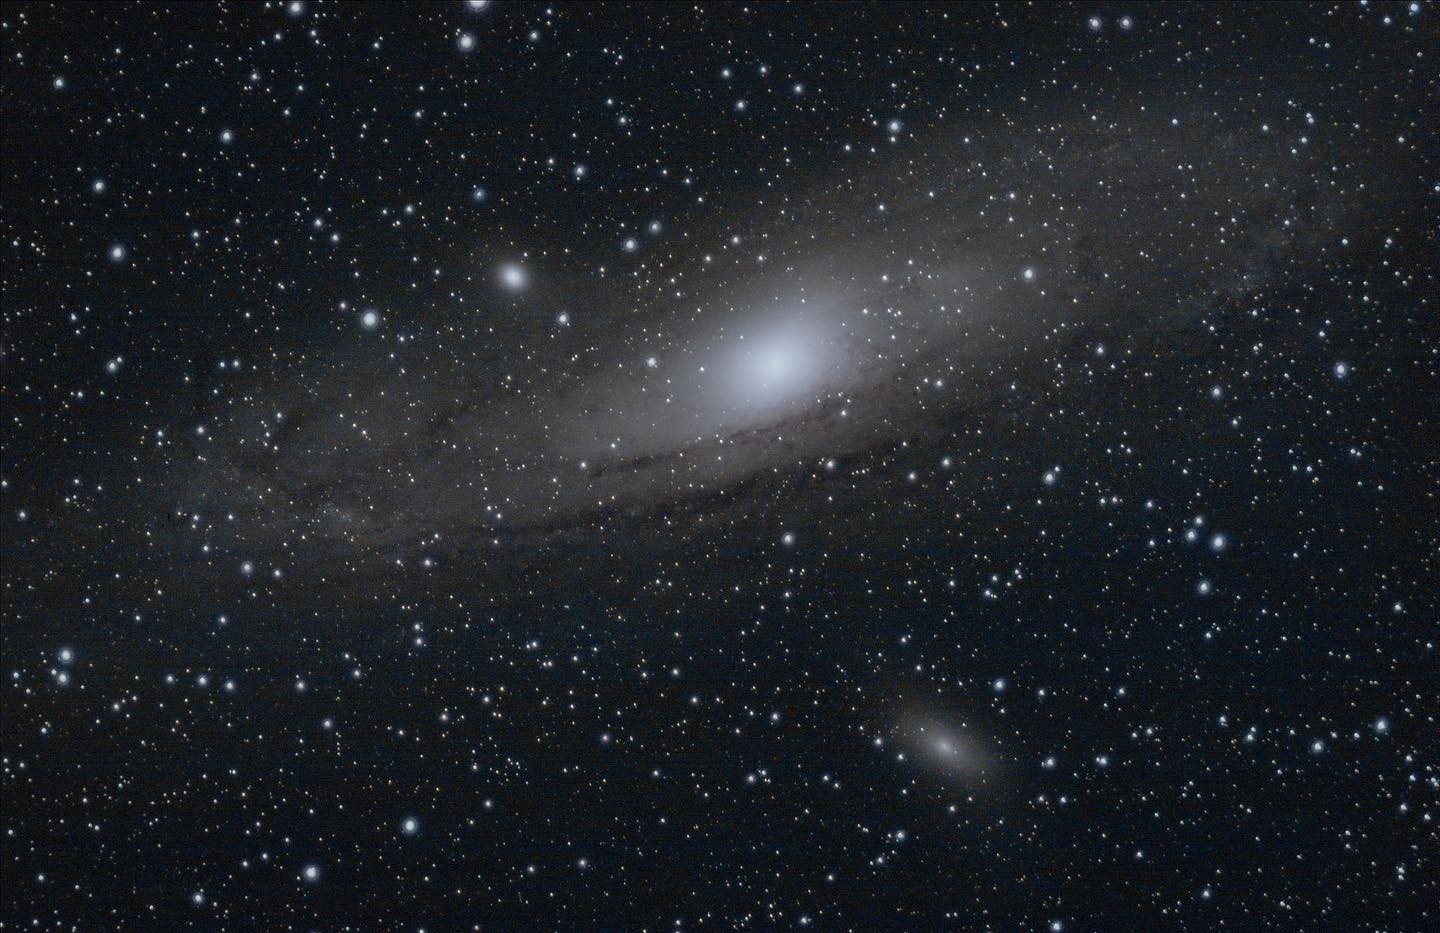
The result speaks for itself: I photographed the Andromeda galaxy (M31) with and without the filter. On the image without filter, you can clearly see the galaxy but the blue halo and loss of sharpness limit the quality. With the yellow filter however, the details stand out better, the sky background is cleaner and the whole gains in sharpness.
This comparison confirmed my belief that an appropriate filter, such as those designed to reduce chromatic aberration (for example a fringe-killer or semi-apo), could really improve the visual and photographic rendering of this homemade telescope.
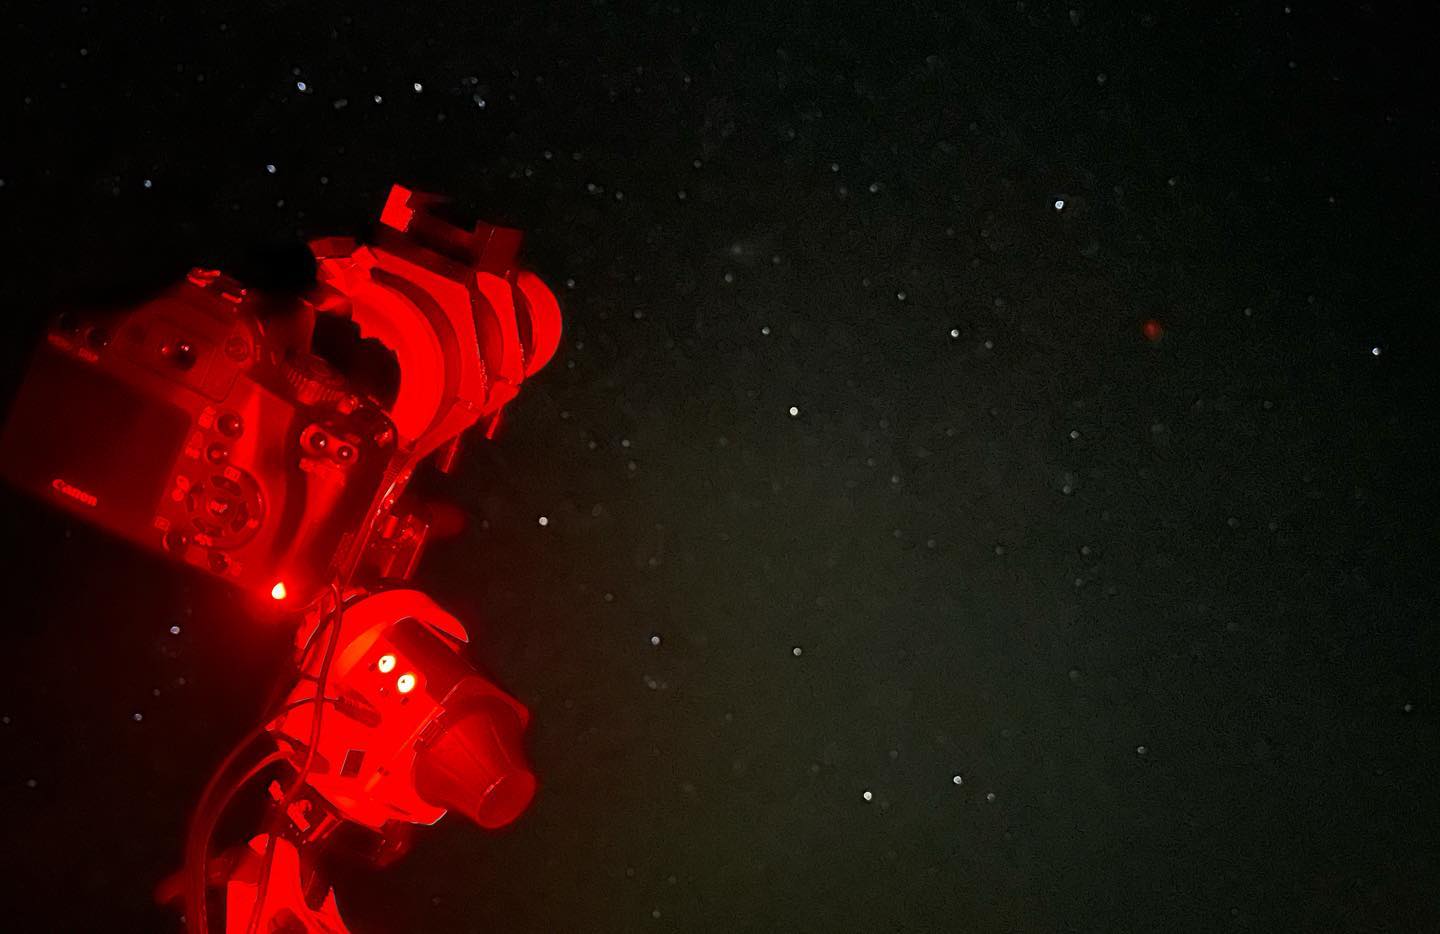 Image without yellow filter:
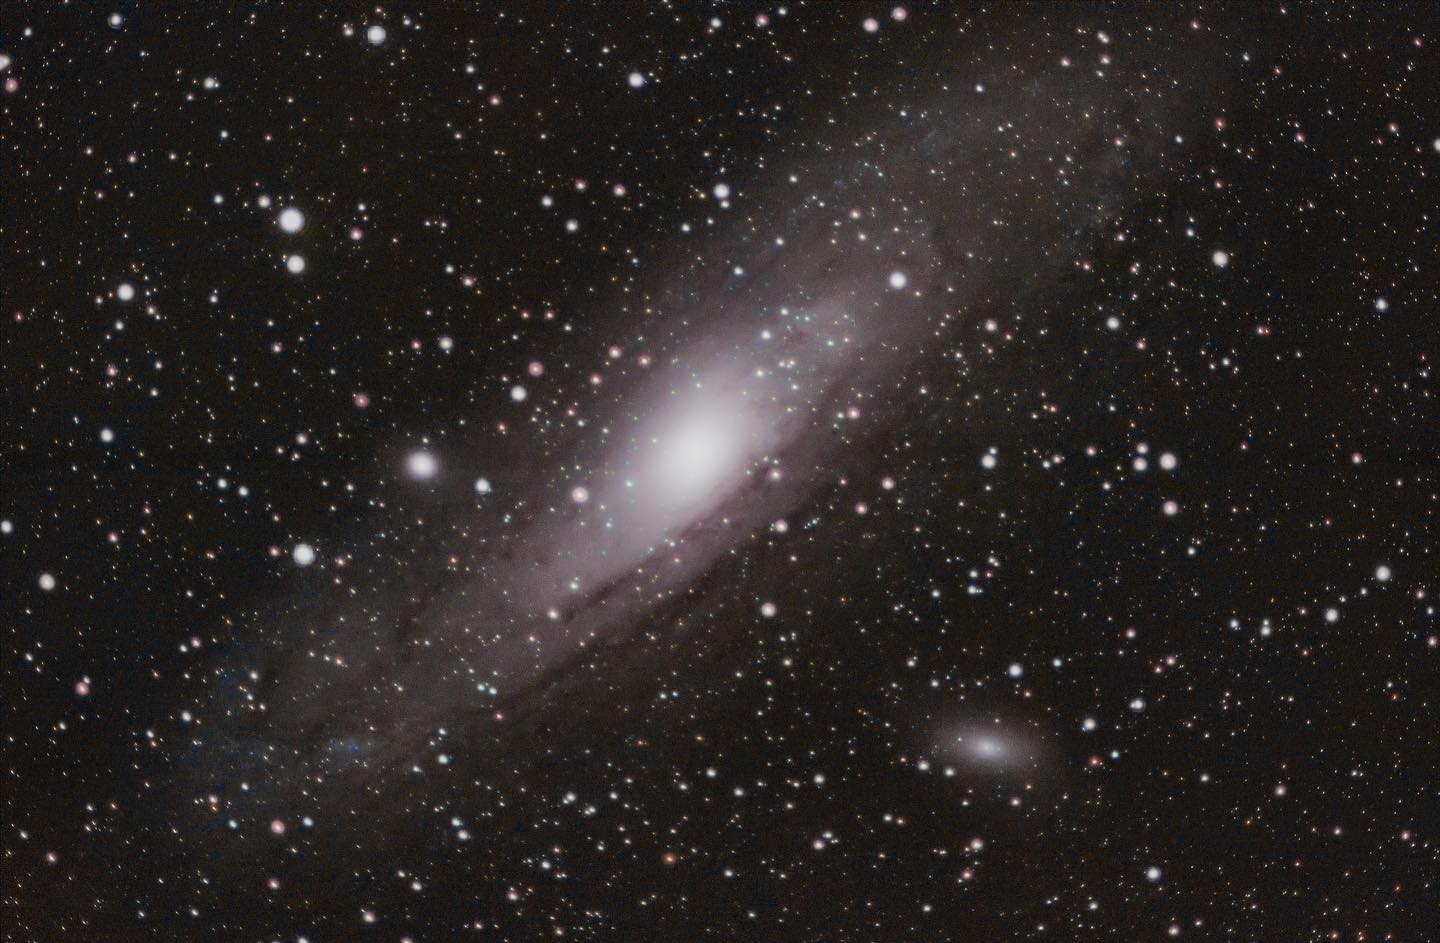 Image with yellow filter:
Results!
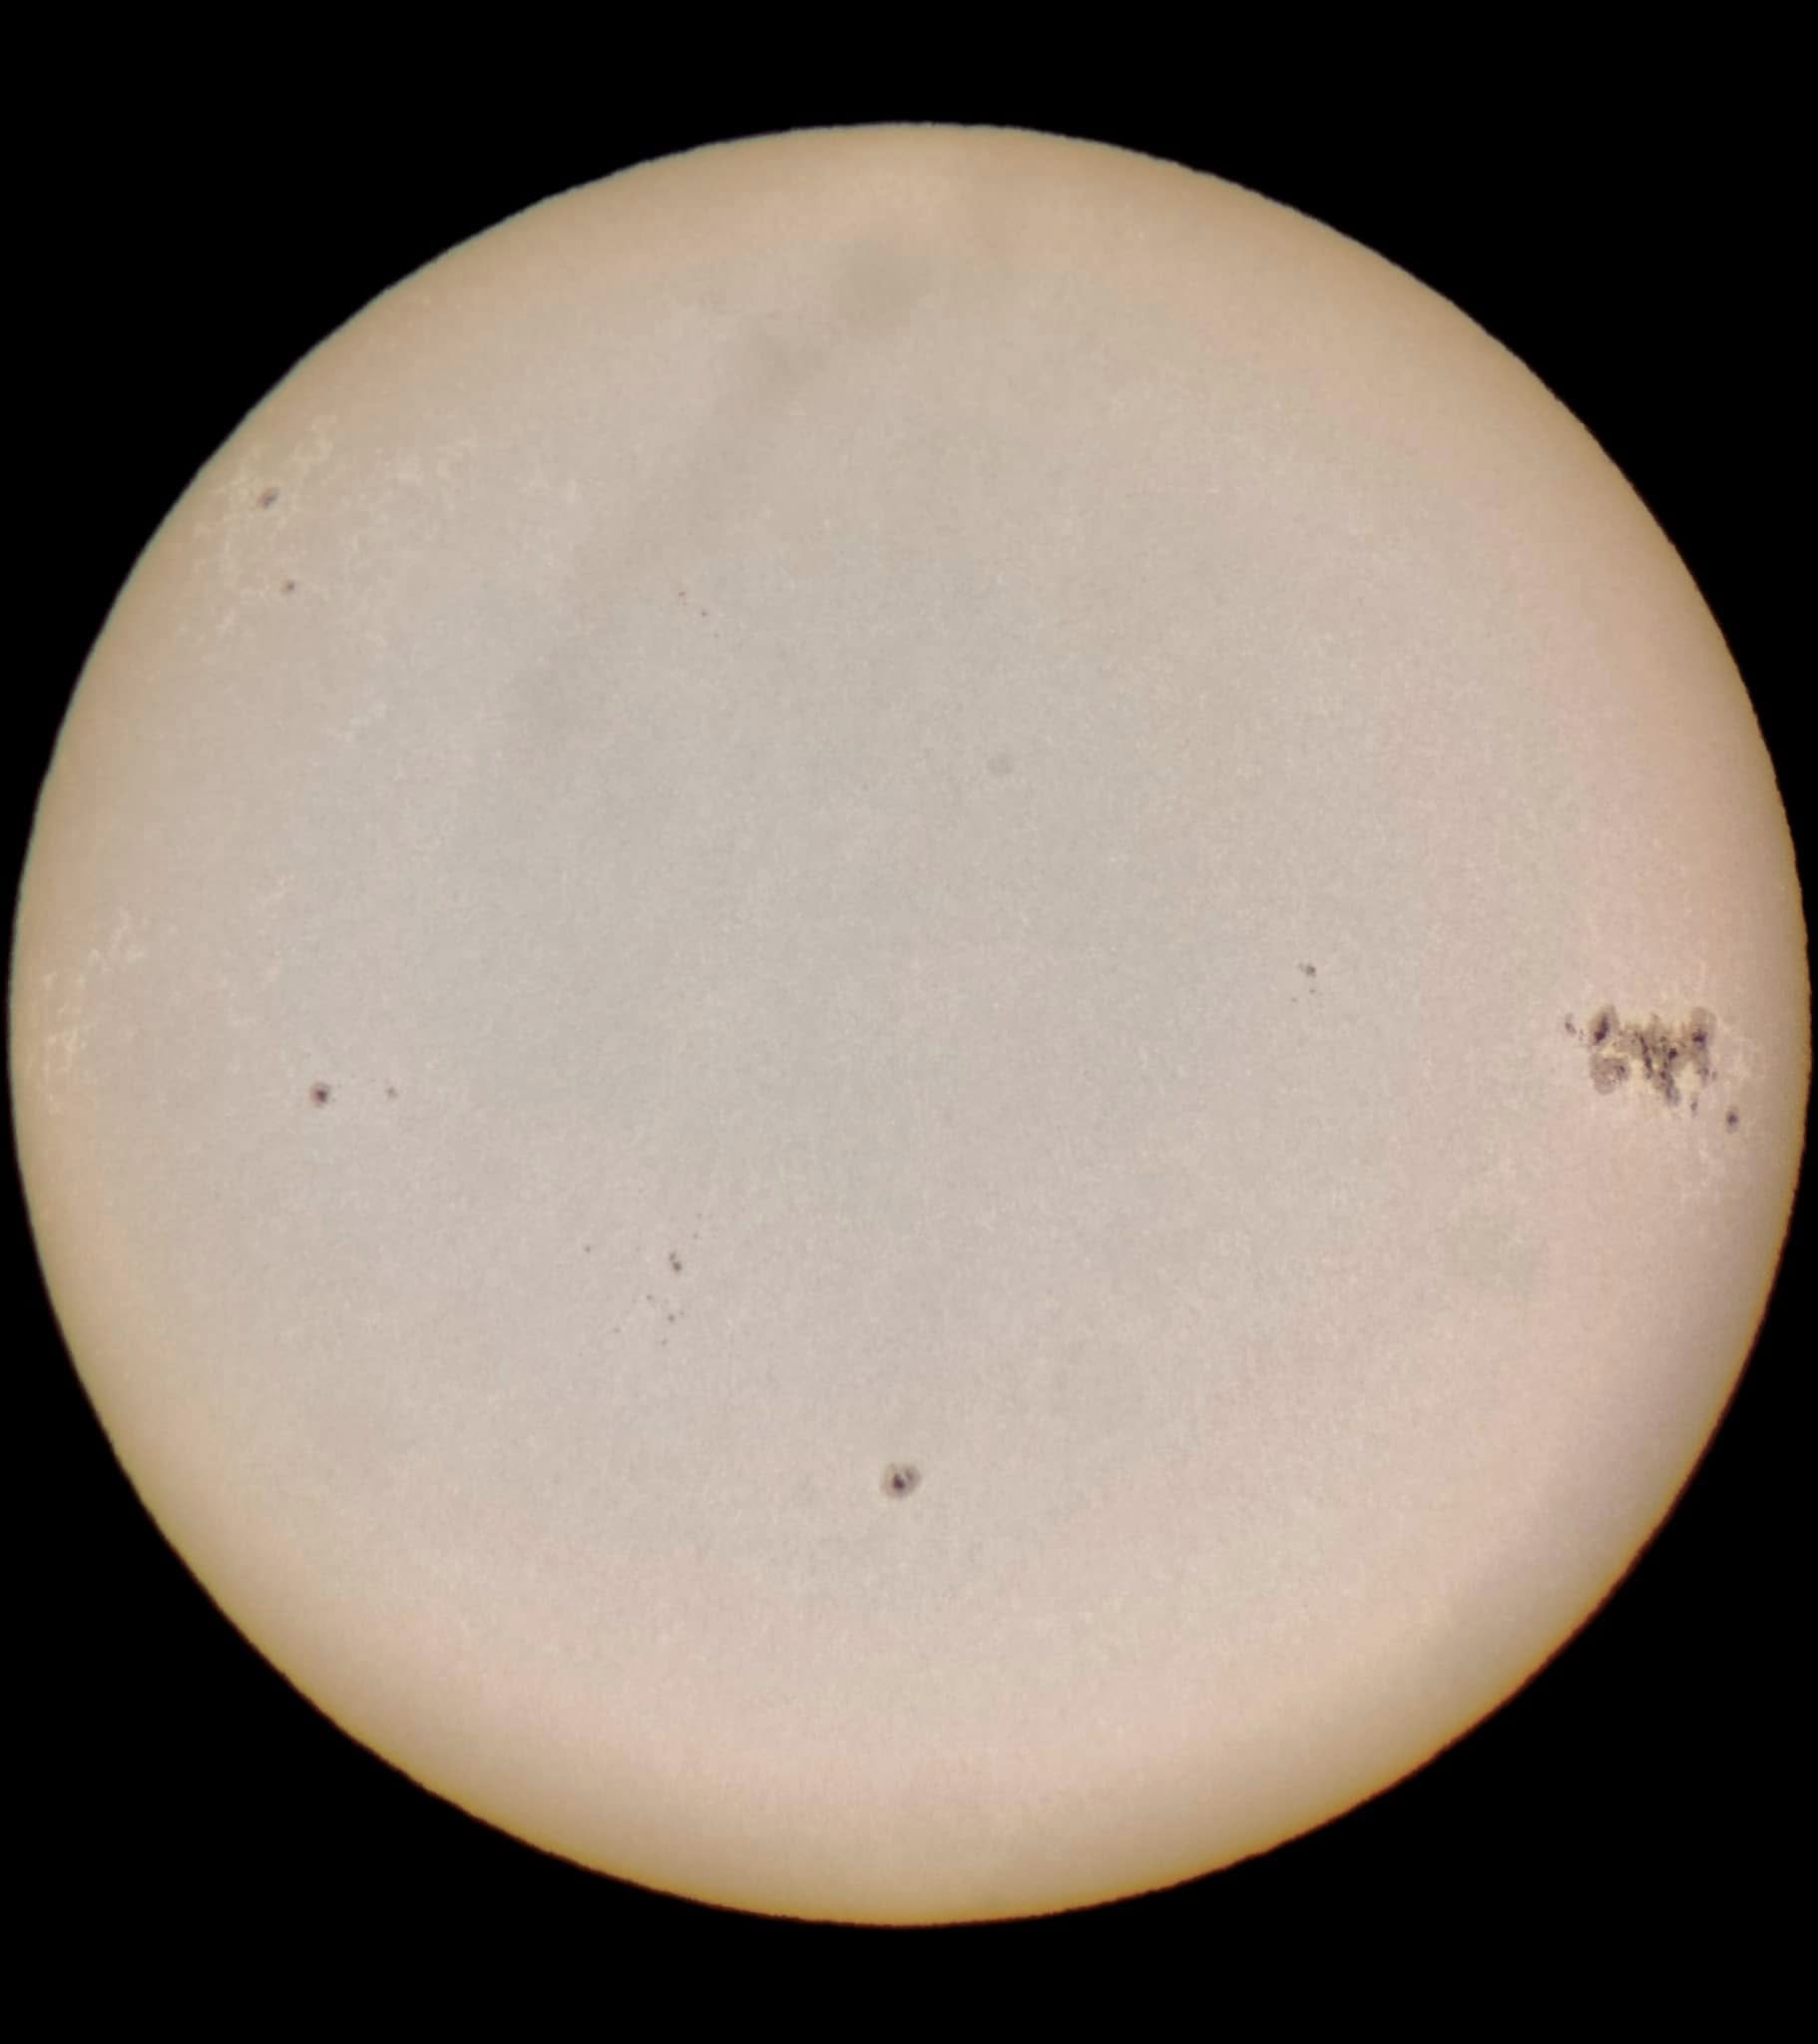
Following all these developments! And still with this yellow filter, I also made a solar filter. For this, I used a simple PVC plumbing cap that fits perfectly on the tube sleeve, in which I fixed an Astrosolar sheet. This setup allows safe observation of the Sun.
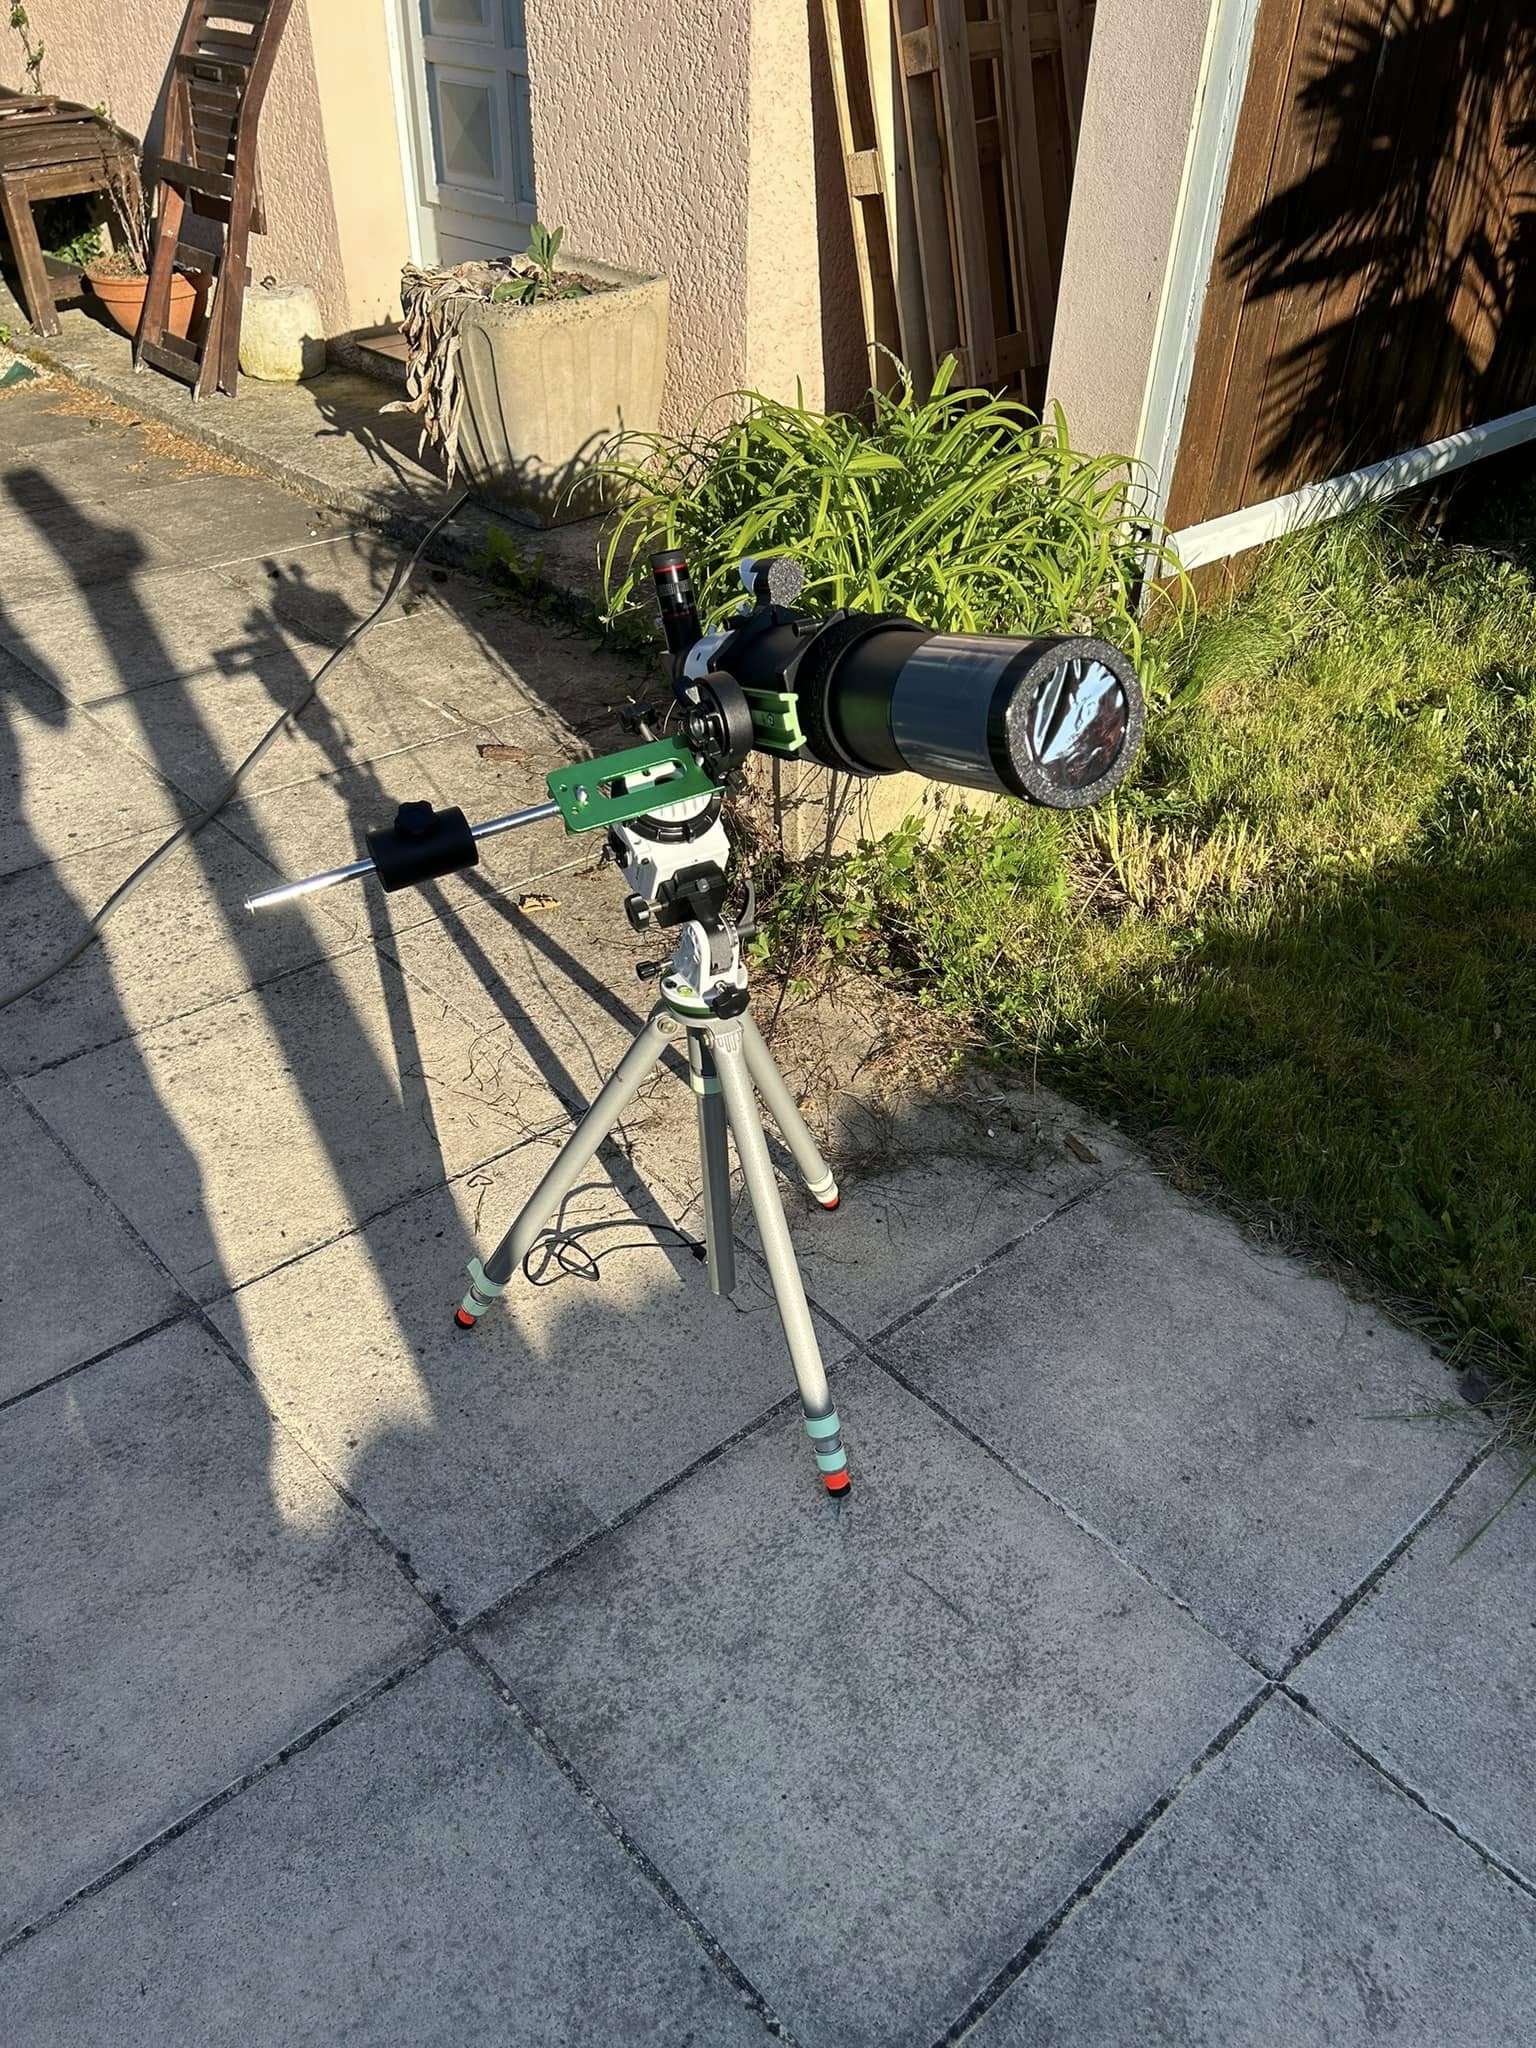 Photo taken with phone at the eyepiece:
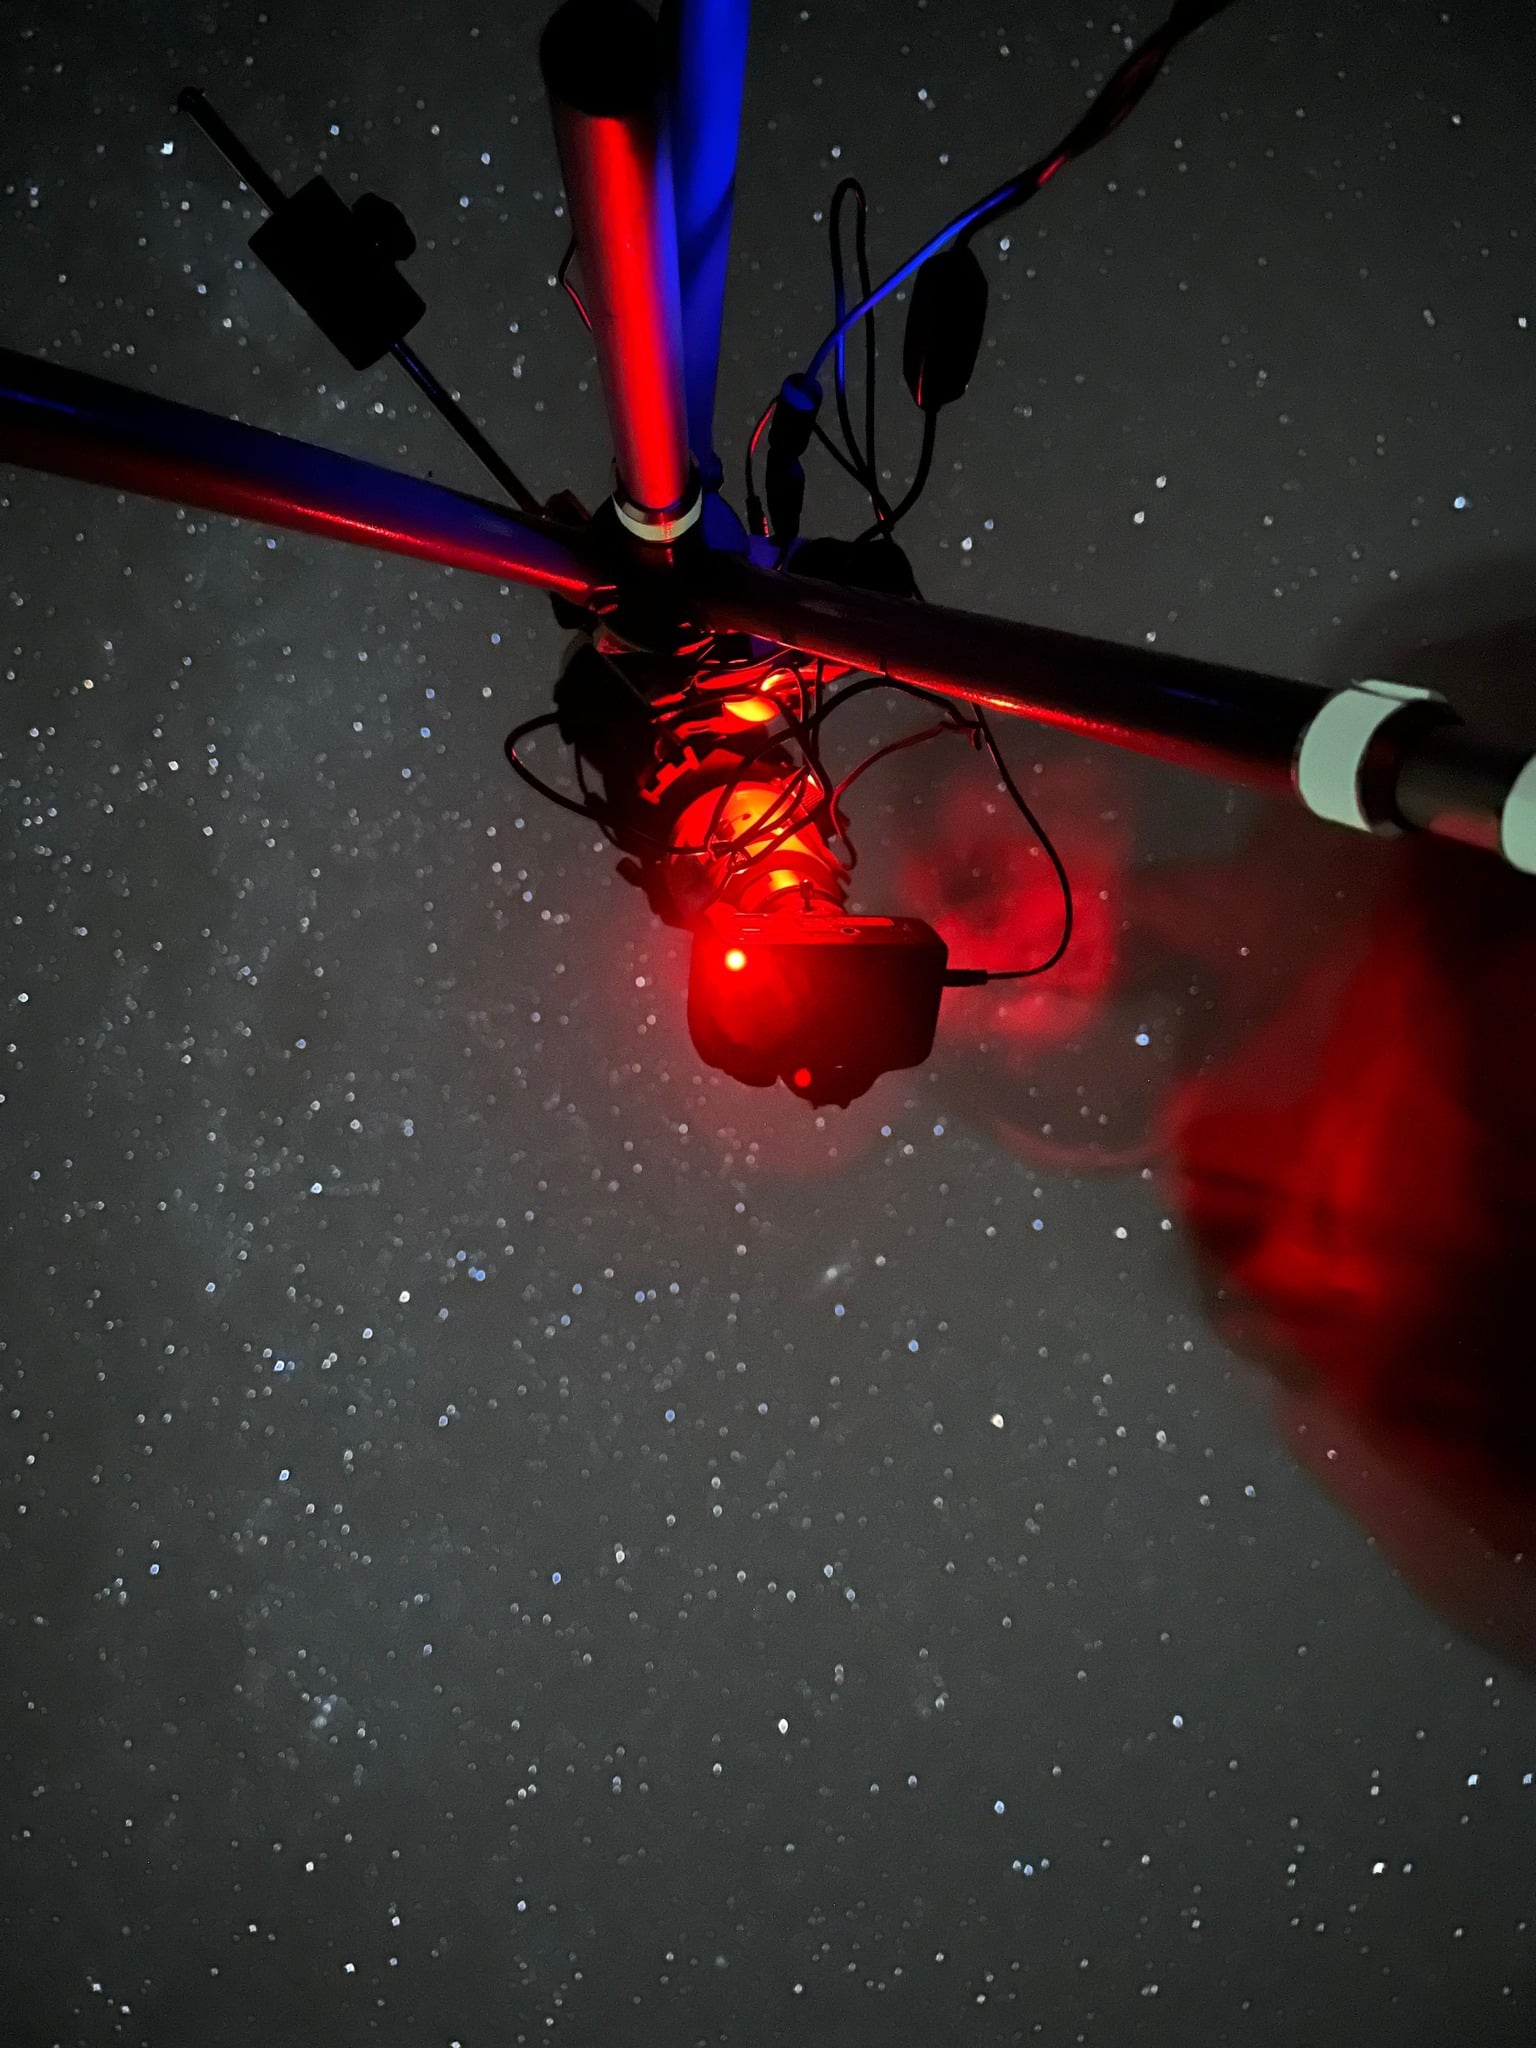
The project in pictures!
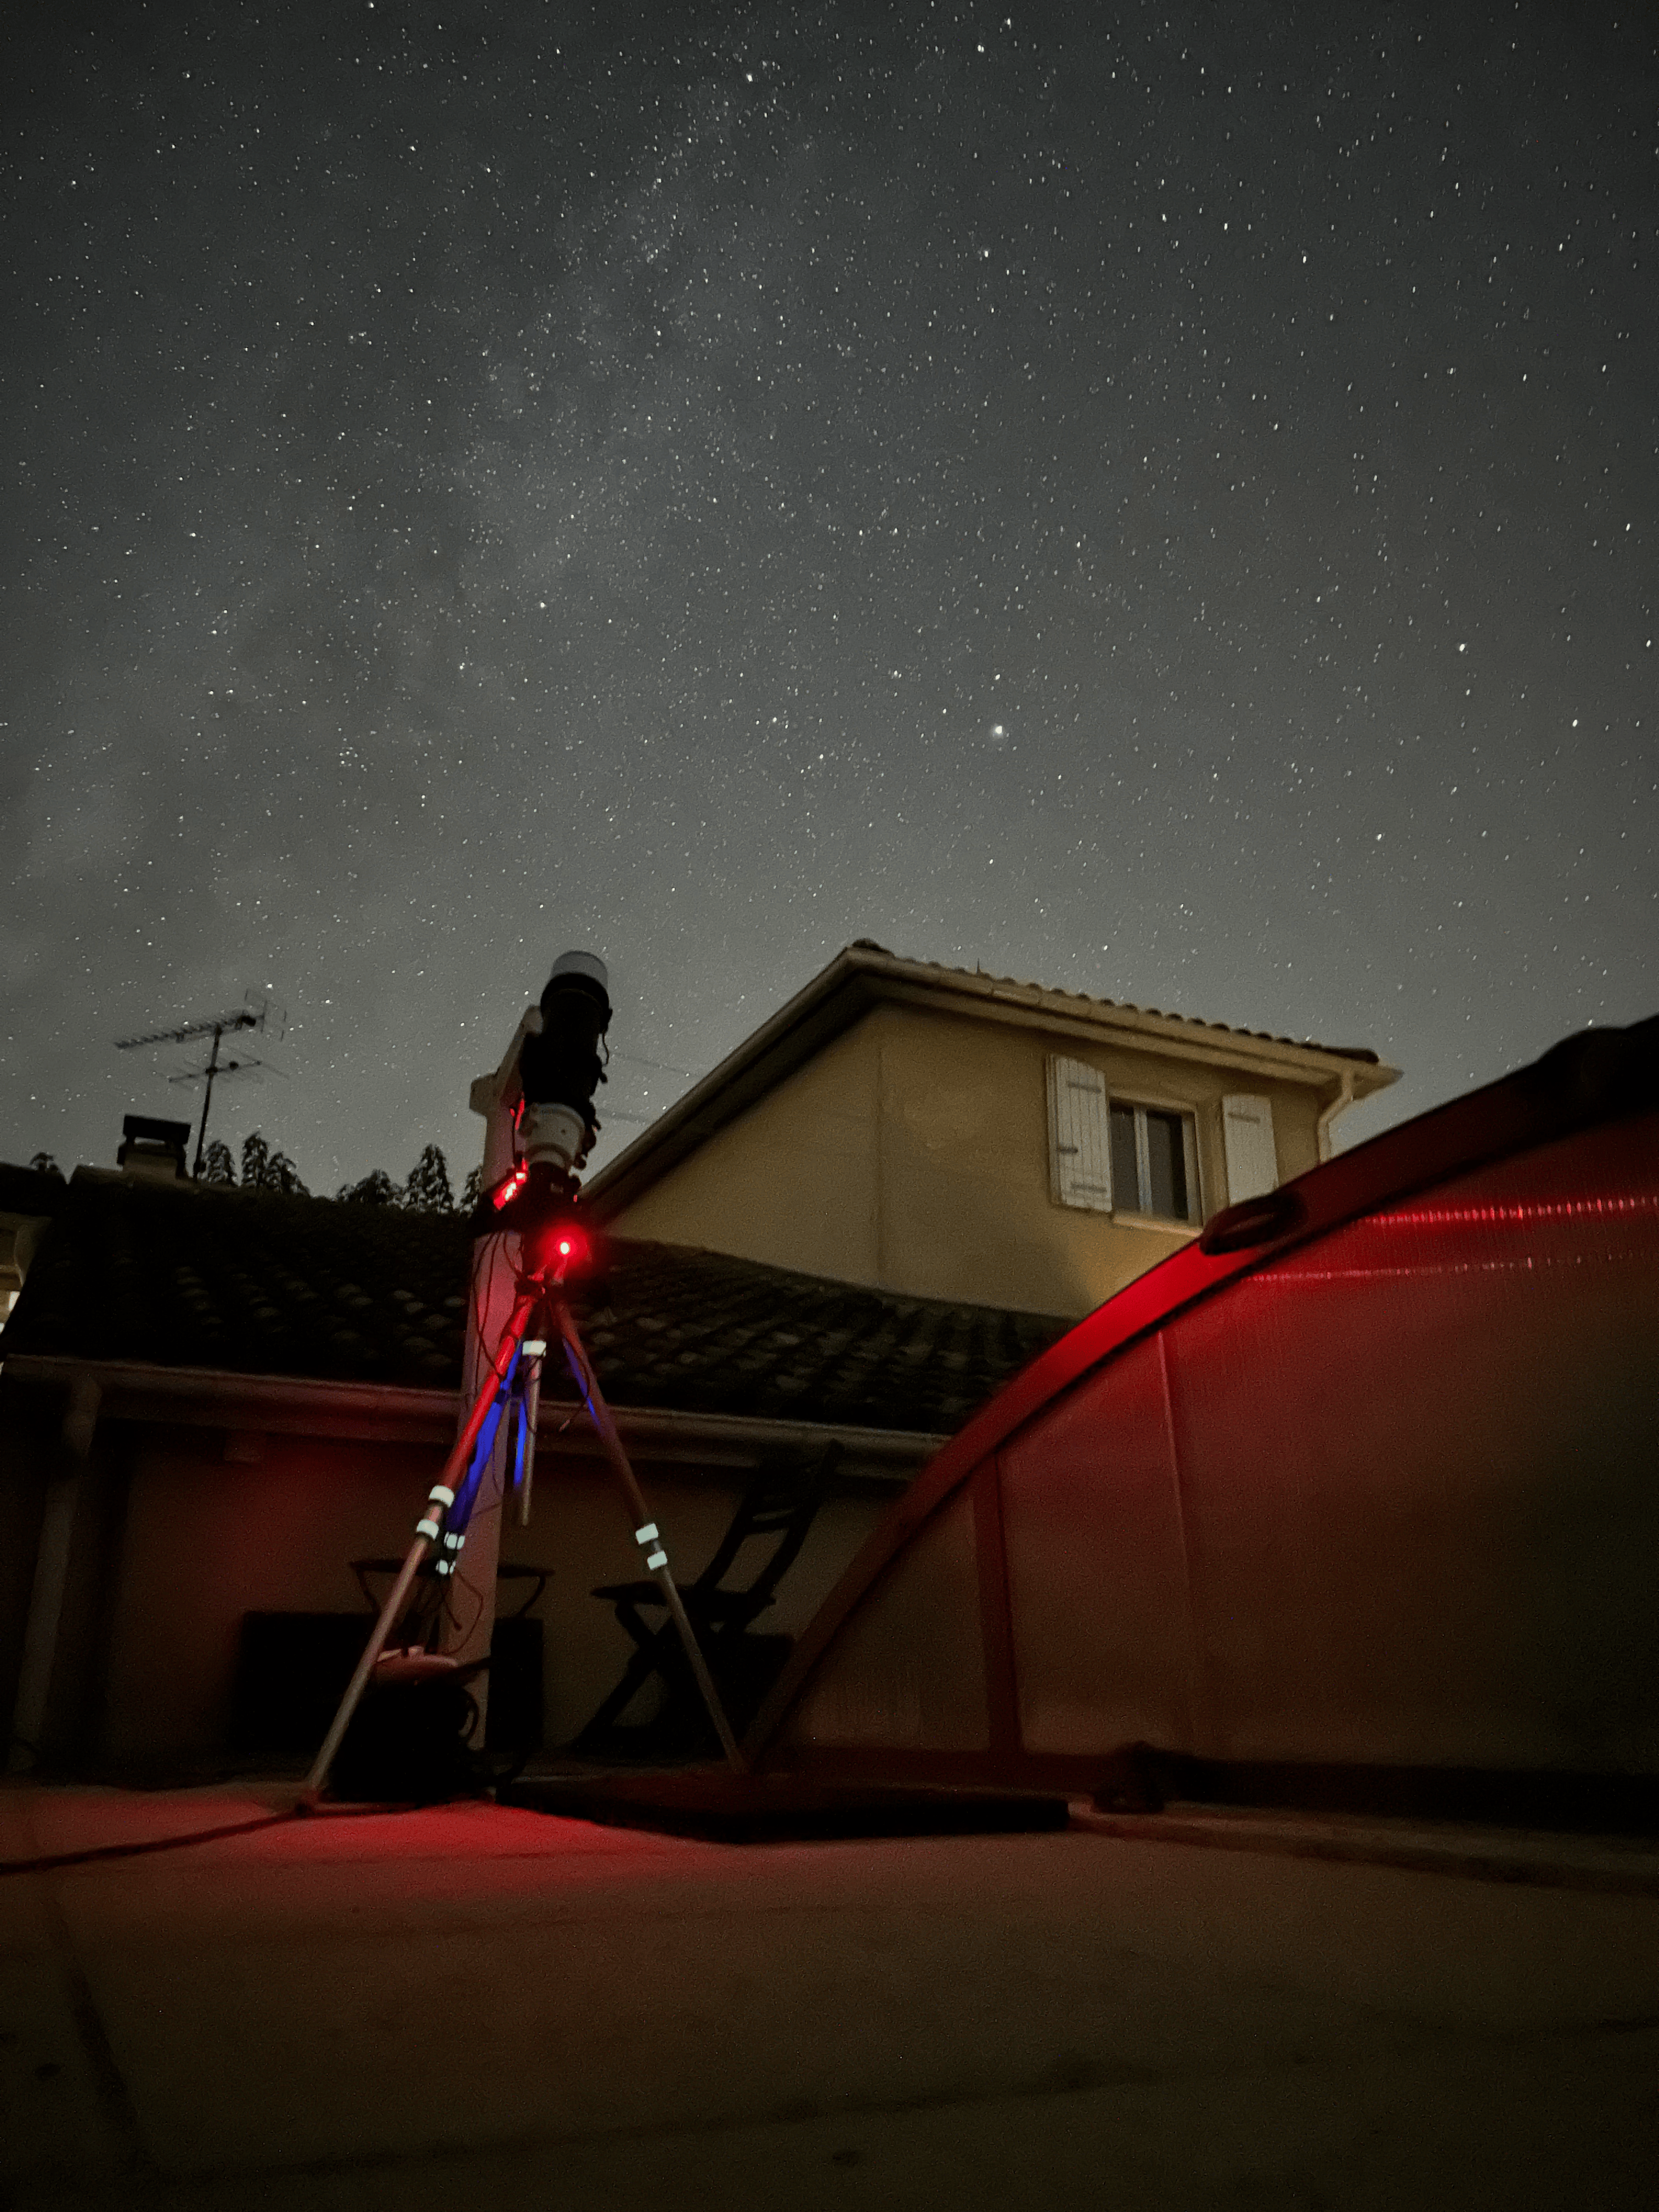
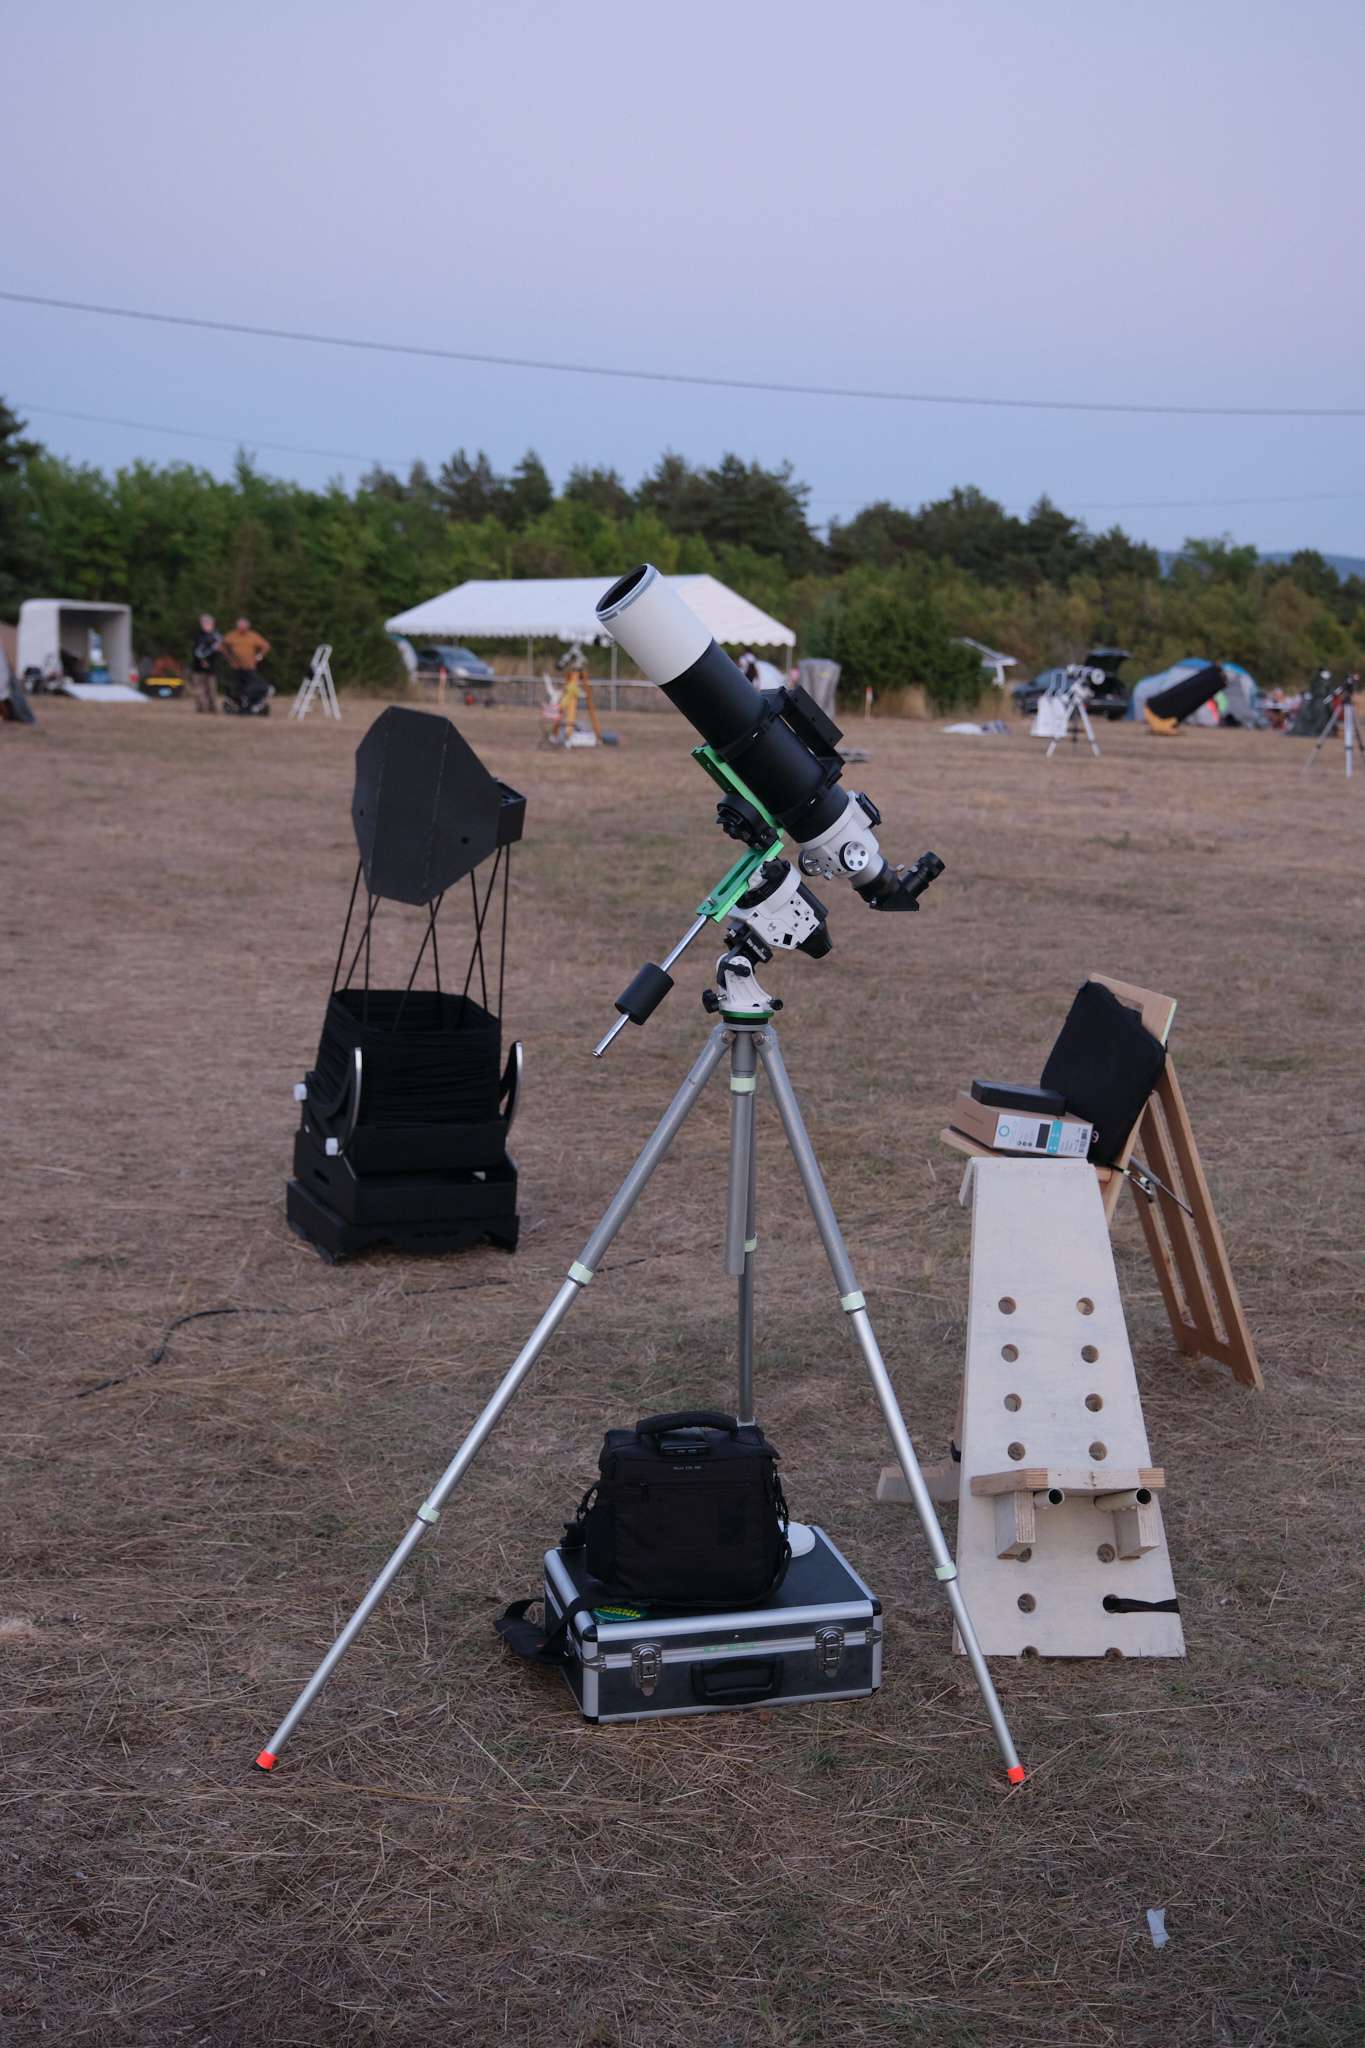
The telescope at NCN 2024:
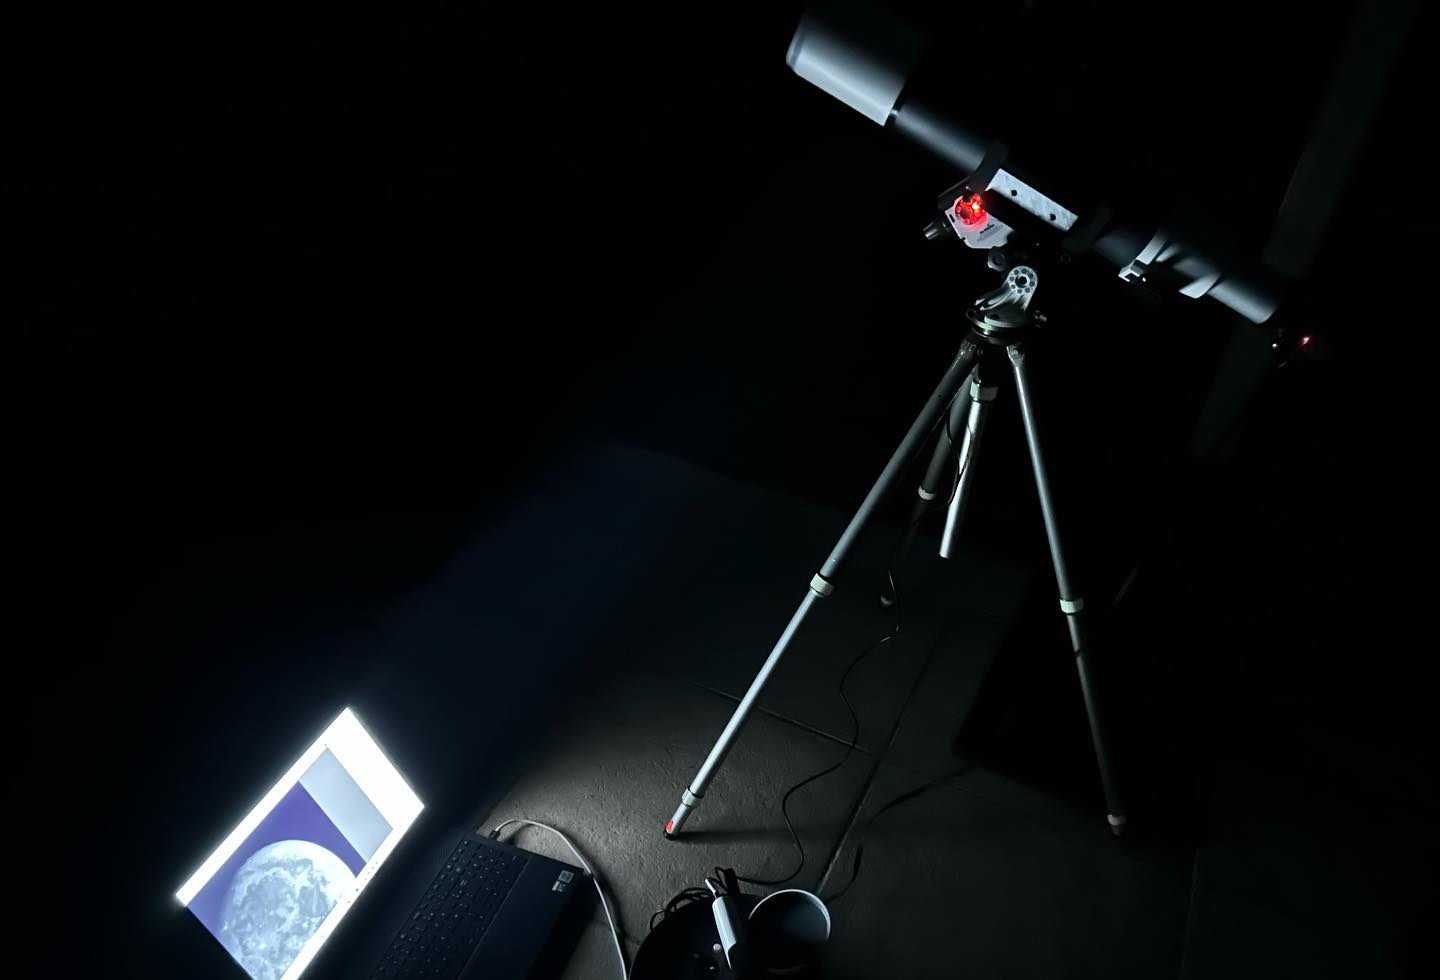
 Imaging on Star Adventurer:
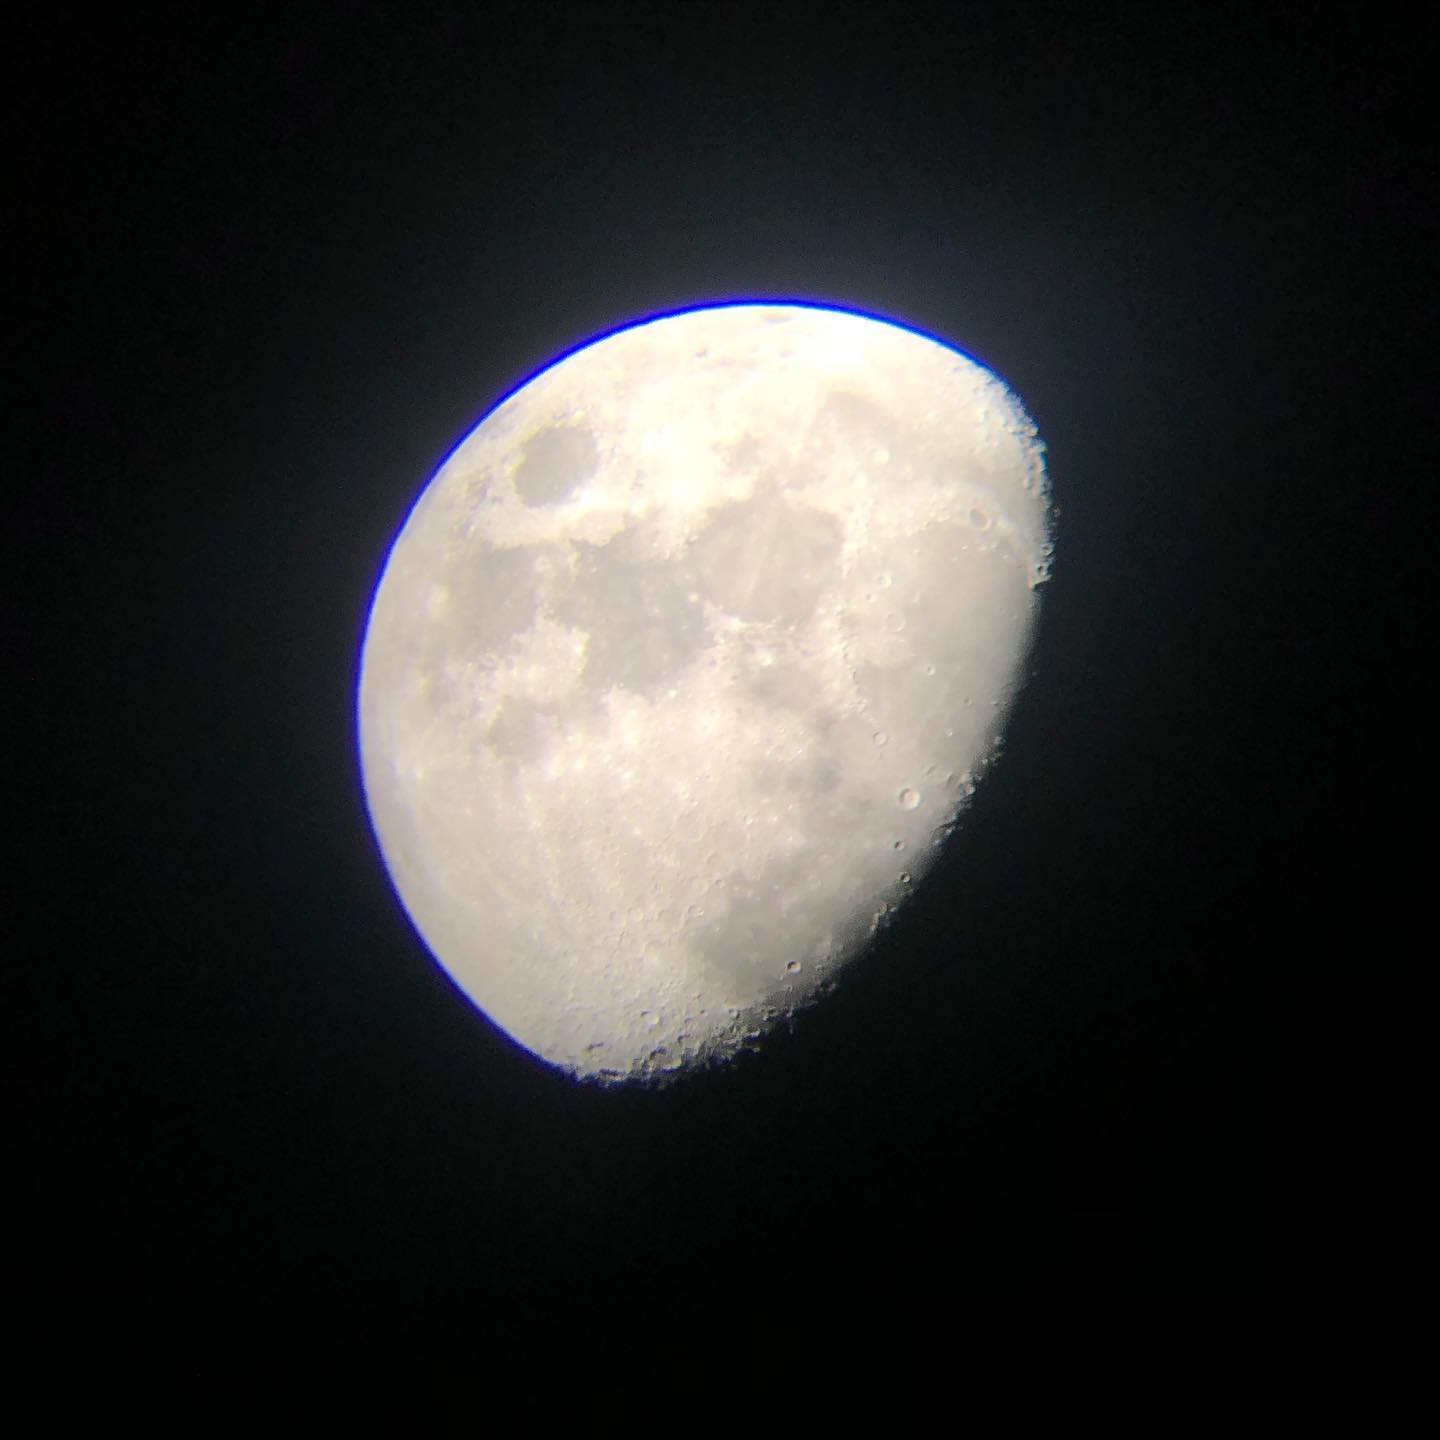
 Moon image without filter:
 Moon imaging:
 The high definition moon image can be found here
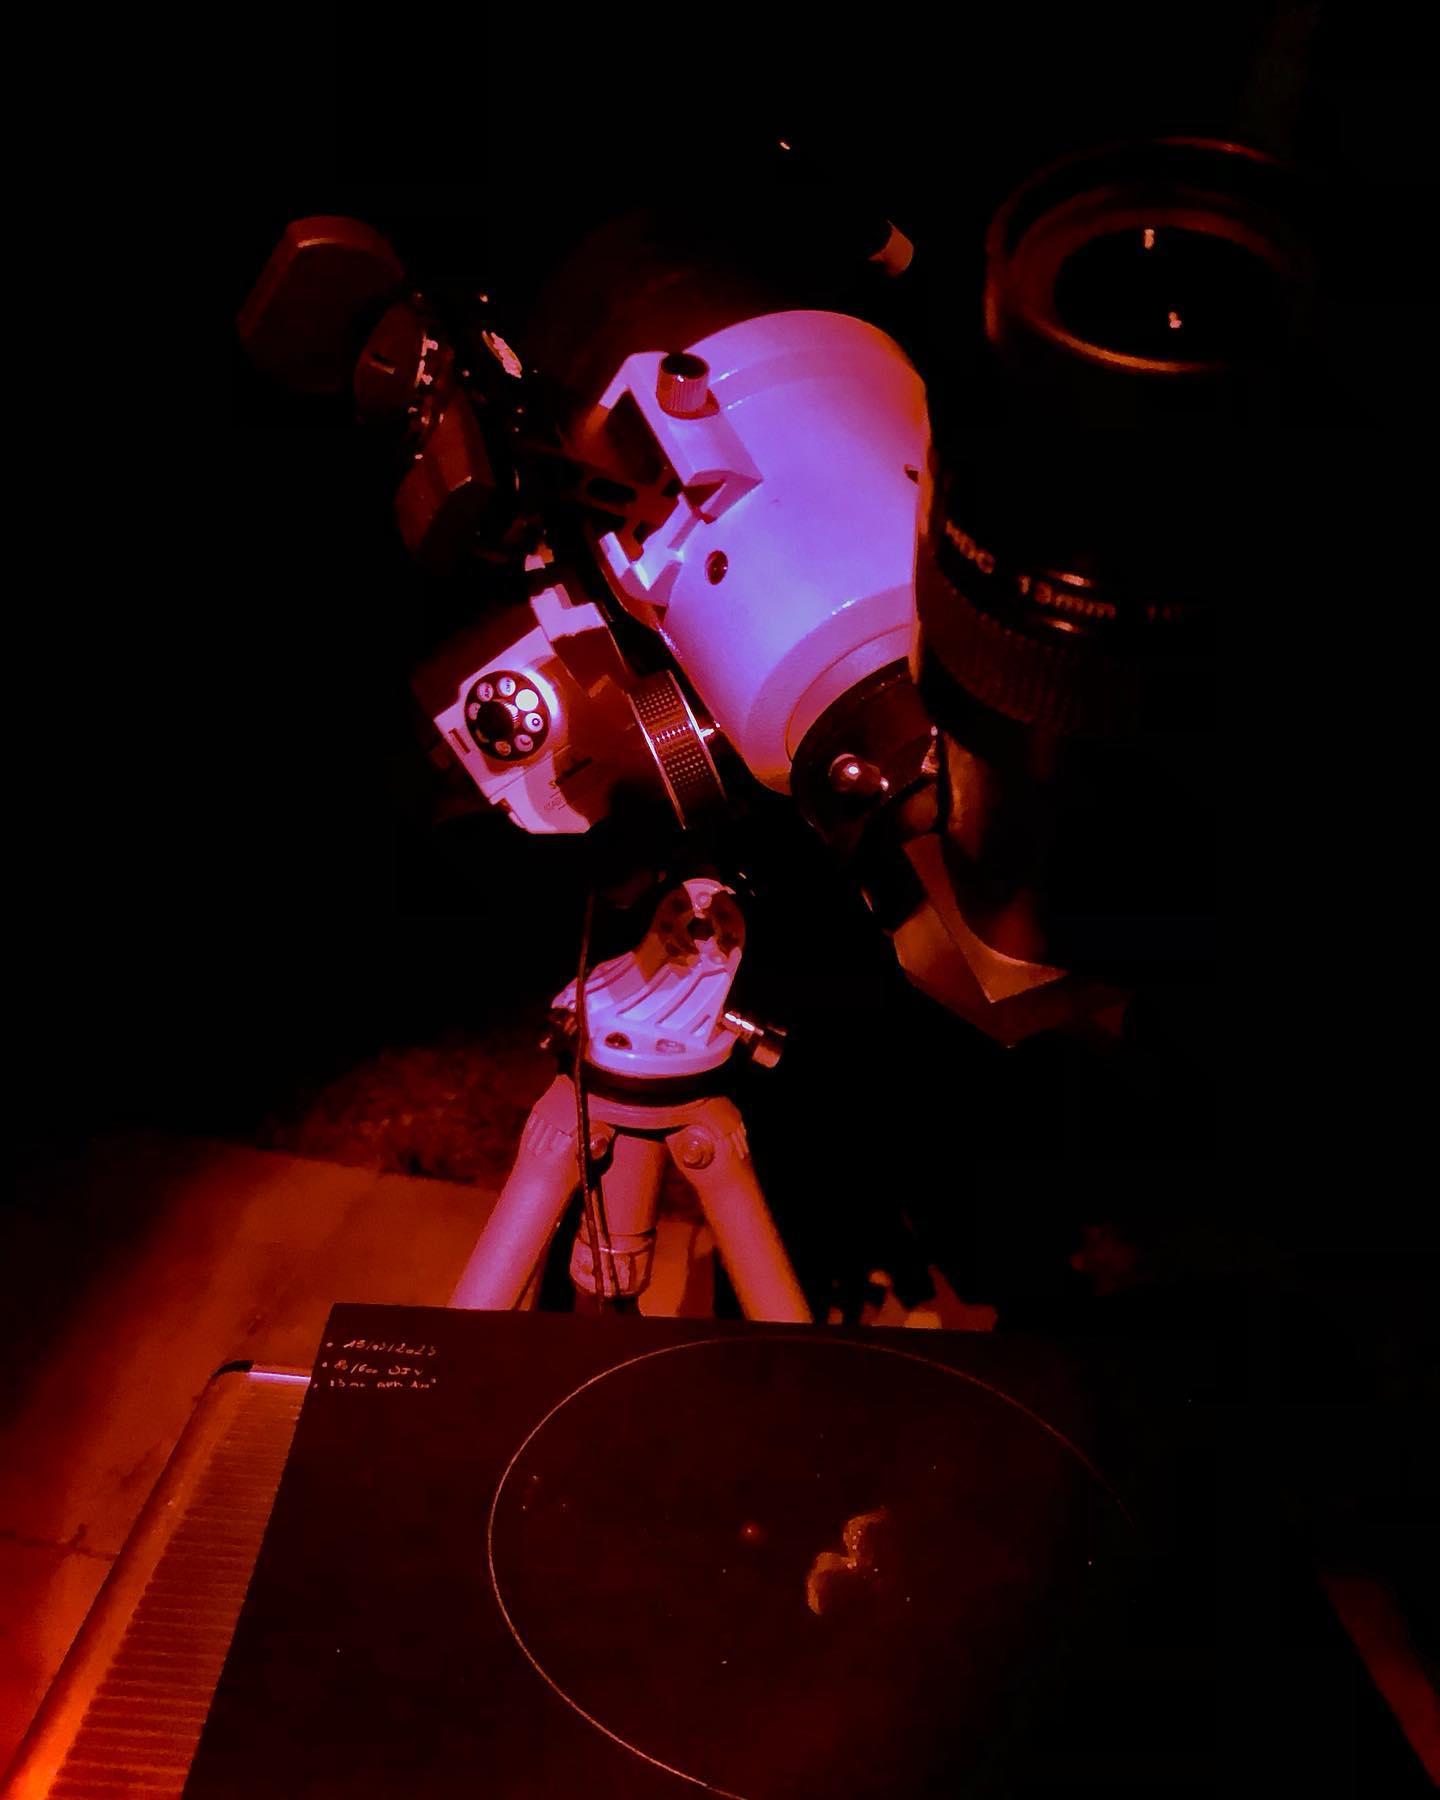
Astro-drawing evening:
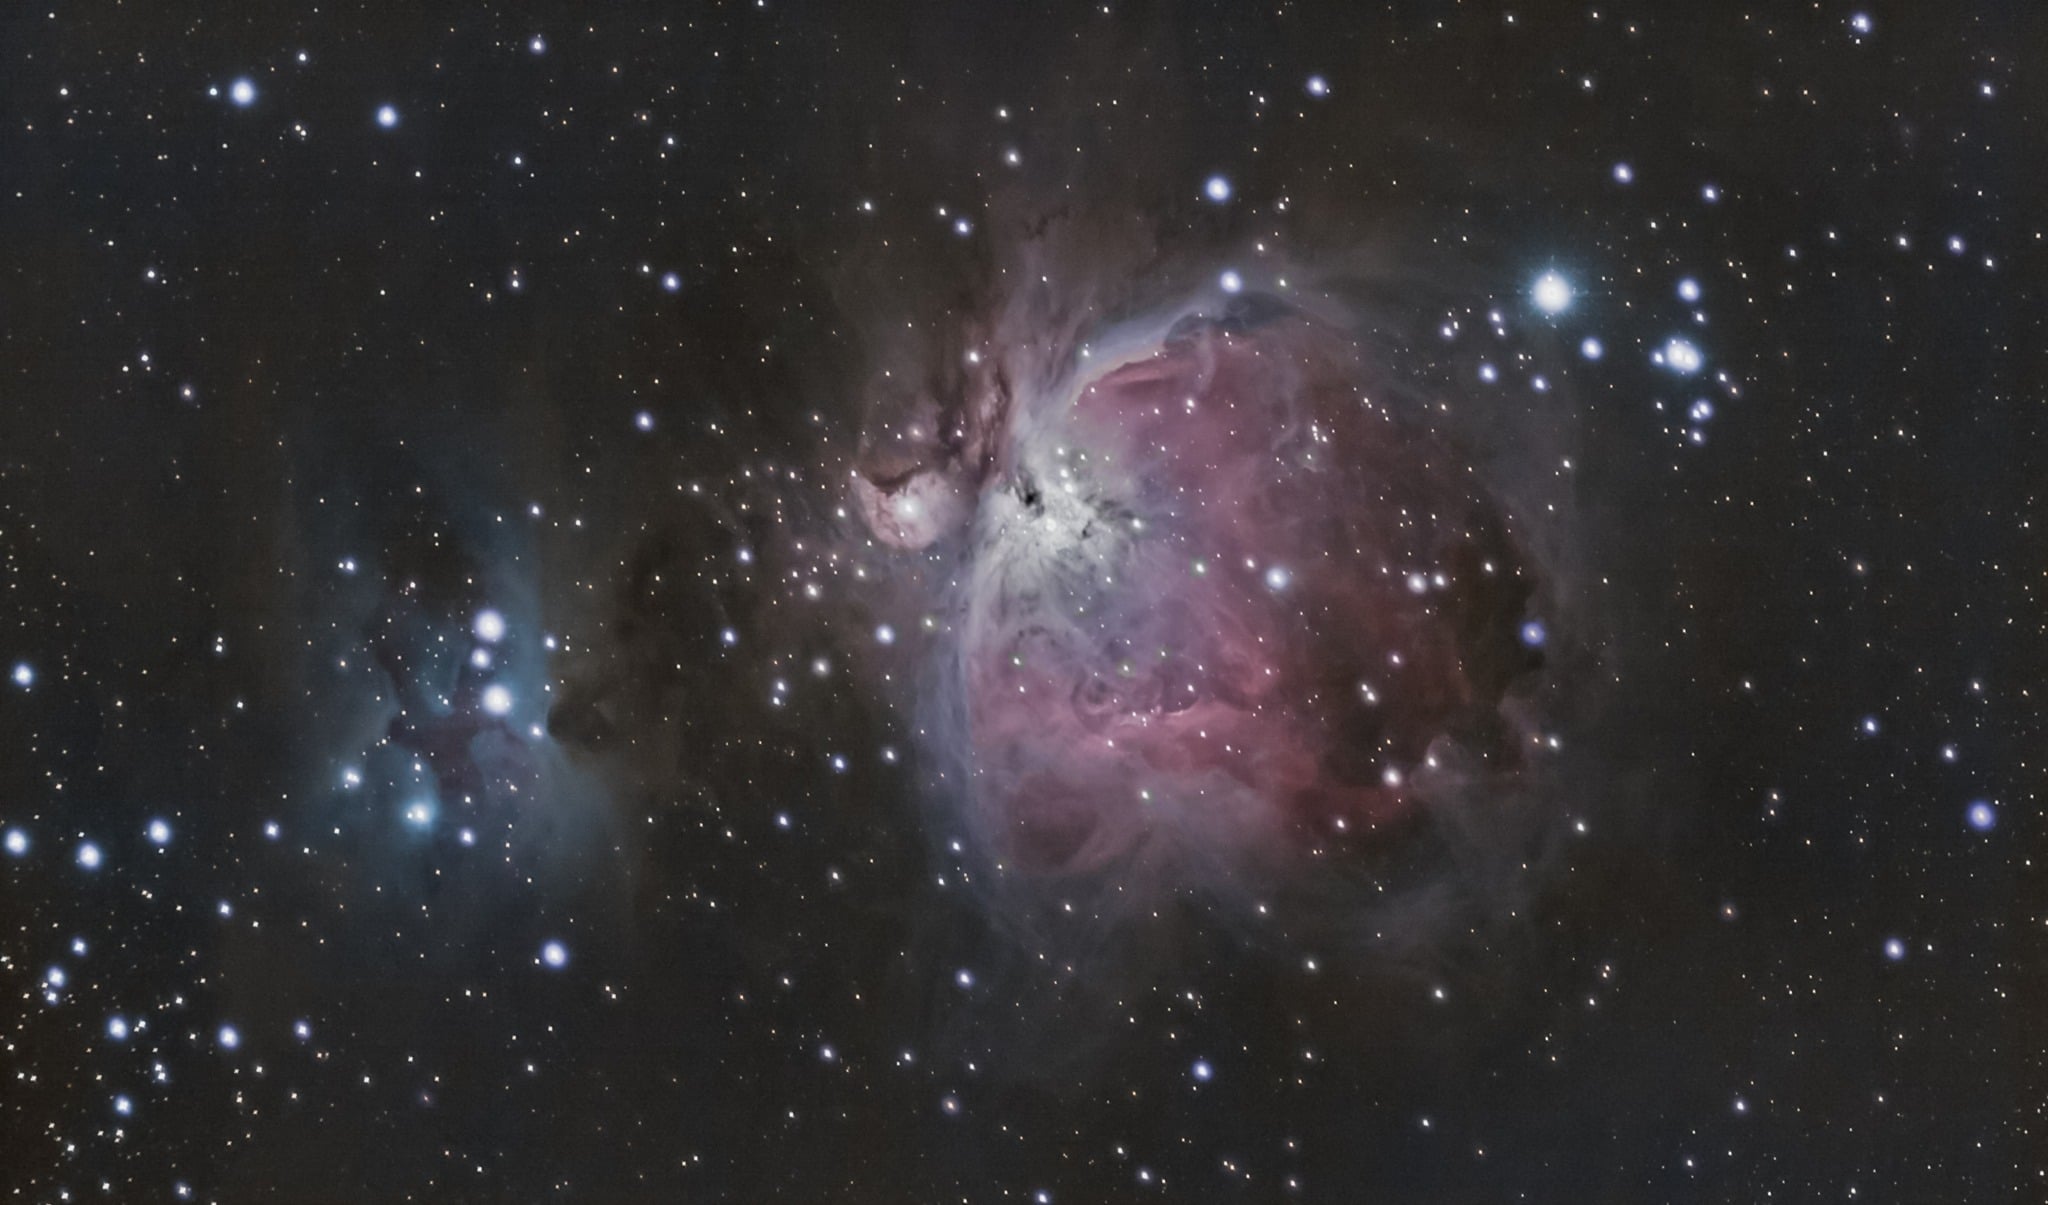
Latest Orion image made with the Baader Contrast Booster filter:
In conclusion!
I ended up investing in a Baader Contrast Booster filter, which finally allowed me to get correct images.
Budget question… I would say €40 for focuser, €90 for Baader filter, €45 for doublet and €30 for supplies… So €205.
From this adventure, it emerges that such a project is both exciting and educational: I devoted a lot of time and energy to it, I learned a lot about optics and how a telescope works, but we must also recognize that it cost me a good dose of frustration for a result that remains mixed, both financially and time-wise.
However, I think I’ve gained enough experience to build a telescope with quality optics, while remaining light enough to be mounted on a Star Adventurer.
Thanks for reading!
Raphaël - La 3ème Dimension