Is your telescope showing blurry images? The problem is probably collimation
You just bought a telescope (or you’ve had it for a while), you point it at the Moon, and… the image is blurry, distorted, or just wrong. You turn the focus knob every which way, and nothing helps.
Good news: your telescope is probably not broken. The problem is that the mirrors inside are not properly aligned. This is called “collimation.”
In this guide, I’ll explain simply:
- What it is (no technical jargon)
- How to check if your telescope needs adjusting
- How to do it yourself (it’s simpler than it looks)
What is collimation?
Super simple version: In a Newtonian telescope (the most common type), there are two mirrors that need to be perfectly aligned so light reaches your eye correctly.
The problem: These mirrors can easily go out of alignment:
- When you transport the telescope
- From vibrations
- Over time
- When someone bumps it a bit roughly
The result: If the mirrors aren’t aligned, the image you see is blurry, distorted, or has “aberrations” (stars that look like comets instead of points).
How do I know if my telescope is miscollimated?
Simple test #1: Look at a bright star
- Point your telescope at a bright star (Vega, Sirius, Arcturus…)
- Focus the image
- Slightly defocus (turn the knob to make the image blurry)
What you should see if it’s properly adjusted:
- A perfect circle with concentric rings
- The black dot in the center (the secondary mirror’s shadow) is well centered
What you see if it’s misaligned:
- The rings aren’t centered
- The black dot is shifted to one side
- The image is asymmetric
Simple test #2: A sharp image is impossible
If you can never get a truly sharp image, even on the Moon which is easy to see, it’s probably a collimation problem.
What do you need to collimate?
There are several tools, from the simplest to the most precise:
Option 1: By eye (free, but imprecise)
You can check the alignment just by looking down the telescope tube. Not very precise, but it’ll do in a pinch.
Option 2: A Cheshire (~€20-30) - Recommended
A tube with a hole and reference marks. Simple, effective, inexpensive. This is what I recommend for beginners.
Option 3: A collimation laser (~€40-80)
Faster and more precise. But be careful: if the laser itself is misaligned, it will lead you astray.
Option 4: A collimation cap (~€10)
A cap with a hole in the center. Basic, but it works.
My advice: Start with a Cheshire. It’s the best balance of simplicity, precision, and price.
How to collimate your telescope (step by step)
Step 1: Understand what you’re adjusting
On your Newtonian telescope, you have:
- A primary mirror (the large one at the bottom of the tube) with 3 or 6 adjustment screws
- A secondary mirror (the small, angled one near the top) with 3 adjustment screws
Important: You ALWAYS start with the secondary mirror, then do the primary.
Step 2: Adjust the secondary mirror (the small one)
What you want: The secondary mirror to be well centered when you look into the focuser.
- Remove the eyepiece and look into the tube
- You should see the reflection of the primary mirror (the large one at the bottom)
- The secondary mirror must be centered within the focuser’s circle
If it’s not centered:
- Use the 3 screws holding the secondary mirror
- Tighten/loosen them to shift the mirror until it’s centered
Tip: Don’t overtighten, or you risk breaking something. Just enough to hold it in place.
Step 3: Adjust the primary mirror (the big one)
What you want: Your eye, the secondary mirror, the primary mirror, and its center to all be aligned.
- Put your Cheshire (or your collimation tool) in the focuser
- Look through it
- You should see:
- The reflection of the primary mirror
- The primary mirror’s center mark (often a small sticker)
- The secondary mirror
Adjust the primary mirror screws (the 3 or 6 screws at the back) until:
- The primary mirror’s center mark is aligned with the center of the Cheshire
- Everything is nicely concentric (circles within circles, all centered)
Tip: Go slowly. A quarter turn at a time. Check after each adjustment.
Step 4: Check on a star
Once you’re done, take the telescope outside and check on a bright star (as explained above).
If the rings are well centered when you defocus, congratulations! Your telescope is collimated.
How often should you collimate?
It depends:
Telescopes that go out of alignment often:
- Flextube Heritage and other collapsible telescopes: Almost every time you use them
- Retractable tubes shift and throw everything off
Telescopes that stay well aligned:
- Rigid-tube telescopes: A few times a year
- Telescopes transported carefully (in a hard case): Rarely
The Smallest:
- If you leave it partially assembled (mirrors in place): Rarely
- If you disassemble everything each time: Check every time you use it
My advice: Get in the habit of checking collimation before every observing session. Once you’re used to it, it takes 2 minutes.
Mistakes to avoid
Mistake #1: Cranking the screws down hard
Collimation screws should NOT be super tight. Just enough to hold the mirror in place. If you overtighten:
- You deform the mirror
- You break the mounts
- You make the problem worse
Mistake #2: Adjusting the primary before the secondary
Always start with the secondary. Otherwise you’ll go in circles for hours.
Mistake #3: Trusting a poorly calibrated laser
Collimation lasers can themselves be misaligned. If you use one, check that it’s properly calibrated (there are tutorials for this).
Mistake #4: Panicking if it’s not perfect
“Perfect” collimation doesn’t exist. If it’s 95% right, that’s plenty good enough for observing.
Mistake #5: Touching the mirrors with your fingers
Never touch the surface of the mirrors. Your fingers leave oil, and it damages the coating. If you need to clean a mirror, use a blower brush, never your hands.
Why do some telescopes go out of alignment more than others?
“Stable” telescopes:
- One-piece rigid tube (classic Dobsonian, Newtonian on an EQ mount)
- Well-secured mirrors with sturdy mounts
- Not handled much between observing sessions
“Unstable” telescopes:
- Retractable tubes (Flextube Heritage)
- Poorly secured mirrors (cheap hardware)
- Heavily transported (in a bag with no protection)
The Smallest is designed to minimize misalignment:
- Rigid structure once assembled
- Well-secured mirrors
- Option to leave mirrors in place to avoid full disassembly
In short: collimation isn’t rocket science
What to remember:
- Collimation = the alignment of your telescope’s mirrors
- If the image is blurry, this is often the cause
- You can do it yourself with a Cheshire (~€30)
- Start with the secondary mirror, then the primary
- Check on a star after adjusting
- Once you’re used to it, it takes 2 minutes
And above all: don’t be afraid to touch the screws. You won’t break anything if you go slowly. And if you make a mistake, you can always undo it.
Need help with collimation?
If you have a Smallest telescope, I’m available to help:
📧 Email: la3emedim@gmail.com 📞 Phone: +33 7 60 85 38 70
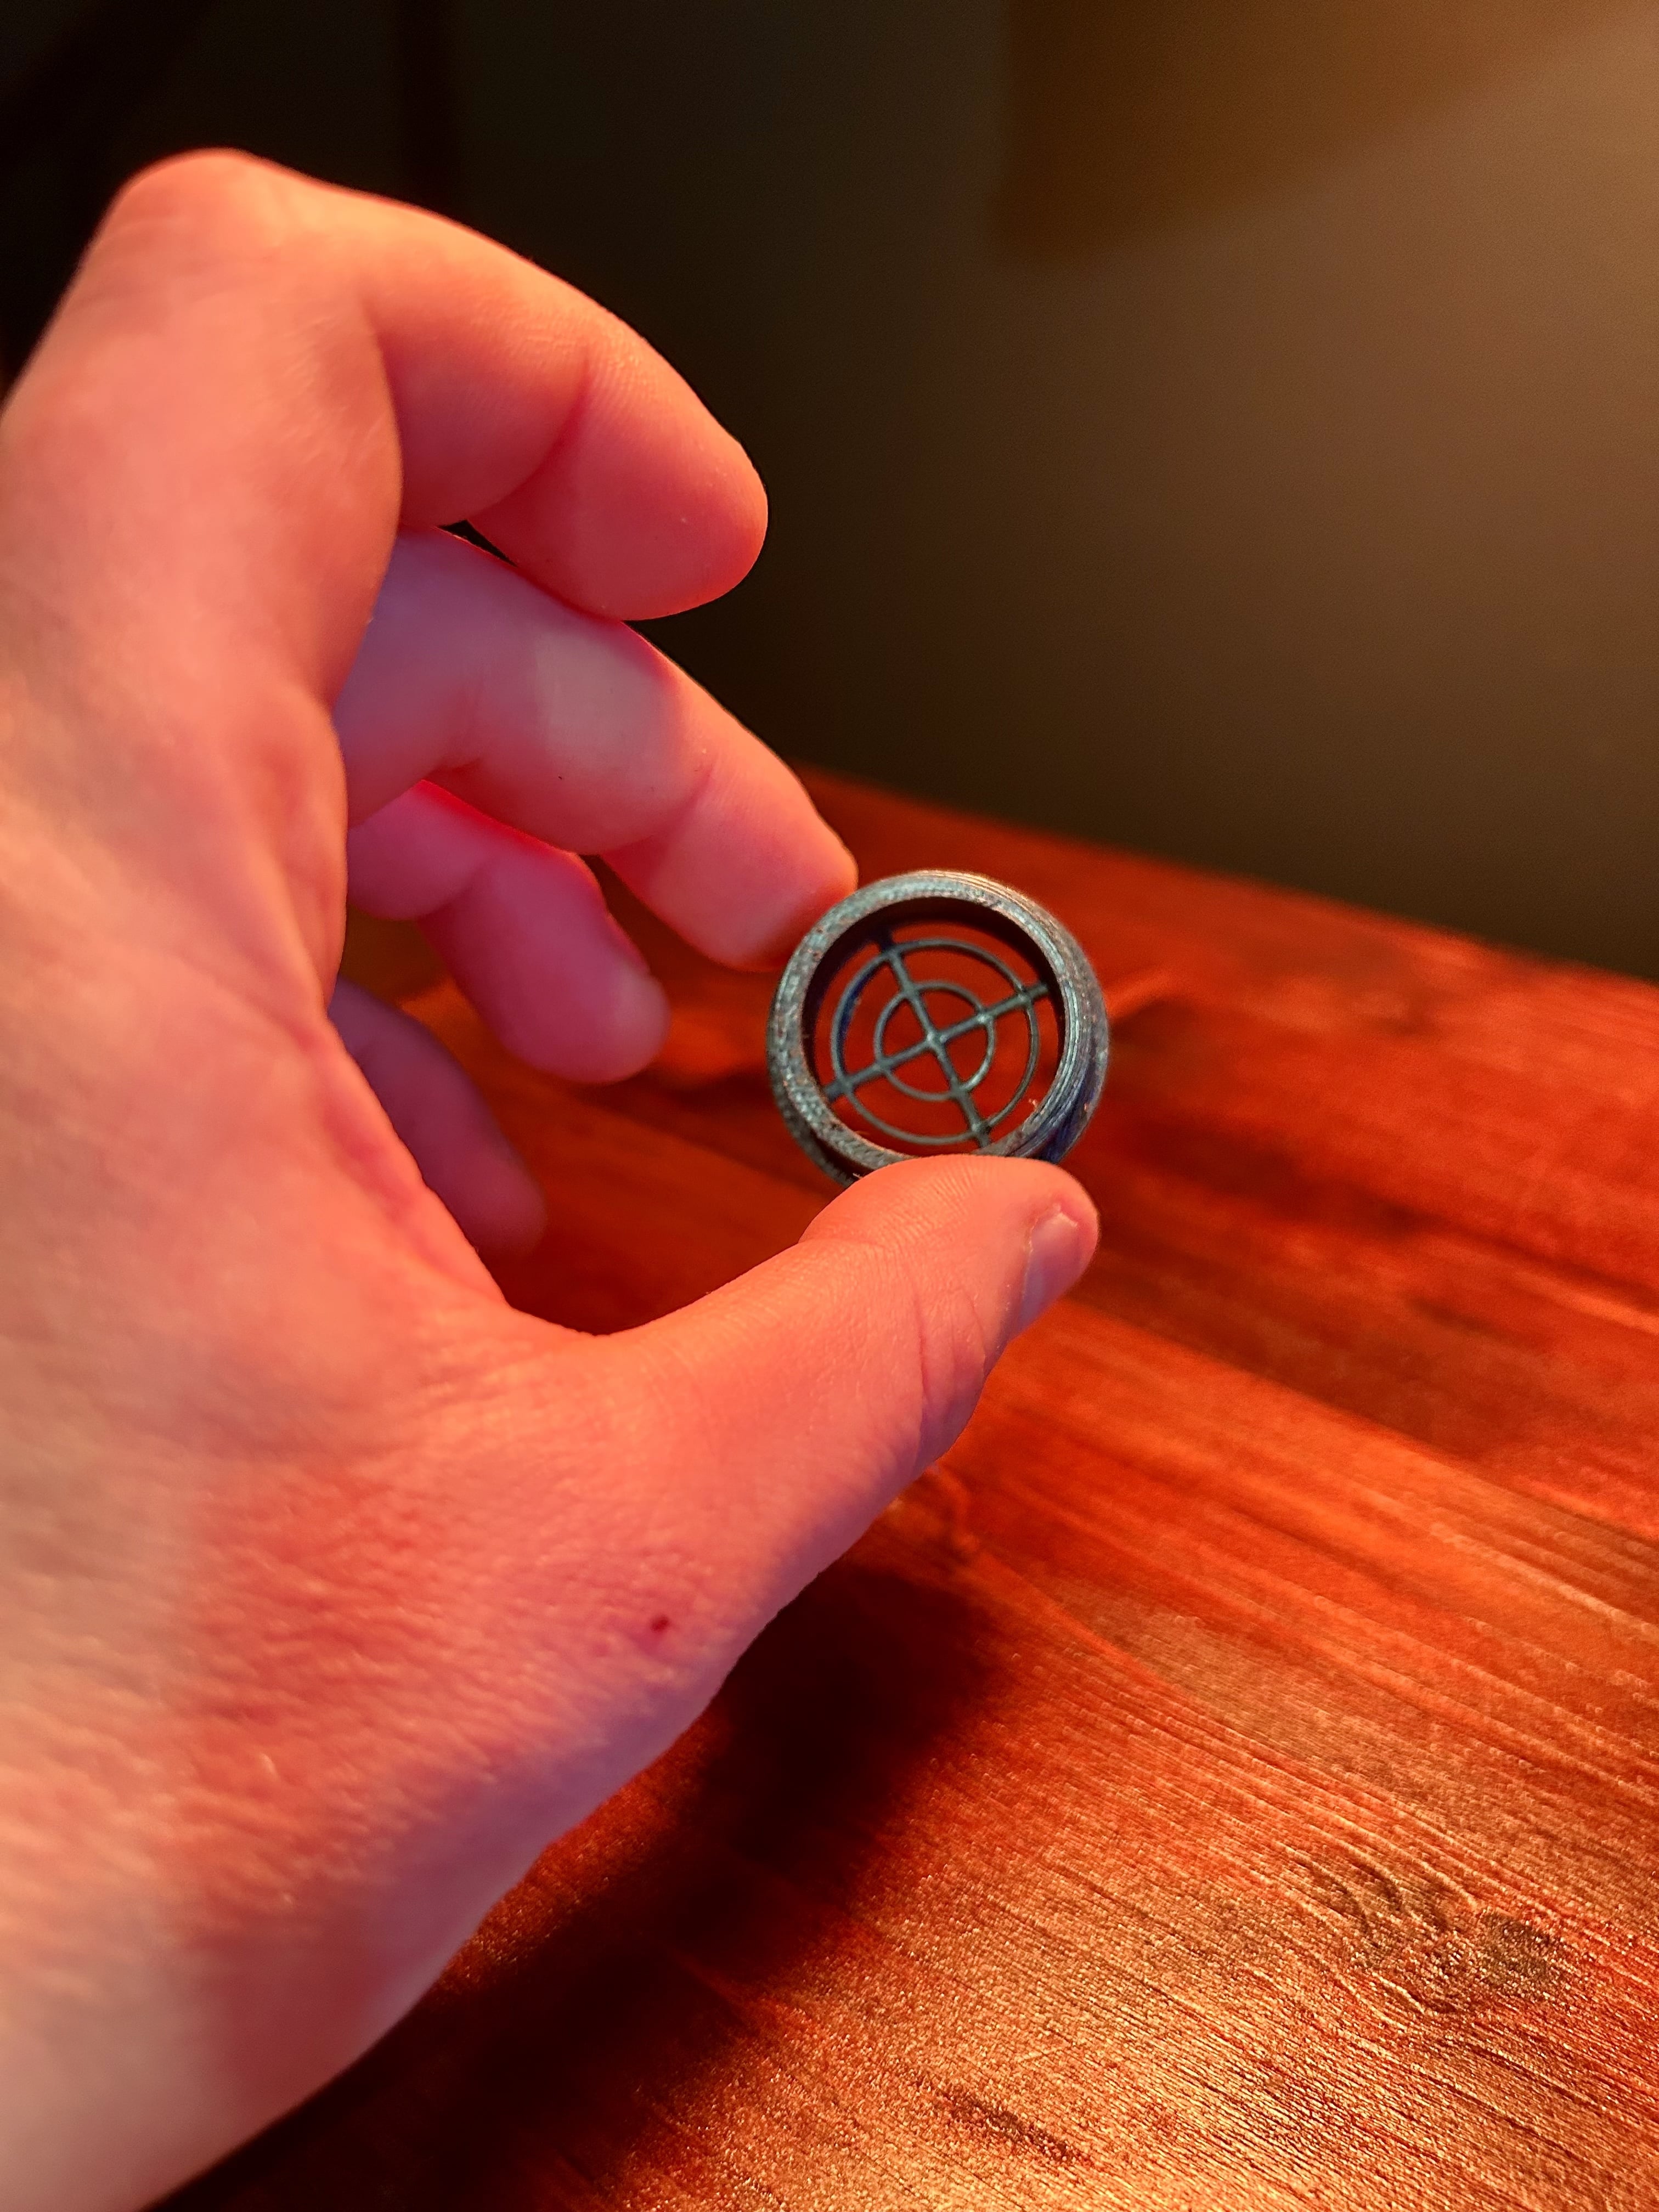
And if you want a quality collimation tool, we make 3D-printed Cheshires that are perfectly calibrated.
👉 See the Cheshire in the shop
Clear skies! 🔭
— Raphael, creator of the Smallest Passionate about astronomy for 10 years. My goal: make astronomy accessible to everyone, with no hassle.
Keywords: telescope collimation, adjust newton telescope, blurry telescope image, cheshire collimation, laser collimation, telescope mirror alignment, collimate dobson, collimation mirror screws, misaligned telescope, how to collimate a newton 150, collimation tool, telescope optical adjustment, primary secondary mirror alignment, flextube heritage collimation, smallest telescope adjustment