Step 1 of 8
Fit the dew shield onto the objective and turn it a quarter turn.

Complete user guide
⚠️ WARNING: Never look at the Sun with this instrument. Risk of severe and permanent eye damage.
🌿 The Lumi is made of bioplastic, an eco-friendly and durable material, but like any plastic it does not like heat. For example, do not leave it in a car in full sun: the parts may warp.



Step-by-step instructions to assemble your Lumi refractor
Step 1 of 8
Fit the dew shield onto the objective and turn it a quarter turn.
Step 2 of 8
Assemble the unit from step (1) with the tube.
Step 3 of 8
Contents of the bags:
• Bag 1: bearings · screws and nuts
• Bag 2: Allen key · M4 thrust screw · focusing shaft · thrust plate
1 Mount the bearings with their screws and nuts on the top of the focuser
Note: the nuts must sit in the housing provided on the focuser (the picture where the focuser is pink)
2 Assembly order:
1. Fit the thrust plate
2. Insert the focuser drawtube
3. Fit the focusing shaft
⚠️ Follow this order: the drawtube must be in place before the focusing shaft. Tighten the thrust screw once the drawtube is in, to create the friction needed for a smooth movement.
Note: bag 2 contains an extra black screw: it locks the focuser and the tube together from underneath the tube.
Step 4 of 8
Assembling the focuser and the tube.
Step 5 of 8
Screw the M3 screw in from underneath the tube: it secures the focuser to the tube.
Step 6 of 8
The star diagonal: assemble the plate, the prism and the diagonal housing.
Step 7 of 8
That's it, you're ready to observe!
Step 8 of 8
Well done! You now know how to assemble an astronomical refractor.
Step-by-step instructions to assemble your Lumi refractor
Fit the dew shield onto the objective and turn it a quarter turn.

Assemble the unit from step (1) with the tube.

Contents of the bags:
• Bag 1: bearings · screws and nuts
• Bag 2: Allen key · M4 thrust screw · focusing shaft · thrust plate
1 Mount the bearings with their screws and nuts on the top of the focuser
Note: the nuts must sit in the housing provided on the focuser (the picture where the focuser is pink)
2 Assembly order:
1. Fit the thrust plate
2. Insert the focuser drawtube
3. Fit the focusing shaft
⚠️ Follow this order: the drawtube must be in place before the focusing shaft. Tighten the thrust screw once the drawtube is in, to create the friction needed for a smooth movement.
Note: bag 2 contains an extra black screw: it locks the focuser and the tube together from underneath the tube.


Assembling the focuser and the tube.

Screw the M3 screw in from underneath the tube: it secures the focuser to the tube.
The star diagonal: assemble the plate, the prism and the diagonal housing.

That's it, you're ready to observe!

Well done! You now know how to assemble an astronomical refractor.

Follow the complete assembly of the Lumi refractor, step by step.
Your Lumi is assembled. Here are the key skills for a successful first night.
1How it works
The Lumi is a refractor: it uses a lens and a prism to collect the light from celestial objects and bring it to your eye.
Good to know
2Focusing
Focusing means adjusting the position of the eyepiece to get a sharp image. Turning the focus knob moves the drawtube in or out.
Good to know
3Finding a target with the finder
The eyepiece only shows a small patch of sky, so aiming straight through it is hard. The finder helps you point at the target before you look into the eyepiece.
Good to know
Discover the wonders of the night sky with your Lumi refractor, from the Moon to distant galaxies.

1 of 7
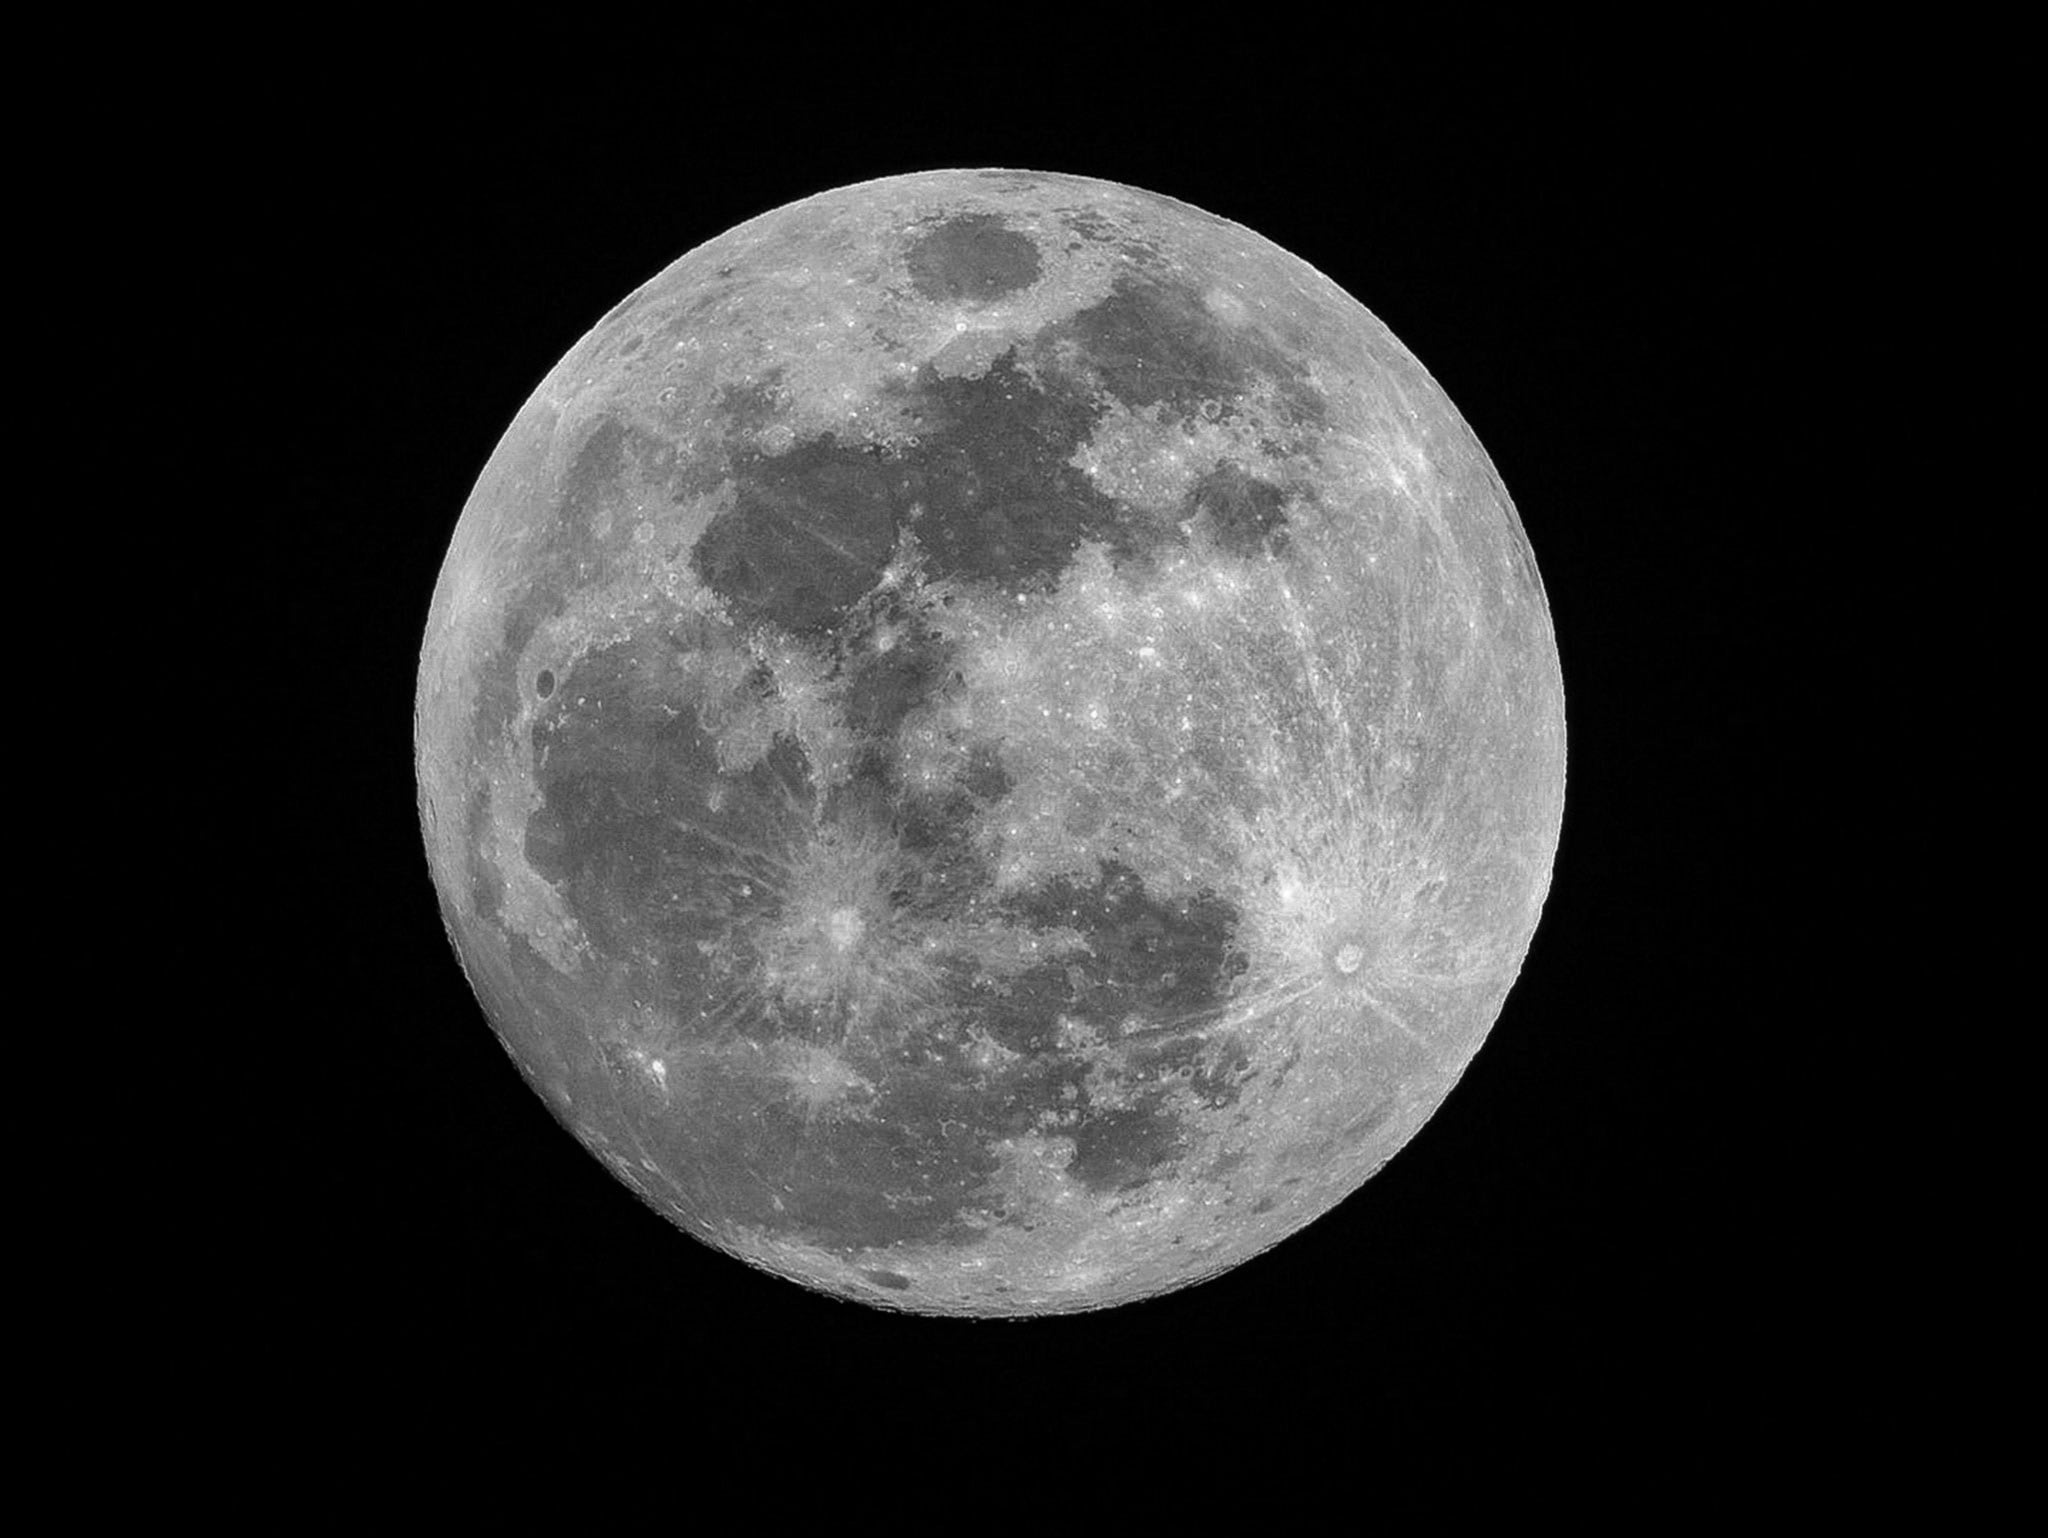
Observe lunar craters, seas and mountains. The best time is during the waxing and waning phases.

2 of 7
The largest planet in the Solar System and its four main moons, Io, Europa, Ganymede and Callisto, visible as small bright dots around Jupiter.

3 of 7
One of the brightest and easiest nebulae to observe, in the constellation of Orion. Visible to the naked eye as a fuzzy star.

4 of 7
A superb globular cluster of hundreds of thousands of stars, forming a glowing ball in the constellation of Hercules.

5 of 7
Our nearest large neighbouring galaxy, visible as an elongated fuzzy patch. It is the most distant object visible to the naked eye.

6 of 7
A young open cluster of very bright blue stars, also known as the 'Seven Sisters'. Easy to spot in the constellation of Taurus.

7 of 7
Two star clusters side by side in the constellation of Perseus, a beautiful sight full of bright stars.
To plan your observations and see what is visible from where you are, we recommend Stellarium, a free and open-source planetarium software.
Use Stellarium to plan your observationsFeatures: Real-time sky chart • Planet positions • Rise and set times • Simulation of the sky’s motion
Join our community of amateur astronomers! Share your observations, ask your questions and chat with other astronomy enthusiasts.
Join the communityIn the community: Observing tips • Astronomers’ photos • Technical support • Astronomy events
Discover and share your best observations with the community.
See the mapOn the map: Members’ locations • Shared observing spots • Local events • Regional groups
Lumi is built module by module, and each part matches a step along the path of light:
Each module only fits one way: you understand what each part does as you put it in place, without instructions.

Generate your own sky chart: enter a date and your observing location to find out what is visible that night.
The centre is the point right above your head (the zenith). The edge is the horizon. The closer an object is to the centre, the higher it is in the sky.
Directions are: N at the top, E on the left, S at the bottom, W on the right, as if you were lying on your back looking up, with your head towards the North.
The white dots are stars: the bigger the dot, the brighter the star. The blue lines join the stars into constellations, such as Orion or Ursa Major.
Colours show temperature: blue = very hot, white = hot, yellow-orange = cooler.
Hover over an area of the Moon to see its name, click to learn more.Tap an area to discover its name and its story.
Discover our other products that might interest you


